Why Start With These Decorative Concrete Overlay Tools
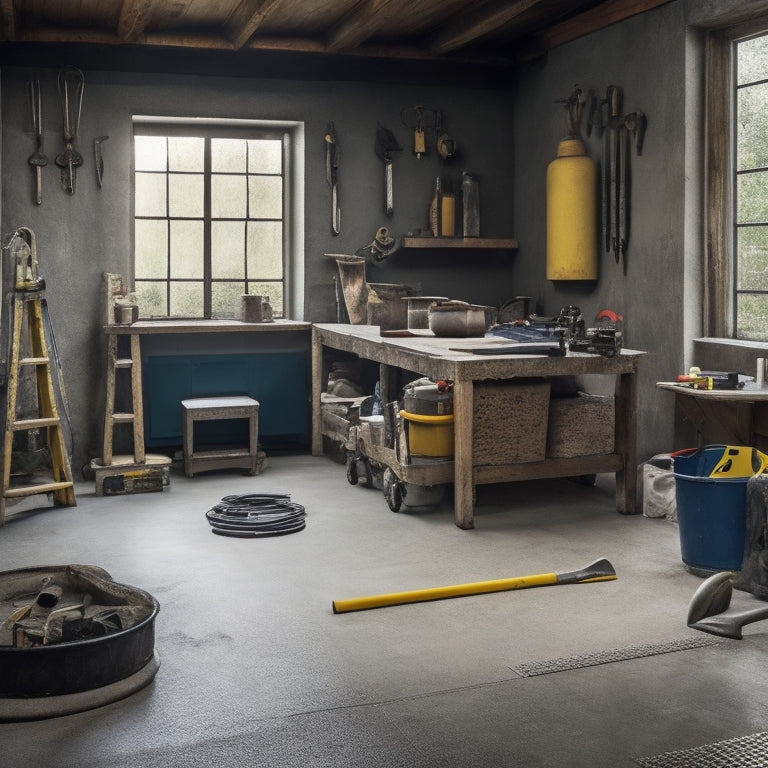
You're about to start a decorative concrete overlay project, and having the right tools from the get-go is essential to achieving professional-grade results. Begin with necessary tools like personal protective equipment, surface preparation tools, and mixing and application tools to guarantee a smooth and even surface. Properly maintaining these tools is critical for safety and peak performance. By starting with the right tools, you'll be well on your way to achieving the desired design aesthetic. Now, get ready to reveal the full potential of your project as you explore the world of texture, pattern, and stamping techniques, and discover the secrets to bringing your designs to life.
Key Takeaways
• Ensuring safety and peak performance, regular tool maintenance prevents damage and ensures a successful decorative concrete overlay project.
• With the right tools, contractors can efficiently prepare the surface, mix and apply the overlay material, and achieve a smooth, even finish.
• Having the necessary tools helps contractors master various texture and pattern techniques, such as stamping, staining, and veining for realistic stone looks.
• The right tools enable contractors to experiment with different design inspirations and techniques, allowing them to bring unique designs to life.
• Starting with the essential tools and equipment ensures a strong foundation for a successful decorative concrete overlay project, saving time and resources in the long run.
Essential Tools for a Strong Start
As you prepare to tackle a decorative concrete overlay project, you'll need to equip yourself with the essential tools that will guarantee a strong start and set the stage for a successful outcome.
Safety should be your top priority, so make certain you have the necessary personal protective equipment (PPE) such as gloves, safety glasses, and a dust mask.
Beyond PPE, you'll need a range of specialized tools to get the job done. A walk-behind saw or a demo saw will help you prepare the surface, while a concrete mixer and a trowel will come in handy for mixing and applying the overlay material. Don't forget a level and a straightedge to ascertain a smooth, even finish.
Regular tool maintenance is also vital for essential safety and peak performance. Take the time to inspect and clean your tools regularly, and replace any worn or damaged parts.
Mastering the Art of Texture
With your surface prepared and overlay material mixed, you're ready to add texture, a key element that can elevate your decorative concrete overlay project from ordinary to extraordinary.
Now it's time to master the art of texture, which can make or break the overall aesthetic of your project. You'll need to choose the right texture techniques for your specific design. Will you opt for a subtle, organic look or a more dramatic, patterned effect?
Once you've decided, it's crucial to practice your texture application to achieve consistent results. Start by applying a small test patch to verify you've got the right amount of material and the desired texture.
When you're ready, apply the overlay material to your prepared surface, using your chosen texture technique. Work in small sections to maintain control and avoid mistakes.
Remember to wear protective gear, including gloves and safety glasses, to prevent skin and eye irritation. With patience and practice, you'll be able to achieve a stunning, professional-looking texture that adds depth and visual interest to your decorative concrete overlay project.
Achieving Realistic Stone Patterns
Achieving Realistic Stone Patterns
To accomplish a realistic stone pattern, you'll need to select the right combination of tools and techniques that mimic the natural irregularities and variations found in stone. This requires a deep understanding of stone pattern techniques and overlay color selection.
| Tool | Technique | Effect |
|---|---|---|
| Stamp Mats | Randomize stamp patterns | Creates natural-looking stone joints |
| Trowels | Apply varying pressure | Achieves realistic texture and depth |
| Skived Trowels | Create subtle, irregular edges | Mimics natural stone fractures |
When selecting overlay colors, consider the natural hues and tones of the stone you're trying to replicate. You can use a combination of base colors, accent colors, and highlight colors to create a realistic, multi-dimensional look. Remember to always follow safety guidelines when working with decorative concrete overlay tools, and take necessary precautions to avoid injuries and guarantee a successful project. By mastering these stone pattern techniques and overlay color selection, you'll be able to create stunning, realistic stone patterns that will leave a lasting impression.
The Power of Stamping Tools
You'll find that stamping tools are a game-changer when it comes to replicating the intricate details and textures found in natural stone, allowing you to take your decorative concrete overlay projects to the next level.
These tools enable you to achieve realistic, high-definition patterns that mimic the look and feel of authentic stone. By mastering various stamping techniques, you can create unique, one-of-a-kind designs that set your work apart from the competition.
To get the most out of your stamping tools, it's crucial to prioritize tool maintenance. Regularly clean and inspect your tools to prevent damage and wear. This will guarantee that your tools continue to perform at their best, producing consistent, high-quality results.
Additionally, make sure to follow the manufacturer's guidelines for tool use and maintenance to avoid accidents and injuries. By combining the right techniques with proper tool care, you'll be able to release the full potential of your stamping tools and take your decorative concrete overlay projects to new heights.
Creating Unique Vein Patterns
When creating unique vein patterns, you'll want to contemplate the various design options available, from subtle, natural-looking veins to bold, eye-catching patterns.
To achieve a realistic look, you'll need to control the depth and texture of your veins, which requires a good understanding of the materials and techniques involved.
Vein Pattern Design Options
With a few clever tricks and techniques, your decorative concrete overlay can boast unique vein patterns that evoke the organic, natural beauty of stone or wood. By mastering vein pattern techniques, you can create stunning, one-of-a-kind designs that add depth and visual interest to your concrete surfaces.
To get started, experiment with different creative vein variations, such as swirling, marbling, or feathering. You can also try layering multiple patterns to achieve a truly unique look. Another approach is to use stencils or stamps to create intricate, geometric patterns.
For a more subtle look, try using a vein cutter or a texture mat to create subtle, organic patterns. Remember to always follow safety guidelines when working with concrete and to practice on a small scale before scaling up to larger projects.
With practice and patience, you'll be creating breathtaking vein patterns that will elevate your decorative concrete overlays to new heights.
Achieving Realistic Vein Looks
To achieve a realistic vein look, start by studying the patterns found in natural stone or wood, noting the subtle variations in color, texture, and pattern that give them their unique character. You'll want to replicate these nuances in your decorative concrete overlay design. When selecting an overlay material, consider its ability to mimic the natural patterns you're aiming to replicate.
| Vein Color Techniques | Overlay Material Selection |
|---|---|
| Multi-tonal staining | Polymer-modified cement |
| Acid-based staining | Epoxy-based coatings |
| Tinted sealers | Acrylic cement |
| Hand-painting | Urethane-based coatings |
Controlling Vein Pattern Depth
You'll find that controlling vein pattern depth is key to creating unique, high-impact designs that capture the intricate beauty of natural stone or wood. By mastering vein pattern techniques, you can achieve realistic, multi-dimensional looks that elevate your decorative concrete overlays.
To control vein pattern depth, you'll need to employ effective depth control methods. This involves carefully adjusting the amount of pressure and flow rate of your overlay material as you apply it to the substrate. By doing so, you can create varying levels of depth and dimensionality, giving your designs a more organic, natural appearance.
It's also essential to select the right tools and materials for the job, as they can greatly impact the final result. With practice and patience, you'll be able to craft intricate, high-impact vein patterns that rival the real thing.
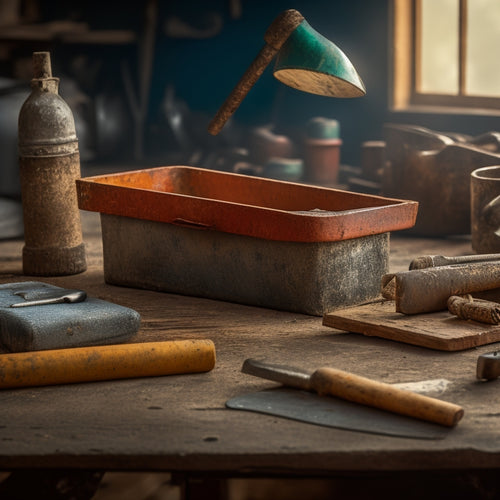
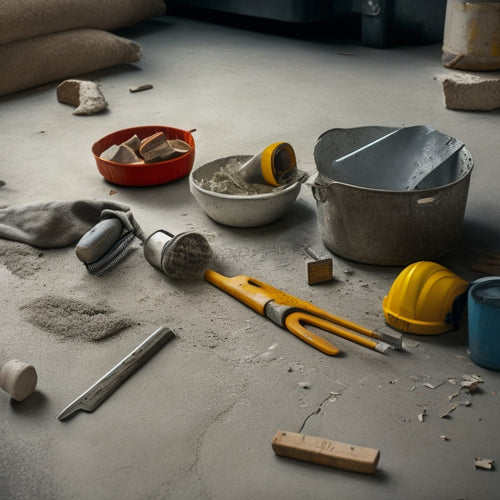
Must-Have Skim Coat Tools
Five essential tools are required in your arsenal for a successful skim coat application: a mixing bucket, a drill with a mixing paddle, a trowel, a squeegee, and a finishing tool.
These must-haves will guarantee you master skim coat techniques and achieve professional-looking results in your overlay applications.
When preparing your skim coat mixture, a mixing bucket with measurements will assure accurate ratio mixing. A drill with a mixing paddle will efficiently combine and blend the materials.
Once mixed, use a trowel to apply the skim coat, holding it at a 45-degree angle to achieve the desired thickness.
After applying the mix, a squeegee will help remove excess material and flatten the surface.
Finally, a finishing tool, such as a steel trowel or a magic trowel, will allow you to achieve a smooth, even finish.
With these tools, you'll be well-equipped to tackle skim coat applications with confidence and precision, guaranteeing a successful decorative concrete overlay project.
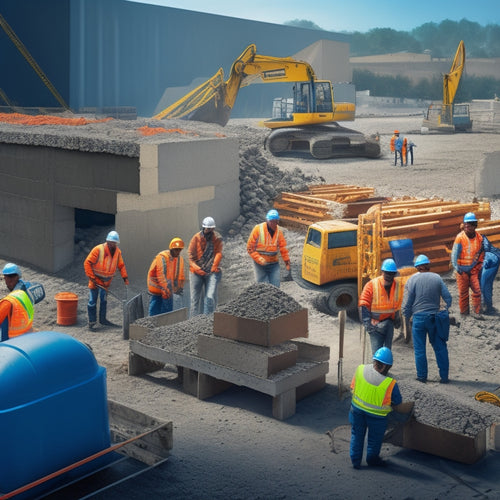
Building a Solid Foundation
When building a solid foundation for your decorative concrete overlay, you'll want to start by laying the groundwork, ensuring a stable and even surface.
Next, you'll need to properly prepare the surface, removing any imperfections and creating an ideal bond between the old concrete and the new overlay.
Laying the Groundwork
Before applying a decorative concrete overlay, it's important to assess the substrate's condition and prepare it properly to guarantee a strong, long-lasting bond.
You'll need to identify the surface type, whether it's new or existing, and determine the most suitable overlay technique for the job. This involves evaluating the substrate's porosity, texture, and moisture levels to make certain the overlay adheres correctly.
You should also inspect the surface for any cracks, unevenness, or contaminants that could compromise the bond.
Make note of any necessary repairs or cleaning that needs to be done before applying the overlay.
Proper Surface Prep
Your surface preparation plan should include a thorough cleaning of the substrate to remove dirt, oil, and other substances that can interfere with the overlay's adhesion. This critical step guarantees a strong bond between the overlay and the existing concrete.
You'll want to employ effective surface cleaning techniques, such as pressure washing or solvent cleaning, to remove any contaminants that could compromise the bond.
Next, you'll need to evaluate the substrate's condition using substrate evaluation methods like visual inspection, sounding, or pull-off testing. This assessment will help you identify any cracks, defects, or weaknesses that require repair before applying the overlay.
It's vital to address these issues to prevent delamination or other failures down the line.
Strong Bonding Agents
With the substrate properly prepared, you can now focus on applying a strong bonding agent to create a solid foundation for your decorative concrete overlay. This important step guarantees a durable and long-lasting bond between the overlay and the substrate, preventing delamination and other safety hazards.
When selecting a bonding agent, consider the following key factors:
-
Compatibility: Choose an agent compatible with your overlay material and substrate type to guarantee the best bonding.
-
Adhesive type: Select from epoxy, polyurethane, or acrylic-based adhesives, each suited for specific applications and environmental conditions.
-
Bonding techniques: Follow manufacturer instructions for application, as different techniques may be required for varying adhesive types.
- Moisture tolerance: Opt for an agent with high moisture tolerance to prevent bond failure in humid or wet environments.
Bringing Designs to Life
Transform your concrete surface into a stunning work of art by mastering the techniques and tools necessary to bring your designs to life.
You've got the foundation set with a strong bonding agent; now it's time to release your creativity. Start by gathering design inspiration from various sources, such as nature, architecture, or even abstract art. This will help you visualize the final result and guide your color techniques.
When selecting colors, consider the mood and atmosphere you want to create. Do you want a bold, vibrant look, or a more subtle, natural tone? Choose colors that complement the surrounding environment and verify they're compatible with the overlay material. Remember to always follow safety guidelines when working with chemicals and pigments.
With your design inspiration and color techniques in place, you're ready to start applying the decorative concrete overlay. Use the right tools, such as stamps, stencils, or texture mats, to achieve the desired pattern and texture.
Don't be afraid to experiment and try new things – it's all part of the creative process. By following these steps, you'll be well on your way to creating a breathtaking work of art that will leave a lasting impression.
Finishing Touches for Perfection
Once you've achieved the desired pattern and texture, apply a sealer to protect your masterpiece and bring out the vibrant colors.
This vital step guarantees your decorative concrete overlay remains durable and visually stunning for years to come. Remember to choose a sealer that suits your project's unique needs, considering factors like UV resistance, chemical exposure, and slip resistance.
To take your project to the next level, consider these finishing touches:
-
Accentuate with color: Enhance your design with a thoughtful color selection, drawing inspiration from nature, architecture, or your personal style.
-
Add a topcoat: Apply a clear or tinted topcoat to amplify the color and texture of your overlay, while providing an extra layer of protection.
-
Incorporate subtle texture: Use a texture mat or stamp to add subtle, nuanced texture to your design, creating visual interest and depth.
- Seal with confidence: Follow the manufacturer's instructions and take necessary safety precautions when applying the sealer, guaranteeing a professional-grade finish that will withstand the elements.
Frequently Asked Questions
Can I Use Decorative Concrete Overlay Tools on Existing Concrete Floors?
You can use decorative concrete overlay tools on existing concrete floors, but it's essential to guarantee the surface is properly prepared.
You'll need to assess the existing surface's condition, clean and repair any cracks, and apply a bonding agent.
Then, you can move on to overlay application techniques, such as stamping or stenciling.
Remember to follow safety guidelines and manufacturer instructions to achieve a successful, durable, and safe finish.
How Do I Clean and Maintain Decorative Concrete Overlay Tools?
When it comes to cleaning and maintaining your decorative concrete overlay tools, you'll want to follow specific techniques to guarantee their longevity and safety.
You'll need to clean your tools regularly using gentle cleaning techniques, such as soft-bristled brushes and mild soap solutions, to prevent damage and rust.
Additionally, implement maintenance tips like lubricating moving parts and storing tools in a dry, protected area to keep them in top condition.
Are Decorative Concrete Overlay Tools Suitable for Outdoor Projects?
As you venture into the world of decorative concrete overlay projects, you're probably wondering if your tools can withstand the harsh outdoor conditions.
The answer is, it depends. You'll need tools that can guarantee outdoor durability, withstanding extreme temperatures, UV rays, and weathering.
Fortunately, many decorative concrete overlay tools offer design versatility, allowing you to create stunning outdoor spaces that are both functional and visually appealing.
Can I Rent Decorative Concrete Overlay Tools Instead of Buying Them?
You're considering renting decorative concrete overlay tools instead of buying them, and that's a smart move.
Renting can be a cost-effective option, especially for one-time or infrequent projects.
Explore rental options from reputable suppliers to access the tools you need without breaking the bank.
Just make certain you're familiar with the equipment and follow safety guidelines to avoid accidents and guarantee a successful project.
Do I Need to Be a Professional to Use Decorative Concrete Overlay Tools?
You don't need to be a professional to use decorative concrete overlay tools, but you do need to take safety precautions seriously.
As a beginner, start with beginner-friendly techniques and invest time in learning about the tools and materials.
Wear protective gear, like gloves and goggles, and guarantee good ventilation.
With practice and patience, you'll master the skills and achieve professional-looking results while maintaining a safe working environment.
Conclusion
You've now got the essential tools to kick-start your decorative concrete overlay project.
The theory that a strong foundation is key to success holds true, and with these tools, you've built a solid base.
By mastering texture, stamping, and skim coating, you'll reveal realistic stone patterns and unique vein designs.
Remember, it's the finishing touches that bring your vision to life.
Related Posts
-
Smart Guide to Buying Used Concrete Hand Tools
You're about to buy used concrete hand tools, and you need to get it right. Dedicate time to identify the tools you n...
-
Top 10 Concrete Repair Tools for Small Fixes
You'll need the right tools to tackle small concrete repairs efficiently and effectively. When it comes to small fixe...
-
7 Best Tools for Concrete Block Construction
You'll need a solid foundation, precise cutting, and seamless finishing to guarantee your concrete block construction...


