Why DIY Waterproofing Tools Matter for Concrete Walls
When it comes to concrete walls, DIY waterproofing tools are vital for preventing water damage, structural issues, and costly repairs. You'll need the right materials, such as waterproofing membranes, primers, sealants, and bonding agents, to create a barrier against moisture intrusion. Proper surface preparation, including cleaning and contaminant removal, is also important for effective waterproofing. By choosing the right sealant and application method, you can guarantee a strong bond with the concrete and achieve lasting results. Now that you've got the basics down, it's time to explore the intricacies of waterproofing and discover how to take your skills to the next level.
Key Takeaways
• DIY waterproofing tools help prevent costly repairs and structural damage to concrete walls by addressing water intrusion issues promptly.
• They ensure a watertight seal, reducing the risk of mold, mildew, and corrosion, thereby maintaining the integrity of the wall.
• Effective DIY waterproofing tools enable homeowners to tackle small-scale repairs and maintenance, reducing reliance on professionals and saving costs.
• By using the right tools and materials, DIY enthusiasts can guarantee long-lasting results, extending the lifespan of their concrete walls.
• Proper DIY waterproofing measures also enhance the overall aesthetic appeal of the wall, boosting its value and visual appeal.
Essential Waterproofing Materials List
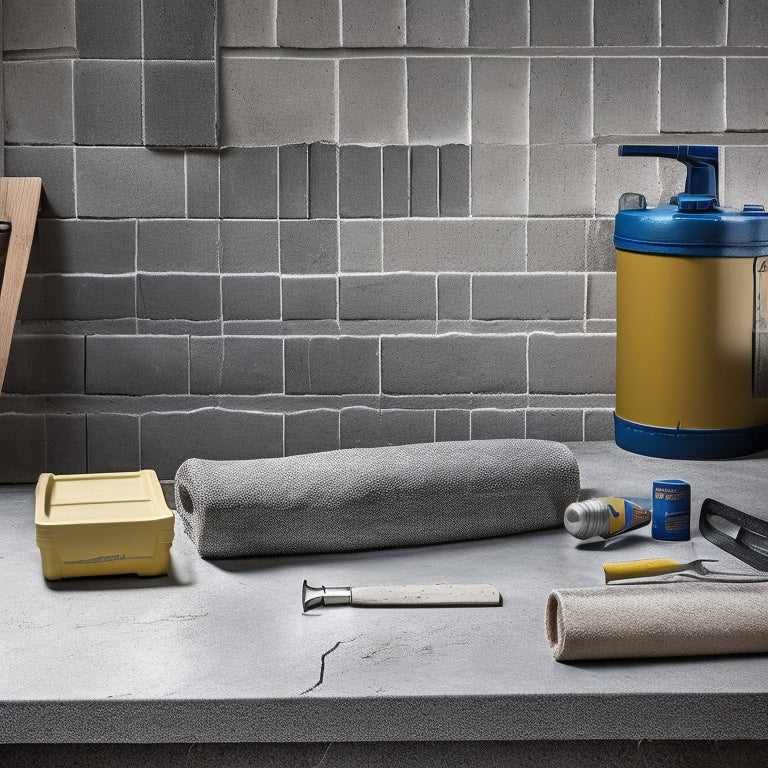
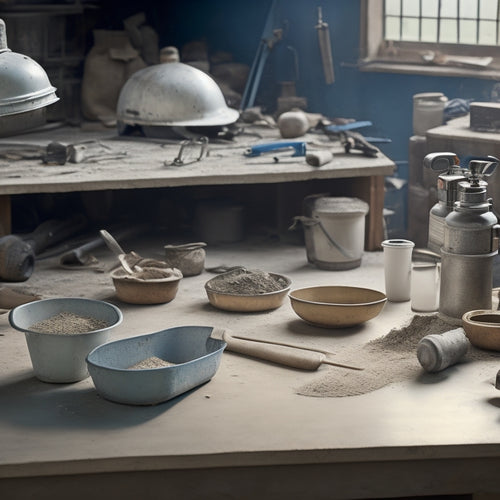
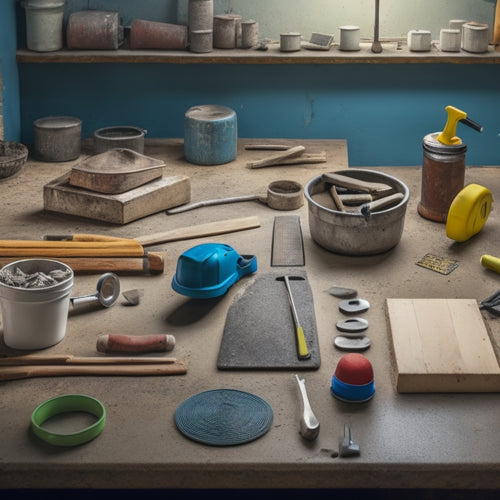
What materials do you need to waterproof your concrete walls effectively? To reap the waterproofing benefits, you'll require a range of materials to get the job done. For a successful DIY waterproofing project, gather the following essentials: a waterproofing membrane, primer, sealant, and a bonding agent.
Additionally, have a scrub brush, roller extension pole, and a paint tray or sprayer on hand. Don't forget safety gear, including gloves, goggles, and a mask.
When it comes to DIY techniques, it's vital to prepare your surface properly. Clean the wall thoroughly to remove dirt, grime, or old coatings. Fill any cracks or holes with a patching compound, and let it dry completely.
Next, apply the primer, followed by the waterproofing membrane. Guarantee a strong bond between the membrane and the wall by using a bonding agent. Finally, seal any joints or seams with a sealant.
With these materials and techniques, you'll be well on your way to achieving a watertight concrete wall.
Choosing the Right Sealants
When it comes to choosing the right sealants for your concrete walls, you'll need to take into account the types of sealants available, including silicone, polyurethane, and acrylic.
You'll also need to ponder the application method that best suits your project, whether it's brushing, rolling, or spraying.
Types of Sealants Available
Selecting the right sealant for your concrete wall is essential, as different types offer varying levels of protection, durability, and aesthetic appeal. When it comes to waterproofing benefits, you want a sealant that provides long-term reliability and efficiency. Comparing different sealant options can be overwhelming, but understanding the types available can simplify the process.
Here are some common types of sealants you might consider:
-
Acrylic sealants: Water-based and easy to clean up, these sealants are ideal for interior projects and offer moderate waterproofing benefits.
-
Silicone sealants: Flexible and resistant to extreme temperatures, silicone sealants are suitable for exterior projects and provide excellent waterproofing benefits.
-
Polyurethane sealants: Offering high bonding strength and flexibility, polyurethane sealants are ideal for high-traffic areas and provide excellent waterproofing benefits.
-
Epoxy sealants: Highly durable and resistant to chemicals, epoxy sealants are suitable for industrial projects and provide exceptional waterproofing benefits.
-
Silane-modified polyethylene (SMP) sealants: A hybrid of silicone and polyethylene, SMP sealants offer excellent waterproofing benefits and are suitable for a wide range of projects.
Sealant Application Methods
With your chosen sealant in hand, you're now ready to apply it effectively. The application method you choose can greatly impact the overall performance of the sealant. Proper application techniques are essential to guarantee a strong bond between the sealant and the concrete wall.
You'll need the right sealant tools for the job, including brushes, rollers, or sprayers, depending on the type of sealant and the surface area to be covered. For example, a high-build roller cover is ideal for applying thick, viscous sealants, while a brush is better suited for smaller, more detailed areas.
When applying the sealant, make sure the surface is clean, dry, and free of any debris or oils. Follow the manufacturer's instructions for mixing and applying the sealant, and use the recommended application thickness to guarantee peak performance.
Additionally, consider the ambient temperature and humidity levels, as these can affect the sealant's curing process. By choosing the right application method and using the correct tools, you'll be able to achieve a professional-looking finish and guarantee the sealant lasts for years to come.
Sealant Durability Factors
You'll need to evaluate several key factors that impact a sealant's durability, including its adhesion, permeability, and resistance to chemicals and abrasion, to guarantee you choose the right one for your concrete wall waterproofing project. A durable sealant is essential to guarantee a long-lasting waterproofing solution.
When selecting a sealant, consider the following key factors:
Adhesion: The sealant's ability to bond with the concrete substrate, ensuring a strong and lasting seal.
Permeability: The sealant's capacity to allow water vapor to escape while preventing liquid water from entering, reducing the risk of blistering or delamination.
Chemical resistance: The sealant's ability to withstand exposure to chemicals, such as cleaning products or harsh weather conditions, without degrading.
Abrasion resistance: The sealant's capacity to resist wear and tear from environmental factors, like weathering or physical damage.
Environmental impact: The sealant's eco-friendliness, considering its effects on the environment and human health during application, use, and disposal.
Importance of Surface Preparation
Before applying any waterproofing treatments, thoroughly examine your concrete wall's surface to identify and address any cracks, holes, or other defects that could compromise the treatment's effectiveness.
You'll want to make certain the surface is free from dirt, grime, and other contaminants that might affect adhesion. Employ effective surface cleaning techniques, such as pressure washing or chemical cleaning, to remove any debris or substances that could interfere with the waterproofing treatment.
A thorough substrate assessment is essential in determining the surface's condition and identifying potential issues.
You'll need to assess the surface's porosity, texture, and moisture levels to choose the right waterproofing treatment. The importance of substrate assessment can't be overstated, as it helps you select a treatment that's compatible with your wall's specific needs.
Crack Repair and Injection
When you're dealing with cracks in your concrete walls, you'll need to decide on the best repair method to guarantee a watertight seal.
You'll have to choose between epoxy resin injection, which is ideal for deeper cracks, and other crack sealing methods that work better for surface-level fissures.
Epoxy Resin Injection
This epoxy resin injection method allows homeowners to effectively fill and seal cracks in concrete walls, restoring structural integrity and preventing further water damage. You can take advantage of epoxy advantages, such as its high bonding strength and resistance to chemicals, to guarantee a long-lasting repair.
To get the most out of this method, it's crucial to master the application techniques. Here are some key considerations:
-
Surface preparation: Confirm the crack is clean and dry before applying the epoxy resin.
-
Mixing and application: Follow the manufacturer's instructions for mixing and apply the epoxy resin using a suitable injection tool.
-
Pressure injection: Apply controlled pressure to fill the crack completely and avoid air pockets.
-
Curing time: Allow the epoxy resin to cure for the recommended time, usually several hours or overnight.
-
Post-injection cleanup: Remove any excess epoxy resin and clean the surrounding area to prevent further damage.
Crack Sealing Methods
You'll want to complement your epoxy resin injection with an extensive crack sealing method that addresses cracks of varying widths and depths. This involves a thorough crack identification process, where you'll need to assess the crack's length, width, and orientation. By doing so, you'll be able to determine the most effective sealing method for each crack.
For narrower cracks, you can use a polyurethane-based sealant, while wider cracks may require a more substantial repair compound. It's vital to choose a sealant that's compatible with the epoxy resin you've injected, guaranteeing a strong bond between the two.
Additionally, consider the environmental factors that may affect the sealant's performance, such as temperature fluctuations and weather exposure. By selecting the right sealant and applying it correctly, you'll be able to achieve long-term maintenance and prevent further water ingress.
Drainage System Installation Tips
How effectively can you divert water away from your concrete walls by installing a drainage system that meets local building codes and regulations? A well-designed drainage system is essential to preventing water accumulation around your concrete walls, which can lead to cracks, damage, and structural issues.
To guarantee a successful drainage system installation, consider the following key factors:
Drainage design: Confirm your drainage system is designed to handle the maximum amount of water that can collect around your concrete walls, taking into account factors like rainfall intensity and soil type.
Pipe installation: Install pipes at a minimum slope of 1/4 inch per foot to guarantee proper water flow, and use corrosion-resistant materials to prevent pipe damage.
Water inlet placement: Position water inlets at strategic locations to capture water runoff, such as near downspouts and at low-lying areas.
Pipe connections: Confirm secure pipe connections using watertight fittings and adhesives to prevent leaks.
Regular maintenance: Schedule regular maintenance checks to confirm your drainage system remains functional and clog-free.
Waterproofing Membrane Application
Applying a waterproofing membrane to your concrete walls is an important step in preventing water infiltration and guaranteeing a dry, durable structure.
You'll need to choose from various membrane types, including sheet-applied, fluid-applied, and cementitious coatings. Each type has its own set of application techniques and requirements.
Before applying the membrane, you'll need to verify the surface is clean, dry, and free of any contaminants. You may need to prime the surface depending on the membrane type.
When applying the membrane, follow the manufacturer's instructions for thickness, coverage rates, and drying times. It's vital to maintain a consistent thickness to avoid weak spots.
Some application techniques you may use include rolling, brushing, or spraying the membrane onto the surface. Make sure to work in sections, overlapping each pass to guarantee complete coverage.
You may need to apply multiple coats, depending on the membrane type and manufacturer's instructions. By following the correct application techniques and using the right membrane type, you'll create a watertight seal that will protect your concrete walls from water damage.
Final Inspection and Testing
With the waterproofing membrane applied, it's essential to conduct a thorough final inspection and testing to guarantee the membrane's integrity and detect any potential defects or weaknesses. This step is critical to confirming the waterproofing system's effectiveness and longevity. You should inspect the membrane for any signs of damage, tears, or uneven application.
Verify that the membrane adheres properly to the concrete wall, and check for any air bubbles or blisters.
Here are some key aspects to focus on during the final inspection and testing:
-
Verify that the membrane meets the specified testing standards for waterproofing.
-
Check the membrane's thickness and confirm it conforms to the manufacturer's recommendations.
-
Inspect the membrane's seams and joints for any signs of leakage or weaknesses.
-
Perform a flood test to simulate real-world water exposure and detect any potential leaks.
-
Document the inspection and testing results, including any defects or issues found, and address them promptly.
Frequently Asked Questions
Can I Use DIY Waterproofing Tools on Newly Constructed Walls?
When working on newly constructed walls, you'll need to take into account new wall considerations before applying DIY waterproofing tools.
Make sure the wall is fully cured and dry, as excess moisture can affect product performance.
Next, choose the right application techniques for your specific wall type and waterproofing product.
Follow the manufacturer's instructions for best results, and don't hesitate to seek professional guidance if you're unsure about any aspect of the process.
How Long Do DIY Waterproofing Tools Last on Concrete Walls?
When you apply DIY waterproofing tools to concrete walls, their lifespan depends on various durability factors.
You'll get the most out of them by following proper maintenance tips. Typically, a well-maintained waterproofing coating can last 5-10 years, while a membrane-based system can last up to 20 years.
However, exposure to harsh weather conditions, poor application, or inadequate surface prep can greatly reduce their effectiveness.
Are DIY Waterproofing Tools Suitable for Underground Concrete Walls?
When you're dealing with underground concrete walls, you're likely concerned about basement moisture seeping in.
You'll be relieved to know that DIY waterproofing tools can be suitable for these areas.
However, their waterproofing effectiveness depends on the tool's quality and application.
If you choose the right product and follow the instructions, you can achieve decent results.
But for best protection, consider consulting a professional to guarantee a thorough and long-lasting solution.
Can I Rent DIY Waterproofing Tools Instead of Buying Them?
Imagine you're about to commence a waterproofing project, and you're weighing your options.
Can you rent DIY waterproofing tools instead of buying them? It's a cost-effective consideration.
Compare the rental fees to the outright purchase price, and you might be surprised. Many equipment rental stores offer waterproofing tools for a fraction of the cost.
Research local rental options, and you'll likely find a deal that suits your needs and budget.
Do I Need Professional Training to Use DIY Waterproofing Tools?
When using DIY waterproofing tools, you don't necessarily need professional training, but it's highly recommended.
With training, you'll learn about safety precautions, such as proper ventilation and protective gear, to minimize risks.
You'll also gain benefits like understanding application techniques, identifying potential issues, and maximizing product effectiveness.
This knowledge will give you confidence and guarantee a successful, long-lasting waterproofing job.
Conclusion
You've carefully selected your waterproofing materials, chosen the right sealants, and prepared the surface with precision.
You've repaired cracks, installed a drainage system, and applied a waterproofing membrane.
Now, as you stand back to inspect your handiwork, you can rest assured that your concrete walls are protected from the ravages of water damage.
You've safeguarded your structure, secured your investment, and shielded your space from the unknown.
Your DIY waterproofing efforts will pay off for years to come.
Related Posts
-
What Tools Do You Need for Concrete Success
For concrete success, you'll need a range of essential power tools, including rotary hammers, angle grinders, concret...
-
Must-Have Tools for Laying Concrete Tiles
When laying concrete tiles, you'll need a range of essential tools to get the job done right. Start with subfloor pre...
-
5 Tips for Accurate Concrete Measurement Tools
To guarantee accurate concrete measurement, you'll want to calibrate your measuring tools regularly, choosing a frequ...


