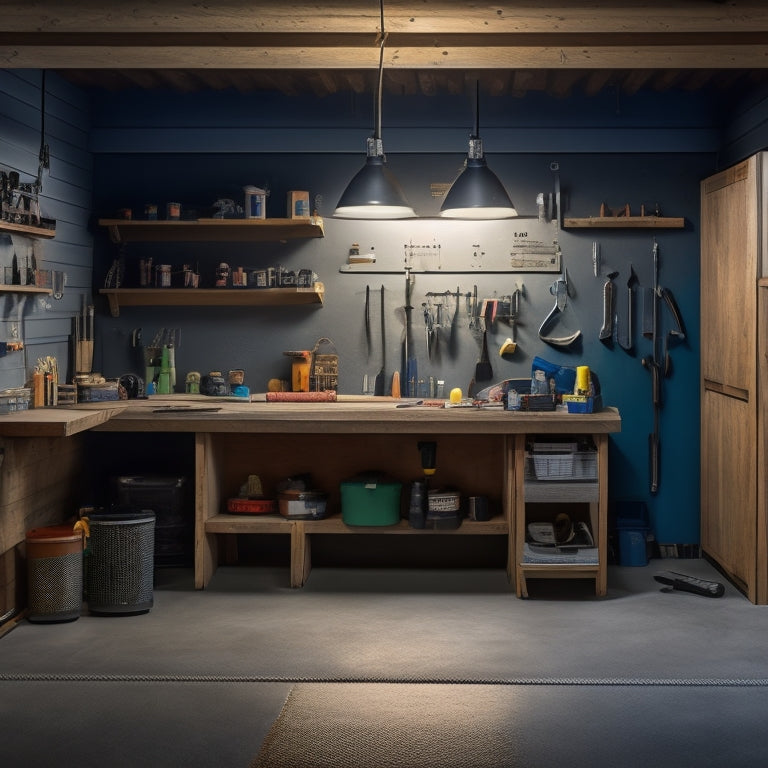
Why DIY Concrete Finishing Tools Matter for Garages
When it comes to creating a garage that's both functional and visually appealing, achieving a smooth, professional-looking concrete finish is vital. You'll need the right DIY concrete finishing tools to get the job done. With the correct tools, you'll be able to eliminate excess material, achieve the perfect smoothness, and add textures and patterns that enhance the floor's appearance. Proper edging tools are also essential for safety and longevity, while even color distribution and crack prevention require careful attention to detail. By investing in the right tools and mastering these techniques, you'll reveal a Garage floor that's not only durable but also a reflection of your craftsmanship, and now you're ready to take your garage to the next level.
Key Takeaways
• Using the right DIY concrete finishing tools ensures a smooth, professional-looking finish for your garage floor.
• Proper edging tools help create clean, defined joints that enhance appearance and prevent water seepage.
• High-quality tools and techniques enable even color distribution, reducing the risk of uneven color and stains.
• Investing in DIY concrete finishing tools helps prevent cracks by allowing for better control over the curing process.
• The right tools and techniques allow for creative freedom to add texture and patterns, increasing traction and visual appeal.
Achieving a Smooth Concrete Finish
To achieve a smooth concrete finish, you'll need to guarantee the surface is properly prepared and then employ the right techniques and tools to eliminate imperfections and excess material. This requires attention to detail and a solid understanding of the finishing methods that work best for your specific project.
Start by ensuring the concrete has reached the ideal temperature and moisture levels for finishing. Next, use a bull float or darby to remove any excess material and create a smooth, even surface.
From there, you can move on to more advanced smoothing techniques, such as using a power trowel or edger to refine the finish. Remember to work in small sections and use the right amount of pressure to avoid creating air pockets or swirl marks.
Importance of Proper Edging Tools
You'll need a proper edging tool to create a clean, defined joint where the concrete meets the wall or other obstructions. A well-executed edge not only enhances the appearance of your garage floor but also prevents water from seeping into the joint, which can lead to damage and safety hazards.
When choosing an edging tool, consider the following key factors:
-
Tool materials: Opt for high-carbon steel or stainless steel edgers, as they're more durable and resistant to corrosion.
-
Edging techniques: Familiarize yourself with various edging techniques, such as using a curved edger for rounded joints or a straight edger for sharp, 90-degree angles.
-
Precision control: Select an edger that provides precise control over the joint width and depth, ensuring a consistent, professional-looking finish.
Ensuring Even Color Distribution
Achieving even color distribution throughout your garage floor requires careful planning and execution, as uneven color can detract from the overall appearance and compromise the floor's durability.
You'll need to guarantee that you're mixing your stain correctly to avoid any inconsistencies. To do this, you should mix the stain in small batches, following the manufacturer's instructions, and apply it in sections to maintain uniformity. It's also essential to apply the stain in a consistent pattern, such as in a 'W' or 'M' shape, to prevent pooling and uneven distribution.
When applying the stain, make sure to work in small sections, about 4 feet by 4 feet, and use a high-quality applicator pad or roller to spread the stain evenly. You should also maintain a wet edge, guaranteeing that you're always working with a wet surface to prevent lap marks.
Reducing the Risk of Cracks
As you've taken the necessary steps to guarantee even color distribution, now it's time to focus on minimizing the risk of cracks that can compromise the integrity of your garage floor.
Crack prevention is essential, as it can lead to costly repairs down the line. To make sure your garage floor remains durable and long-lasting, you need to prioritize moisture control.
Here are three key factors to take into account:
-
Proper surface preparation: Verify your concrete floor is clean, dry, and free of any debris or contaminants. This will help the finishing tools adhere properly and reduce the risk of cracks.
-
Moisture-resistant coatings: Apply a high-quality, moisture-resistant coating to your garage floor. This will help prevent water from seeping into the concrete and causing cracks.
-
Controlled curing: Control the curing process to prevent rapid drying, which can cause shrinkage and cracks. Use a curing compound or a specialized finishing tool to regulate the curing process.
Adding Texture and Patterns
With your garage floor's surface properly prepared and protected from moisture, it's crucial to add texture and patterns that won't only enhance its visual appeal but also improve traction and durability.
You'll want to explore various stamping techniques to achieve the desired look. From subtle textures to bold patterns, the right stamp can transform your garage floor into a unique space.
For a more dramatic effect, consider applying decorative overlays. These thin layers of concrete or polymer can be stamped, stained, or textured to create a one-of-a-kind design. Overlays can also help conceal imperfections and create a uniform appearance.
When choosing an overlay, verify it's compatible with your garage floor's existing surface and intended use.
When applying stamping techniques or decorative overlays, it's important to follow the manufacturer's instructions and take necessary safety precautions.
Work in small sections, and use the recommended tools to achieve the desired pattern or texture.
With patience and practice, you'll be able to add a professional-looking finish to your garage floor, making it a space you'll be proud to show off.
Frequently Asked Questions
Can I Use DIY Concrete Finishing Tools for Large Commercial Projects?
You're wondering if DIY concrete finishing tools can handle large commercial projects. The answer lies in commercial scalability and tool durability.
While DIY tools are great for small-scale projects, they often lack the heavy-duty construction and robust materials needed for large commercial jobs.
You'll need industrial-grade tools that can withstand the demands of massive projects, ensuring consistent results and minimizing downtime.
Don't compromise on quality – invest in professional tools designed for commercial scalability.
How Do I Maintain and Clean My DIY Concrete Finishing Tools?
You're probably aware that 70% of tool failures are due to poor maintenance. To avoid being part of that statistic, you need to prioritize tool care.
When it comes to your DIY concrete finishing tools, regular cleaning is essential. Develop a routine that includes gentle washing with soap and water, followed by a thorough drying to prevent rust.
Additionally, implement advanced cleaning techniques, such as using a wire brush to remove stubborn debris. By doing so, you'll extend the lifespan of your tools and guarantee peak performance.
Are DIY Concrete Finishing Tools Suitable for Outdoor Concrete Projects?
You're wondering if your DIY concrete finishing tools are up for outdoor concrete projects. The answer is yes, but it depends on their outdoor durability.
Look for tools with rust-resistant coatings, durable handles, and weather-sealed components. These features guarantee your tools remain effective in harsh outdoor conditions.
Additionally, consider the tool's design and material, as these factors also impact its outdoor performance.
Can I Rent DIY Concrete Finishing Tools Instead of Buying Them?
You're likely aware that 75% of DIYers opt for renting tools instead of buying them.
When it comes to DIY concrete finishing tools, renting can be a cost-effective option. By renting, you'll avoid the upfront cost of purchasing and storage hassles.
Compare the rental fees to the tool's purchase price and calculate how many projects it'll take to break even.
Weighing tool rental benefits against ownership costs will help you decide what's best for your project.
Do DIY Concrete Finishing Tools Come With a Manufacturer's Warranty?
When you buy DIY concrete finishing tools, you'll typically find that they come with a manufacturer's warranty. This warranty coverage gives you peace of mind, knowing you're protected in case your tools fail or don't meet expectations.
Look for warranties that cover tool durability for at least a year, and check the fine print for any specific requirements or limitations. By doing so, you'll guarantee you're getting reliable tools that will withstand the demands of your concrete finishing projects.
Conclusion
As you stand back to admire your newly finished garage floor, you'll be proud of the professional-grade results you've achieved with your DIY concrete finishing tools.
Like a master painter with their brush, you've coaxed a work of art from the grey concrete canvas.
The smooth finish, crisp edges, and subtle texture all blend together in harmony, a proof of your skill and attention to detail.
Your garage floor is now a reflection of your craftsmanship, and a space you'll enjoy for years to come.
Related Posts
-
Top DIY Concrete Grinding and Polishing Tools
When selecting DIY concrete grinding and polishing tools, you'll want to take into account a range of factors to guar...
-

Top Mixing Tools for DIY Concrete Block Laying
When it comes to DIY concrete block laying, the right mixing tools are vital for a strong and durable structure. You'...
-
5 Tips for Splitting Concrete With Second-Hand Tools
When splitting concrete with second-hand tools, you'll need to be strategic to avoid wasting time, money, and putting...


