What Tools Do You Need for DIY Concrete Flooring
Share
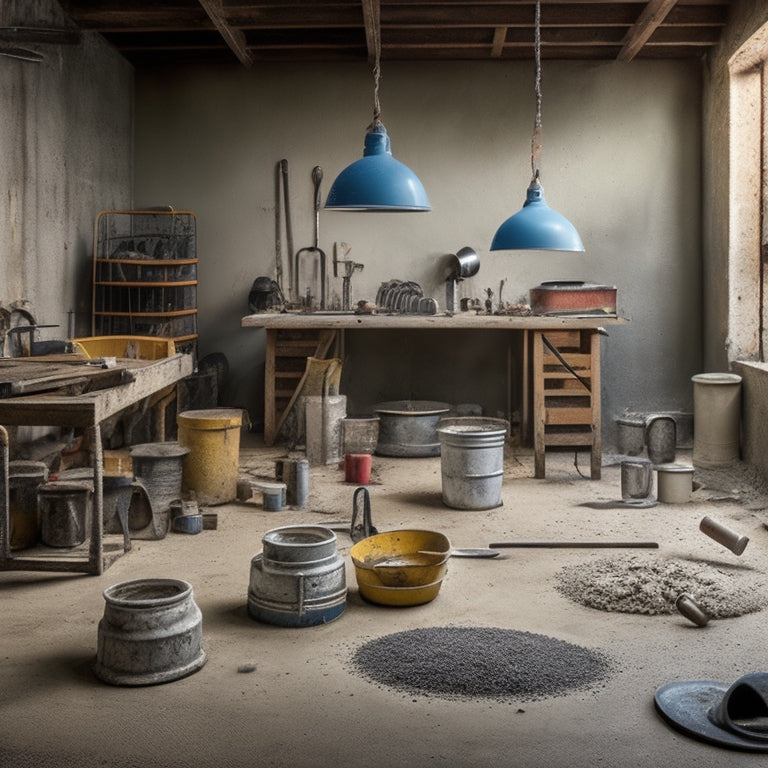
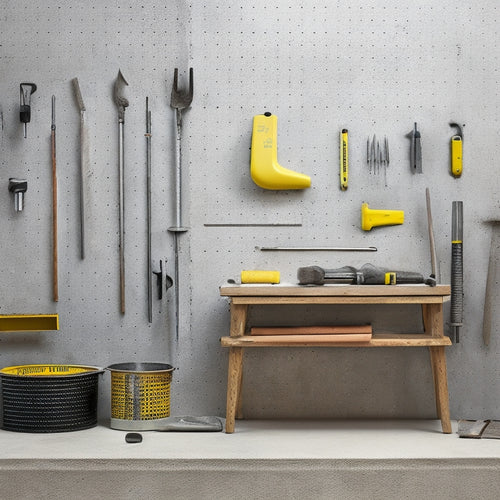
You'll need a wide range of specialized tools to tackle a DIY concrete flooring project. Essential safety gear includes goggles, dust masks, protective clothing, steel-toed boots, and hard hats. Measuring and marking tools, like tape measures and laser levels, guarantee accuracy. Mixing and pouring equipment, such as concrete mixers and pouring buckets, facilitate the process. Finishing and smoothening tools, including bull floats and power trowels, create a polished surface. Additionally, you'll need cutting and drilling machines, tamping and compacting tools, and cleaning and curing supplies to complete the job. As you prepare for your project, familiarizing yourself with these tools will be vital for a professional-looking finish.
Key Takeaways
• Essential safety gear, including goggles, masks, and protective clothing, is required to prevent injuries and exposure to harmful substances.
• Measuring and marking tools, such as tape measures and laser levels, ensure accurate layouts and precise concrete pouring.
• Mixing and pouring equipment, like concrete mixers and pouring buckets, help achieve the right consistency and flow of concrete.
• Finishing and smoothening tools, including bull floats and power trowels, are necessary for a smooth and even concrete surface.
• Specialized tools, such as concrete cutting saws and compactors, are required for tasks like cutting, drilling, and compacting concrete.
Essential Safety Gear Required
When working with concrete flooring, you'll need to wear essential safety gear to protect yourself from hazardous materials and prevent injuries.
Safety goggles are a must-have to shield your eyes from flying debris, chemicals, and other contaminants. You should also wear dust masks to prevent inhaling harmful particles and silica dust, which can cause respiratory problems. Additionally, consider investing in a face shield or respirator for added protection.
It's also vital to wear protective clothing, such as long-sleeved shirts, pants, and gloves, to prevent skin contact with harsh chemicals and abrasive materials.
Steel-toed boots or shoes with slip-resistant soles are also essential to prevent foot injuries and slips. Don't forget to wear a hard hat to protect your head from falling objects or debris.
Measuring and Marking Tools
With your safety gear in place, you can now focus on preparing the site and guaranteeing accurate measurements, which starts with selecting the right measuring and marking tools for the job.
As you begin, it's crucial to understand the importance of precise measurements in achieving a successful concrete flooring project. You'll need a reliable tape measure, a laser level, and a chalk line to guarantee accuracy in your measuring techniques.
When it comes to marking methods, a high-visibility chalk or a marker specifically designed for concrete will help you create clear, visible lines and marks.
Additionally, consider investing in a concrete scriber or a marker with a built-in level to guarantee straight lines and accurate angles. For more complex layouts, a digital measuring tool or a surveying app can be a valuable investment.
Mixing and Pouring Equipment
You'll need to invest in a range of mixing and pouring equipment to secure a smooth, consistent concrete flow and a professional finish.
A high-quality concrete mixer is vital for achieving the right consistency and strength. Choose a mixer that suits your project size, and consider a mixer with a reversing drum for easier cleaning.
When it comes to pouring, you'll need a combination of tools to guarantee a smooth, even flow. A pouring bucket with a spout or chute will help you direct the concrete flow, while a pouring strap or screed board will allow you to level and smooth the surface.
It's also essential to master effective mixing techniques, such as blending the concrete in a figure-eight pattern, and pouring methods, like pouring in sections to avoid cold joints.
Remember to always follow safety guidelines when working with concrete, including wearing protective gear and securing good ventilation.
Finishing and Smoothening Tools
To achieve a high-gloss, blemish-free finish, invest in a set of specialized finishing and smoothening tools that will help you refine the concrete's surface texture and appearance. These tools are essential for removing imperfections, filling in gaps, and applying surface sealers to protect your concrete flooring.
When it comes to smoothing techniques, you'll need the right tools to get the job done. Here are some essentials to include in your toolkit:
-
A bull float or darby for removing excess water and air from the surface
-
A power trowel for applying even pressure and achieving a smooth finish
-
A concrete edger for creating clean, defined edges and joints
Cutting and Drilling Machines
When you're working with concrete flooring, you'll need the right cutting and drilling machines to get the job done efficiently.
You'll be using concrete cutting saws to make precise cuts, and drill bits with accessories to create holes for fixtures or anchors.
Now, let's take a closer look at these essential tools, including angle grinders, to understand their uses and benefits in your DIY project.
Concrete Cutting Saws
Concrete cutting saws, also known as cutting and drilling machines, play a crucial role in DIY concrete flooring projects, allowing you to make precise cuts and holes in concrete slabs with ease. When it comes to concrete cutting techniques, you'll need a saw that can handle the job efficiently and safely.
To guarantee you get the most out of your saw, it's important to follow some saw maintenance tips. Here are a few things to keep in mind:
-
Regularly clean and inspect your saw: Remove any debris or dust from the saw's blade and body to prevent damage and guarantee peak performance.
-
Check and maintain the saw's blade: A dull blade can lead to accidents and poor cuts, so make sure to check and replace it regularly.
-
Store your saw properly: Keep your saw in a dry, secure location to prevent damage and prolong its lifespan.
Drill Bits and Accessories
You'll need to pair your cutting and drilling machine with the right drill bits and accessories to tackle various DIY concrete flooring tasks efficiently. The right drill bit types and accessories can make all the difference in achieving professional-looking results while guaranteeing your safety.
Here are some essential drill bits and accessories you'll need:
| Drill Bit Type | Description | Recommended Use |
|---|---|---|
| Carbide-tipped bits | For drilling through concrete, brick, and block | Creating holes for anchors or screws |
| Diamond-coated bits | For drilling through hard concrete and stone | Creating precise holes for pipes or fixtures |
| Masonry bits | For drilling through brick, block, and concrete | Creating holes for anchors or screws |
| Hammer drill bits | For drilling through concrete with a hammer drill | Creating holes for anchors or screws |
| Drill bit extensions | For reaching into tight spaces or deep holes | Extending the reach of your drill bits |
When selecting drill bits and accessories, verify they are compatible with your cutting and drilling machine. Always follow the manufacturer's instructions and safety guidelines to avoid accidents. With the right drill bits and accessories, you'll be able to complete your DIY concrete flooring project efficiently and safely.
Angle Grinder Uses
Equipped with the right drill bits and accessories, your cutting and drilling machine is ready to be paired with an angle grinder, a versatile tool that's vital for various concrete flooring tasks, including cutting, grinding, and polishing.
As you prepare to tackle your DIY concrete flooring project, it's important to understand the significance of angle grinder safety and maintenance.
Here are a few key considerations to keep in mind:
-
Always wear protective gear, including gloves, safety glasses, and a dust mask, when operating an angle grinder to minimize the risk of injury.
-
Regularly inspect your angle grinder for signs of wear and tear, and perform routine maintenance tasks, such as cleaning and lubricating the tool, to guarantee peak performance and extend its lifespan.
-
Keep your work area clean and clear of debris to prevent accidents and guarantee better control over the angle grinder.
Tamping and Compacting Tools
With a freshly poured slab, you're ready to start tamping and compacting the mixture to remove air pockets and excess water. This vital step guarantees a strong, even, and durable concrete floor. You'll need the right tools to achieve this.
Tamping techniques involve using a tamper or tamping tool to press down on the concrete, eliminating air pockets and compacting the mixture. Compacting methods, on the other hand, involve using a plate compactor or roller compactor to apply pressure and density to the concrete. Here are some essential tamping and compacting tools you'll need:
| Tool | Description | Purpose |
|---|---|---|
| Hand Tamper | A long-handled tool with a flat or rectangular end | Remove air pockets and compact small areas |
| Plate Compactor | A heavy, plate-like machine that vibrates to compact the concrete | Compact large areas quickly and efficiently |
| Roller Compactor | A machine with a rolling drum that applies pressure to the concrete | Compact and smooth out the surface |
| Tamping Rod | A long, sturdy rod used to tamp and compact concrete in tight spaces | Compact corners, edges, and tight spaces |
| Bull Float | A long-handled tool with a flat, rectangular blade | Smooth out the surface and remove excess water |
Remember to always follow safety guidelines and manufacturer instructions when using these tools to guarantee a safe and successful DIY concrete flooring project.
Cleaning and Curing Supplies
Now that the concrete has been tamped and compacted, it's essential to clean and cure the surface to prevent staining and guarantee a strong, durable finish. You'll need the right cleaning and curing supplies to achieve this.
To clean the surface, you'll need:
-
A pressure washer or a stiff-bristled broom to remove any dirt or debris
-
Cleaning solutions specifically designed for concrete to remove oil spots or other stains
-
A clean water source to rinse the surface thoroughly
Once the surface is clean, it's time to apply curing compounds to prevent moisture loss and promote proper curing. You'll need:
-
A curing compound sprayer or roller to evenly apply the compound
-
A clean, lint-free cloth or sponge to spread the compound evenly
Remember to always follow the manufacturer's instructions when using cleaning solutions and curing compounds, and take necessary safety precautions such as wearing gloves and protective eyewear.
Frequently Asked Questions
Can I Use DIY Concrete Flooring for Outdoor Spaces?
When considering DIY concrete flooring for outdoor spaces, you'll face durability concerns. Exposure to harsh weather, heavy foot traffic, and potential salt or chemical spills can weaken the concrete.
To mitigate this, you'll need to prioritize maintenance tips like sealing the concrete regularly, cleaning up spills promptly, and applying a waterproof coating.
How Long Does It Take to Complete a DIY Concrete Floor Project?
When tackling a DIY concrete floor project, you're probably wondering how long it'll take to complete.
The project timeline largely depends on the curing process, which can range from 24 hours to 28 days, depending on the type of concrete and environmental conditions.
You'll need to allow for multiple layers of concrete, finishing, and sealing, which can take around 2-4 weeks.
Be patient and prioritize safety, as rushing the process can compromise the floor's integrity.
Are There Any Eco-Friendly Alternatives to Traditional Concrete?
You're looking for eco-friendly alternatives to traditional concrete. Fortunately, you've got options.
Consider using sustainable materials like fly ash, slag cement, or recycled aggregates to reduce your carbon footprint. These alternatives not only minimize waste but also offer similar strength and durability to traditional concrete.
When selecting eco-friendly materials, make sure they meet safety standards and building codes to guarantee a safe and successful DIY project.
Can I Install DIY Concrete Flooring Over Existing Flooring?
When considering DIY concrete flooring, you'll need to assess whether your existing flooring is suitable for installation.
Verify the subfloor is level, clean, and dry to prevent unevenness or water damage.
Check the flooring materials' compatibility with concrete, as some may require additional preparation or underlayment.
Choose the right installation techniques, such as a self-leveling compound or a decoupling membrane, to guarantee a safe and successful installation that meets your needs and safety standards.
Do I Need a Professional to Finish and Seal the Concrete Floor?
You're wondering if you need a professional to finish and seal your concrete floor.
While it's possible to do it yourself, seeking professional advice on sealing techniques is highly recommended.
Improper sealing can lead to costly repairs and safety hazards.
A pro can confirm a durable, stain-resistant finish that meets safety standards.
If you're not experienced in concrete finishing and sealing, it's best to leave it to a professional to assure a safe and long-lasting result.
Conclusion
You've conquered the concrete jungle, and now it's time to conquer the cleanup.
Seal your success with the right supplies.
Sweep away excess mix, scrub away stubborn stains, and slice through curing haze with ease.
Finish with a flourish, flaunting flawless floors that shine like polished stone.
With these tools, your DIY concrete flooring dreams are finally a reality.
Related Posts
-

10 Must-Have Tools for Concrete Repair Organization
You'll need a solid organization system to keep your concrete repair tools and materials within easy reach, protected...
-

Essential Tools for Epoxy Concrete Floor Repair
You'll need a thorough arsenal of specialized tools to guarantee a successful epoxy concrete floor repair. Floor prep...
-

Top Tools for Beginners in Concrete Masonry Coating
You're about to begin a concrete masonry coating project, and having the right tools is essential. Start with essenti...


