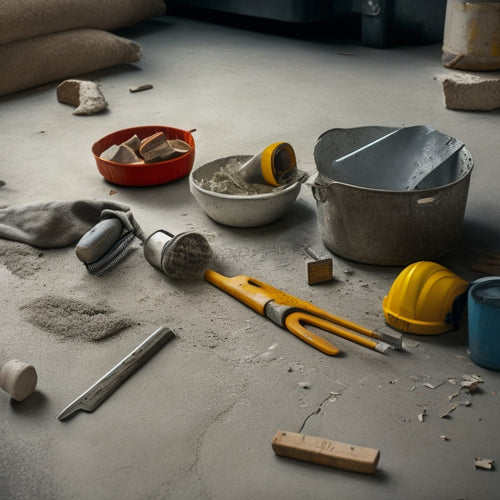
Essential Tools for Epoxy Concrete Floor Repair
You'll need a thorough arsenal of specialized tools to guarantee a successful epoxy concrete floor repair. Floor preparation tools, like concrete grinders and degreasers, remove old coatings and contaminants, while epoxy mixing and application tools, such as mixing sticks and buckets, guarantee correct ratios and thorough mixing. Crack repair tools, including high-pressure washers and epoxy-based fillers, accurately prepare and fill cracks. Surface finishing tools, like floor scrapers and polishing pads, achieve a smooth, high-gloss finish. Don't forget safety equipment, like protective gear and respiratory protection systems, and measuring and testing tools, like moisture meters and surface profilers. With these tools, you'll be well-equipped to tackle the repair, and understanding their specific roles will take your project to the next level.
Key Takeaways
• Floor preparation tools, including concrete grinders and degreasers, are necessary for a strong epoxy bond and a successful repair.
• Epoxy mixing and application tools, such as mixing buckets and pouring pots, ensure accurate mixing and application of the epoxy.
• Crack repair tools, including high-pressure washers and epoxy-based crack fillers, are required for filling and sealing cracks.
• Surface finishing tools, such as floor scrapers and rotary floor grinders, help achieve a smooth and even finish.
• Safety equipment, including protective gear and respiratory protection, is essential for protecting workers from harsh chemicals and abrasive materials.
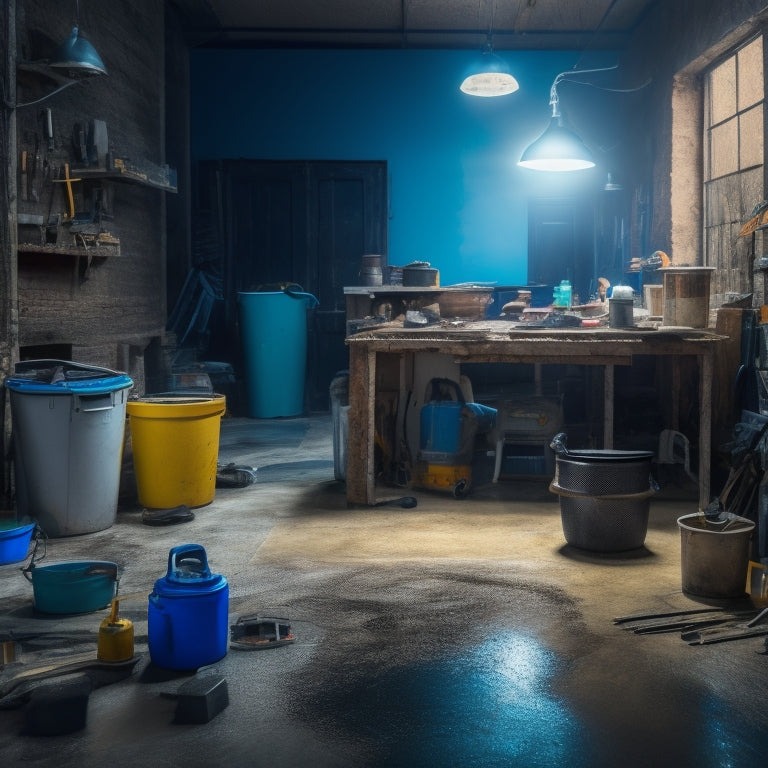
Floor Preparation Tool Essentials
You'll need a set of essential tools to prepare the floor for epoxy concrete repair, including a concrete grinder or scarifier to remove old coatings and roughen the surface. This step is vital to guarantee a strong bond between the existing concrete and the new epoxy coating.
Next, you'll need to perform thorough floor cleaning to remove dirt, oil, or other contaminants that might affect the epoxy's adhesion. Use a degreaser or a cleaning solution specifically designed for concrete floors, and make certain to rinse the floor thoroughly to prevent any residue from interfering with the repair.
After cleaning, use a surface leveling compound to fill in any cracks or uneven areas. This will guarantee a smooth, even surface for the epoxy to bond to. You may also need to use a self-leveling underlayment to achieve the desired level of flatness.
Epoxy Mixing and Application
When you're ready to apply epoxy to your concrete floor, you'll need to verify you're mixing the resin and hardener at the correct ratio, as specified by the manufacturer.
Before applying the epoxy, you'll need to prepare the surface by cleaning and degreasing it to assure a strong bond.
Epoxy Mixing Ratio
Achieving the correct epoxy mixing ratio is vital, as it directly affects the performance, durability, and overall quality of the epoxy concrete floor repair. You'll want to make certain you're mixing the resin and hardener in the ideal epoxy ratios, as specified by the manufacturer.
Failure to do so can lead to compromised epoxy durability, resulting in a repair that's prone to cracking, peeling, or disbonding.
To make sure you're getting it right, always follow the instructions provided with the epoxy product. Typically, the recommended mixing ratio is 1:1, 2:1, or 3:1 (resin:hardener). It's important to mix the components thoroughly, scraping the sides and bottom of the mixing container to prevent unmixed material from affecting the repair.
Epoxy durability testing has shown that even slight deviations from the recommended mixing ratio can have a significant impact on the final product's performance.
So, take your time, and make sure you're mixing the epoxy accurately. Remember, a little patience now can save you a lot of trouble down the line.
Prep for Application
With the epoxy mixing ratio accurately established, it's vital to prepare the epoxy mixture for application by thoroughly mixing the resin and hardener in a clean, dry container. You'll want to make certain the container is free of contaminants, oils, or moisture that could affect the epoxy's performance.
Next, you'll need to prepare the concrete surface for application. This involves surface cleaning to remove dirt, oil, or old coatings that may interfere with the epoxy's bond. Use a degreaser and scrub the surface with a wire brush to make certain a clean, rough surface for the epoxy to adhere to.
Before applying the epoxy mixture, it's important to perform moisture testing to make certain the concrete is dry and suitable for application. You can use a moisture meter or perform a calcium chloride test to determine the moisture levels.
If the surface is too damp, the epoxy may not adhere properly, leading to delamination or failure. By following these significant steps, you'll be well-prepared to apply the epoxy mixture and make certain a strong, long-lasting bond with the concrete surface.
Mixing and Blending
You'll need to combine the epoxy resin and hardener in a specific mixing ratio, then blend them thoroughly for a minimum of two minutes to guarantee a complete reaction and a strong bond. This vital step requires attention to detail and the right techniques to confirm a successful repair.
| Mixing Techniques | Blending Methods | Benefits |
|---|---|---|
| Low-speed mixing | Mechanical blending | Prevents air entrapment |
| High-shear mixing | Hand blending | Confirms thorough mixing |
| Gentle folding | Vacuum blending | Reduces bubbles and foam |
When mixing, use a clean, dry, and lint-free surface. Pour the hardener into the resin, and mix in a circular motion, gradually increasing speed. Scrape the sides and bottom of the mixing container to confirm all material is incorporated. Avoid whipping or vigorous mixing, as this introduces air and weakens the bond. After mixing, inspect the blend for any streaks or swirls, and reblend if necessary. Proper mixing and blending are vital for a successful epoxy concrete floor repair.
Crack Repair Tool Necessities
When tackling epoxy concrete floor repairs, having the right tools for crack repair is essential, as these tools enable you to effectively clean, prepare, and fill cracks, ensuring a strong and durable bond.
To master various crack sealing techniques, you'll need a range of specialized tools. First, you'll require a high-pressure washer or a wire brush to thoroughly clean the crack, removing dirt and debris. Next, you'll need a crack chaser or a diamond blade saw to widen and prepare the crack for filling.
In terms of repair material options, you'll want to select an epoxy-based crack filler that matches the color and texture of your floor. You may also need a mixing stick, a bucket, and a pouring pot to accurately mix and apply the filler.
Additionally, consider investing in a crack injection kit, which includes injection ports, injection resin, and a dispensing gun. With these tools at your disposal, you'll be well-equipped to tackle even the most complex crack repair projects, ensuring a flawless and long-lasting finish.
Surface Finishing Tool Requirements
After successfully filling cracks, you're ready to focus on surface finishing, which demands a separate set of specialized tools to restore the floor's original sheen and texture. This stage requires attention to detail and the right tools to achieve a smooth, even surface texture.
| Tool | Purpose |
|---|---|
| Floor scraper | Removes excess material and old coatings |
| Rotary floor grinder | Levels and smooths the surface |
| Edger | Finishes edges and corners |
| Polishing pads | Achieves high-gloss finish |
When selecting surface finishing tools, consider the type of epoxy concrete floor you're working with, as well as the desired finish. Different tools are suited to specific finishing techniques, such as grinding, polishing, or honing. For example, a rotary floor grinder is ideal for large, open areas, while an edger is better suited for tight spaces and corners. By choosing the right tools for the job, you'll be able to achieve a professional-looking finish that meets your client's expectations.
Safety Equipment for Repair
When you're preparing to tackle an epoxy concrete floor repair job, it's vital that you prioritize your safety above all else.
You'll need to don the right protective gear to shield yourself from harsh chemicals, abrasive materials, and other hazards.
Protective Clothing Essentials
You'll need a range of essential protective clothing items to guarantee your safety while performing epoxy concrete floor repairs, including gloves, safety glasses, and a respirator. These items will shield you from harsh chemicals, flying debris, and other hazards associated with epoxy concrete floor repair.
Here's a breakdown of the essential protective clothing items you'll need:
| Protective Clothing Item | Description |
| Protective Gloves | Chemical-resistant gloves to prevent skin irritation and exposure to epoxy resin |
| Durable Coveralls | Heavy-duty coveralls to protect your clothing from stains and splatters |
| Safety Glasses | Impact-resistant glasses with lenses that provide clear vision and protection from debris |
| Steel-Toed Boots | Sturdy boots with steel toes to protect your feet from heavy objects and tools |
Respiratory Protection Systems
In addition to protecting your skin and eyes, you must also shield your lungs from inhaling epoxy fumes and particles by wearing a reliable respiratory protection system. When working with epoxy concrete floor repair, you're exposed to respiratory hazards that can compromise air quality. Fumes from epoxy resin and hardeners can cause respiratory irritation, allergic reactions, and even long-term health problems if inhaled repeatedly.
To guarantee your safety, choose a respiratory protection system that meets industry standards. Look for a system with a filter or cartridge designed specifically for organic vapors and particles. Half-face or full-face respirators are effective options, offering a snug fit and adequate protection against airborne contaminants.
Make sure to follow the manufacturer's instructions for proper use, maintenance, and replacement of filters or cartridges. By wearing a reliable respiratory protection system, you can greatly reduce your exposure to respiratory hazards and maintain good air quality while working on epoxy concrete floor repairs.
Eye and Skin Shields
Beyond respiratory protection, shielding your eyes and skin from epoxy concrete floor repair materials is essential, as even brief exposure can cause severe irritation, burns, or permanent damage.
You must prioritize eye protection by wearing goggles or safety glasses with a tight seal around the eyes. Look for lenses that provide 100% optical clarity and are made of impact-resistant materials like polycarbonate or Trivex. Additionally, consider goggles with anti-fog coatings to guarantee clear vision during the repair process.
For skin safety, wear long-sleeved shirts, long pants, and closed-toe shoes to minimize exposed skin. Impermeable gloves like nitrile or neoprene are also a must, as they prevent epoxy resin and hardeners from penetrating the skin.
Don't forget to wear a face mask or shield to protect your face and neck from splashes and spills. By taking these precautions, you'll greatly reduce the risk of eye and skin damage, allowing you to focus on a successful epoxy concrete floor repair.
Measuring and Testing Tools
Your epoxy concrete floor repair project relies heavily on accurate measurements and tests, which is why you need a set of reliable measuring and testing tools to guarantee a successful outcome. These tools will help you assess the floor's condition, identify potential issues, and confirm the epoxy coating adheres properly.
Moisture testing is a critical aspect of epoxy concrete floor repair. You'll need a moisture meter to detect any excess moisture in the concrete, which can affect the epoxy's adhesion and durability. This handheld device measures the moisture level in the concrete, providing you with valuable insights to make informed decisions.
Surface profiling is another essential task in epoxy concrete floor repair. You'll need a surface profiler to evaluate the floor's texture and roughness, which affects the epoxy's bonding ability. This tool helps you determine the floor's surface profile, confirming the epoxy coating is applied correctly and achieves the best adhesion.
Frequently Asked Questions
How Long Does Epoxy Concrete Floor Repair Typically Take to Complete?
When tackling an epoxy concrete floor repair, you'll want to plan for the entire process, from prep to finish.
Typically, the repair process takes around 2-5 days, depending on the size of the area and complexity of the job.
However, you'll also need to factor in the curing time, which can range from 24 hours to several days, depending on the epoxy product and environmental conditions.
Can I Repair Epoxy Concrete Floors in Extreme Temperatures?
When you're planning to repair epoxy concrete floors, you'll need to take into account the temperature effects on your repair techniques.
Extreme temperatures can greatly impact the epoxy's curing process, bonding, and overall performance.
You'll want to choose repair materials and techniques suitable for the temperature range you're working in.
For example, some epoxies are formulated for cold-weather applications, while others are better suited for high-temperature environments.
Are Epoxy Concrete Floor Repairs Resistant to Chemicals?
As you venture into the domain of epoxy concrete floor repairs, you'll find yourself pondering the alchemist's age-old question: can these repairs withstand the harsh scrutiny of chemicals?
Rest assured, you'll be pleased to know that epoxy concrete floor repairs boast impressive chemical resistance. This is due to the inherent epoxy durability, which forms a robust barrier against corrosive substances.
With the right epoxy, you can confidently expect your repairs to emerge unscathed from even the most caustic of chemical encounters.
Can I Walk on the Floor Immediately After Epoxy Repair?
You're enthusiastic to get back to using your floor, but hold on! After an epoxy repair, you shouldn't walk on the floor immediately.
The epoxy cure time is essential, and rushing it can compromise the repair. Make sure you've completed thorough surface preparation to create a strong bond.
Wait the recommended 24 to 48 hours, depending on the epoxy product, before allowing foot traffic. This patience will pay off with a durable, long-lasting repair.
Do Epoxy Concrete Floor Repairs Come With a Warranty?
You're probably wondering if epoxy concrete floor repairs come with a warranty. The answer is, it depends on the contractor and the specific repair.
Typically, a reputable contractor will offer warranty coverage for a certain period, usually ranging from 1-5 years. This warranty guarantees the repair's longevity, making certain it lasts for a specific amount of time.
Be sure to ask about the warranty terms and conditions before hiring a contractor to make sure you're protected.
Conclusion
As you stand back to admire your handiwork, remember that a strong epoxy concrete floor repair is only as good as the tools that built it.
Just as a master chef wouldn't dare enter the kitchen without their trusty utensils, a skilled repair technician shouldn't attempt a job without these essential tools.
With the right arsenal, you've conquered the concrete jungle, and your floor will shine like the top of the Chrysler Building - a beacon of strength and durability.
Related Posts
-
7 Tools to Fix Damaged Concrete Floors
You're about to tackle that damaged concrete floor, and the right tools are essential for a successful repair. Start ...
-
Top 10 Concrete Repair Tools for Small Fixes
You'll need the right tools to tackle small concrete repairs efficiently and effectively. When it comes to small fixe...
-

Reinforcement Tools Checklist for Concrete Block Walls
You'll need a range of reinforcement materials, including horizontal and vertical rebar, fiber mesh, and anchor bolts...


