What Tools Do You Need for Concrete DIY
Share
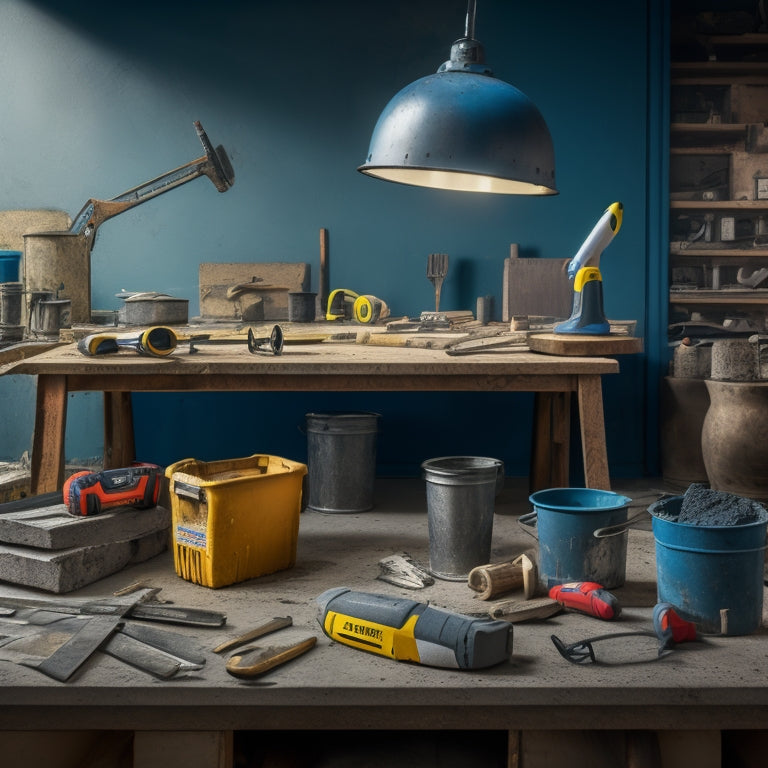
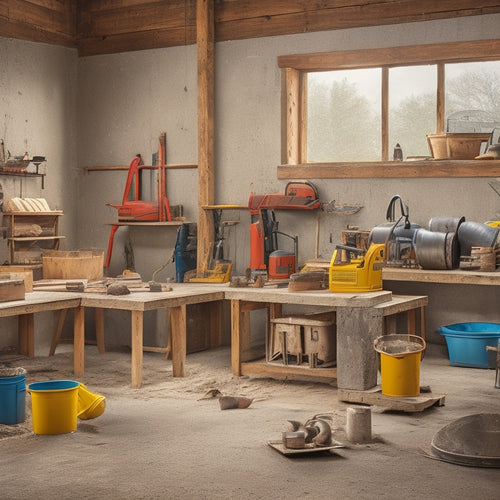
You'll need a range of specialized tools to tackle any concrete DIY project successfully. Start with measuring and marking tools like tape measures, levels, and marking gauges to guarantee accuracy. Next, prepare for mixing and pouring with concrete mixers, mixing paddles, and wheelbarrows. Then, move on to tamping and finishing tools like tampers, finishing trowels, and edgers. Don't forget safety gear, lifting and moving equipment, cleaning and washing tools, and testing and quality tools to assure a strong and durable finish. As you gather these essential tools, you'll be well on your way to mastering concrete DIY projects.
Key Takeaways
• Measuring and marking tools, such as tape measures and levels, ensure accurate project alignment and precision.
• Mixing and pouring essentials, including concrete mixers and pouring techniques, guarantee a strong and consistent finish.
• Tamping and finishing tools, like tampers and finishing trowels, remove air pockets and achieve a polished appearance.
• Safety and protective gear, including safety goggles and heavy-duty gloves, prevent injuries and protect against chemical exposure.
• Lifting and moving equipment, such as dollies and hand trucks, facilitate safe transportation of heavy materials and prevent accidents.
Measuring and Marking Tools
When working with concrete, accurately measuring and marking your materials is vital to achieving professional-looking results. To get the job done, you'll need a range of specialized tools.
Measuring techniques require precision, and that's where a high-quality tape measure comes in. Look for one with a sturdy hook and clear markings to guarantee accurate readings.
A level is also important for confirming your concrete project is perfectly horizontal or vertical. You'll also need a marking gauge to create precise marks on your materials. This tool allows you to make consistent, accurate markings, which is especially important when working with concrete.
To achieve marking accuracy, use a chalk line reel to create straight lines over long distances. Additionally, a concrete cutter or saw is necessary for cutting concrete blocks or slabs to the correct size.
Mixing and Pouring Essentials
With your materials accurately measured and marked, you're ready to mix and pour the concrete, a process that requires the right tools to achieve a strong, consistent finish. Mixing and pouring are critical steps that demand attention to detail and the correct techniques to guarantee a successful concrete project.
To mix concrete, you'll need:
| Tool | Description | Purpose |
|---|---|---|
| Concrete Mixer | A machine that combines cement, sand, and water | To mix concrete to the correct consistency |
| Mixing Paddle | A long-handled tool with a flat or curved blade | To mix and blend concrete ingredients |
| Wheelbarrow or Mixing Tub | A container to hold and mix the concrete | To mix and transport the concrete |
When pouring concrete, it is vital to use the right techniques to achieve a smooth, even finish. Pouring methods include pouring in sections, using a screed board to level the surface, and finishing with a tamping tool to remove air pockets and excess water. By mastering mixing and pouring techniques, you'll be able to achieve a professional-looking finish that will last for years to come.
Tamping and Finishing Tools
You'll need a set of specialized tools to tamper, finish, and refine your freshly poured concrete, ensuring a smooth, even surface that meets your project's specifications.
Tamping techniques are essential in removing air pockets and excess water, which can lead to weak spots and unevenness. For this, you'll need a tamper or a bull float, depending on the size of your project. A tamper is ideal for smaller areas, while a bull float is better suited for larger surfaces.
Finishing methods involve using specialized tools to achieve the desired texture and appearance. You'll need a finishing trowel to smooth out the surface, and an edger or float to create a clean, defined edge. A finishing broom or texture mat can be used to add texture or patterns to the surface. Additionally, a concrete screed or leveling tool will help you achieve a perfectly level surface.
Edging and Jointing Tools
When you're working with concrete, creating clean edges and control joints is essential for a professional-looking finish.
You'll need the right tools to cut and shape the concrete, ensuring it sets properly and minimizing the risk of cracking.
To achieve this, you'll be working with edging and jointing tools that allow you to precision-cut concrete edges and form control joints.
Cutting Concrete Edges
Cutting concrete edges requires precision and control, and the right edging and jointing tools can make all the difference in achieving professional-looking results.
When it comes to concrete edge techniques, you'll want to master precision cutting methods to guarantee clean, straight lines and a polished finish.
To get started, you'll need the following essential tools:
-
Concrete edge cutter: A specialized tool designed for precision cutting, this will help you achieve clean, straight edges.
-
Diamond blade saw: A high-performance saw equipped with a diamond-coated blade, perfect for making precise cuts in concrete.
-
Concrete edger: A handheld tool used to shape and refine concrete edges, providing a smooth, finished look.
With these tools in your arsenal, you'll be able to tackle even the most complex concrete edge projects with confidence.
Remember to always follow safety guidelines and best practices when working with power tools and concrete.
Forming Control Joints
Forming control joints is an essential step in concrete construction, requiring careful planning and execution to prevent cracking and guarantee structural integrity.
As you plan your concrete DIY project, you'll need to decide on the joint spacing techniques that best suit your needs. Typically, joints are spaced at 10-15 feet apart, but this can vary depending on the size and thickness of your concrete slab.
To form control joints, you'll need specialized edging and jointing tools. A joint trowel or jointer is used to create a groove in the concrete, while a joint cutter or joint saw is used to cut the joint to the desired depth. You may also need an edger or joint chamfer to create a rounded edge on the joint.
When it comes to sealing your control joints, you have several joint sealing options to choose from. You can use a sealant, such as silicone or polyurethane, to fill the joint and prevent water from seeping in. Alternatively, you can use a backer rod and sealant combination for a more durable seal.
Regardless of the method you choose, make certain to follow the manufacturer's instructions to guarantee a proper seal.
Cutting and Breaking Tools
When working with concrete, you'll need to cut and break it to achieve your desired shape and design.
You'll find that having the right cutting and breaking tools makes all the difference in getting the job done efficiently and safely.
In this section, you'll learn about the best uses for a concrete saw and expert tips for wielding a demolition hammer.
Concrete Saw Uses
You'll rely heavily on concrete saws to make precise cuts and breaks in your DIY project, as they offer unparalleled control and accuracy.
When it comes to concrete saws, you'll need to choose the right type for your specific task. There are three main concrete saw types:
-
Handheld saws: Ideal for small, precise cuts and breaks, these saws are lightweight and easy to maneuver.
-
Walk-behind saws: Suitable for larger cuts and breaks, these saws provide more power and are often used for slab cutting and demolition work.
-
Tile saws: Designed for cutting tile and pavers, these saws are perfect for precision cuts and are often used for decorative concrete work.
Proper concrete saw maintenance is essential to extend the life of your saw and guarantee peak performance.
Regularly clean and lubricate your saw, and always follow the manufacturer's instructions for maintenance and operation.
Demolition Hammer Tips
To complement your concrete saw, a demolition hammer is an indispensable cutting and breaking tool that helps you tackle tougher demolition tasks with its intense force and versatility. This powerful tool is designed to break up concrete, asphalt, and other hard materials, making it a must-have for any concrete DIY project.
When using a demolition hammer, it's vital to employ proper demolition techniques to avoid damage to surrounding structures and guarantee your safety. Start by identifying the weak points in the material you're breaking, such as cracks or joints, and target those areas first. Hold the hammer firmly, with both hands, and maintain a secure stance to absorb the recoil.
Hammer safety is also paramount. Always wear protective gear, including gloves, safety glasses, and a dust mask, to prevent injuries from flying debris and dust. Keep bystanders at a safe distance, and never use the hammer near flammable materials or open flames.
Smoothing and Finishing Tools
Smoothing and finishing tools are essential for achieving a high-quality, professional-looking concrete surface, as they help remove imperfections and create a smooth, even finish.
You'll need these tools to master various smoothing techniques, such as tamping, floating, and finishing. By using the right tools, you'll be able to achieve a surface that's both aesthetically pleasing and durable.
Here are three essential smoothing and finishing tools you'll need:
-
Tamping tool: A tamping tool helps to remove air pockets and excess water from the concrete, creating a smooth, even surface.
-
Float: A float is used to further smooth the surface, removing any remaining imperfections and creating a uniform finish.
-
Finishing trowel: A finishing trowel is used to apply finishing materials, such as sealers or coatings, to the concrete surface, giving it a glossy, protective finish.
Safety and Protective Gear
When working with concrete, you'll be exposed to hazardous materials and processes that can cause serious injuries.
You're about to learn how to protect yourself from these risks, starting with the essential gear for your eyes and face, as well as your body and hands.
Eye and Face Protection
You need to wear proper eye and face protection gear to prevent serious injuries from flying debris, chemical splashes, and other hazards when working with concrete. This is essential because concrete work can be unpredictable, and even a small mistake can lead to serious injuries.
When it comes to eye and face protection, you have several options to take into account. Here are three key items to include in your safety kit:
-
Safety goggles: These provide direct protection for your eyes from flying debris and chemical splashes. Look for goggles with anti-fog coating and good ventilation to prevent fogging.
-
Face shields: These provide additional protection for your face and eyes from larger debris and chemical splashes. You can wear them over your safety goggles for added protection.
-
Prescription safety glasses: If you wear prescription glasses, think about getting prescription safety glasses with impact-resistant lenses. These provide the same level of protection as safety goggles but are designed for people with vision correction needs.
Body and Hand Protection
Protecting your body and hands from abrasion, cuts, and chemical exposure is just as essential as safeguarding your eyes and face, as concrete work can be physically demanding and hazardous.
You'll need to wear protective gear that covers your skin and prevents injuries. When it comes to gloves selection, opt for heavy-duty, chemical-resistant gloves that provide grip and flexibility.
Look for gloves with a reinforced palm and fingers to prevent abrasion and cuts. Additionally, consider wearing knee pads to protect your knees from bruising and abrasion.
Knee pads will also provide extra comfort when kneeling or working on rough surfaces.
Lifting and Moving Equipment
Two essential pieces of lifting and moving equipment for concrete DIY projects are dollies and hand trucks, which enable efficient and safe transportation of heavy materials around the worksite.
When working with heavy concrete materials, it's vital to use proper lifting techniques and moving strategies to avoid injuries and damages.
Here are three key considerations to keep in mind when selecting lifting and moving equipment for your concrete DIY project:
-
Weight capacity: Verify the equipment can handle the weight of the materials you'll be lifting and moving.
-
Maneuverability: Choose equipment that allows for easy navigation around the worksite, especially in tight spaces.
-
Stability: Opt for equipment with sturdy frames and secure footing to prevent accidents and material damage.
Cleaning and Washing Tools
Cleaning and washing tools play an essential role in maintaining a safe and efficient concrete DIY workflow by removing dirt, grime, and excess material from surfaces and equipment. As you work with concrete, you'll encounter various cleaning challenges that require the right tools and techniques. Effective cleaning methods and washing techniques are vital to prevent damage, guarantee proper bonding, and maintain a clean workspace.
| Tool | Description |
|---|---|
| Brooms and Brushes | Used for sweeping and scrubbing surfaces to remove loose debris |
| Pressure Washer | Ideal for heavy-duty cleaning of large areas and equipment |
| Wire Brush | Perfect for removing rust and corrosion from metal surfaces |
| Mop and Bucket | Essential for cleaning and washing floors and surfaces |
| Cleaning Solvents | Used to remove stubborn stains and grime from surfaces |
When selecting cleaning and washing tools, consider the type of concrete project you're working on, the surface or equipment being cleaned, and the level of dirt and grime present. By having the right tools and techniques, you'll be able to efficiently clean and wash surfaces, guaranteeing a successful concrete DIY project.
Testing and Quality Tools
As you move forward with your concrete DIY project, you'll need to verify its integrity and quality, and that's where testing and quality tools come into play, enabling you to accurately assess and measure the concrete's properties and performance.
To guarantee your concrete meets the required standards, you'll need the right quality assurance tools. Here are three essential tools to take into account:
-
Concrete strength testing equipment: This tool allows you to measure the compressive strength of your concrete, making sure it can withstand the intended load and weight.
-
Concrete moisture meters: These devices help you detect the moisture levels in your concrete, which is vital for preventing damage and guaranteeing a strong bond between the concrete and any finishes.
-
Slump cones and flow tables: These tools enable you to measure the workability and consistency of your concrete, ensuring it's suitable for the intended application.
Frequently Asked Questions
What Is the Best Way to Remove Old Concrete From a Surface?
To remove old concrete from a surface, you'll want to employ effective concrete removal techniques, such as jackhammering, grinding, or chemical demolition, followed by thorough surface preparation methods, like cleaning and profiling, to guarantee a smooth finish.
Can I Use a Drill to Mix Small Batches of Concrete?
"Are you ready to get mixing? You can use a drill to mix small batches of concrete, but opt for a high-torque drill with a paddle bit, and employ a slow, controlled mixing technique for best results."
How Do I Prevent Concrete From Sticking to My Tools?
To prevent concrete from sticking to your tools, you'll need to prioritize tool preparation. Apply a surface coating like cooking spray, silicone, or oil to your tools before mixing and pouring concrete for a smooth release.
Can I Use Concrete for a Project That Will Be Underwater?
When working with underwater concrete, you'll need to incorporate waterproof additives to guarantee its durability. You can use specialized mixes or add agents like silane or siloxane to prevent water infiltration and enhance its underwater performance.
How Long Does It Take for Concrete to Fully Cure?
You've likely heard that concrete takes 28 days to fully cure, but that's a myth - the curing process is complex, and the actual curing time depends on factors like temperature, humidity, and mix design, ranging from weeks to months.
Conclusion
Now that you've got the right tools for your concrete DIY project, it's time to lay the foundation for success.
Remember, a strong foundation is like a solid reputation - it takes time to build, but it's worth it in the end.
With these essentials in your arsenal, you'll be well on your way to creating a concrete masterpiece that will stand the test of time.
Related Posts
-

What Tools to Rent for a Concrete Home Reno
When tackling a concrete home renovation, you'll need to rent a variety of specialized tools to get the job done. For...
-

Why You Need Affordable Concrete Wall Construction Tools
You need affordable concrete wall construction tools to guarantee a profitable project, as the cost of equipment can ...
-

7 Best Tools for Concrete Block Construction
You'll need a solid foundation, precise cutting, and seamless finishing to guarantee your concrete block construction...


