Top Tools for Building Concrete Block Walls
Share
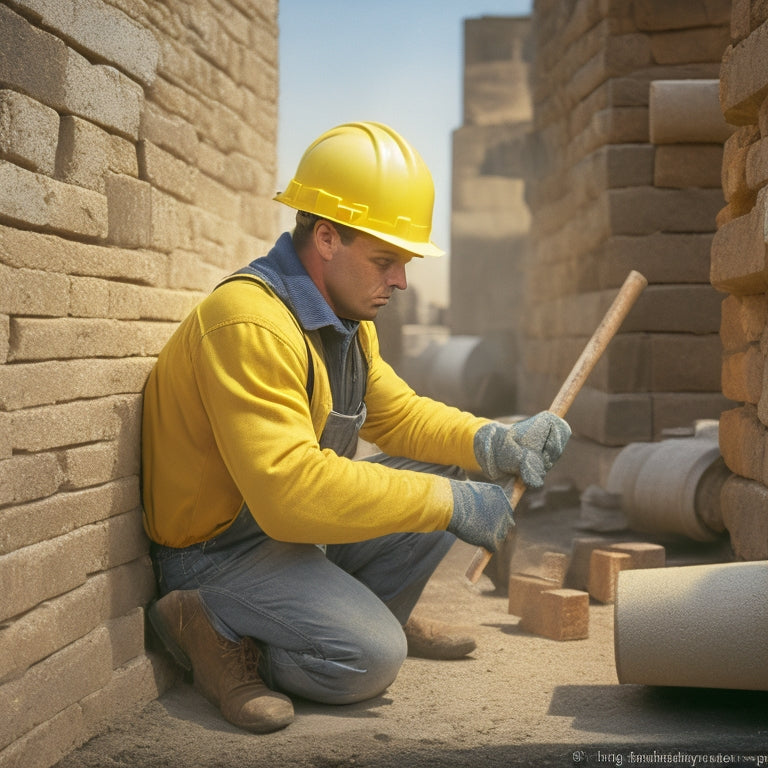
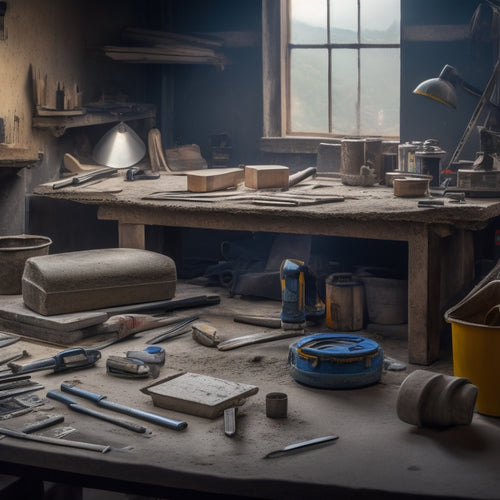
When building concrete block walls, you'll rely on a range of specialized tools to guarantee a strong, durable, and professionally finished result. From essential hand tools like levels, trowels, and jointers to cement mixing essentials and mortar application techniques, each tool plays a critical role. You'll also need block cutting and shaping tools, like block saws and grinders, as well as leveling and aligning tools, such as spirit levels and string lines. Additionally, reinforcement and anchoring systems, like rebar and fiber mesh, will enhance the wall's stability and strength. As you master these tools and techniques, you'll reveal the secrets to a perfectly constructed concrete block wall.
Key Takeaways
• Essential hand tools like levels, trowels, and jointers ensure accurate block laying and a professional finish.
• Proper cement mixing with the right ratio and consistency is crucial for structural integrity and wall durability.
• Mortar application and finishing techniques, such as trowel angle and float finishing, affect the strength and appearance of the wall.
• Efficient pouring techniques, including controlled pouring and leveling, prevent air pockets and ensure a strong bond.
• Safety equipment like gloves, goggles, and dust masks protect workers from hazards and health risks during concrete work.
Essential Hand Tools for Block Laying
Laying concrete blocks efficiently requires having the right hand tools, including a level, trowel, and jointer, which you'll use repeatedly throughout the construction process.
With these tools, you'll guarantee accurate block laying techniques and maintain control over the wall's alignment and levelness. A sturdy level will assure your blocks are perfectly horizontal and vertical, while a high-quality trowel will allow you to spread and smooth mortar with precision. A jointer, on the other hand, will help you create a solid bond between blocks by removing excess mortar from the joints.
To get the most out of your tools, essential tool maintenance is vital. Regularly clean and inspect your tools to prevent damage and guarantee they remain in good condition.
A well-maintained toolset won't only extend the life of your tools but also assure consistent results and reduce the risk of errors. By investing in the right hand tools and maintaining them properly, you'll be able to focus on perfecting your block laying techniques, ultimately resulting in a strong, durable, and professional-looking concrete block wall.
Mixing and Pouring Cement Efficiently
As you prepare to mix and pour cement, you'll need to guarantee you're using the right techniques to achieve a strong, consistent bond.
You'll want to focus on cement mixing essentials, including the correct water-to-cement ratio and thorough mixing to eliminate lumps.
Cement Mixing Essentials
How efficiently you mix and pour cement can greatly impact the strength and durability of your concrete block walls. It's essential to get it right, as poor mixing can lead to weak spots and compromised structural integrity.
First, you need to choose the right cement type for your project. Portland cement is the most common, but you may also consider masonry cement or high-early strength cement depending on your specific needs.
Next, you'll need to determine the best mixing ratio. The standard ratio is 1 part cement to 2.5 parts sand to 3 parts aggregate, but this may vary depending on the specific application and local building codes.
Make sure to follow the manufacturer's instructions and use clean, potable water to achieve the right consistency. Overmixing can be just as detrimental as under-mixing, so aim for a smooth, workable consistency that's not too runny or too dry.
Efficient Pouring Techniques
With the right cement type and mixing ratio in hand, you're ready to pour the mix into your concrete block wall. Proper pouring techniques are vital for achieving a strong, uniform bond.
To guarantee ideal results, it's essential to maintain the correct concrete consistency. Aim for a mix that's neither too runny nor too dry, as this can lead to uneven pouring and a weakened bond.
When pouring, use a consistent and controlled motion to fill the blocks. Start by pouring a small amount into the bottom of the block, then gradually fill it to the top. This helps prevent air pockets from forming and guarantees the mix flows evenly. As you pour, use a level to ensure the block remains plumb and level.
There are various pouring methods you can employ, including the 'bucket and trowel' method, where you pour the mix into a bucket and then trowel it into the block, or the 'direct pour' method, where you pour the mix directly into the block. Regardless of the method you choose, maintaining a consistent pouring technique is key to achieving a strong, uniform bond.
Block Cutting and Shaping Tools
You'll need a range of specialized tools to cut and shape concrete blocks to fit around obstructions, fill gaps, and achieve a professional-looking finish. These tools will help you make precise cuts and adjustments to guarantee a sturdy and visually appealing wall.
To get the job done efficiently, you'll want to have the following block cutting and shaping tools in your arsenal:
-
Block saws: These heavy-duty saws are designed to make clean, straight cuts through concrete blocks. They're available in various sizes and types, including electric, gas-powered, and manual models.
-
Shaping tools: These handheld tools, such as chisels, trowels, and jointers, allow you to make precise adjustments to block shapes and sizes. They're essential for creating smooth, even joints and fitting blocks around curves or corners.
-
Grinders and sanders: These power tools help you smooth out rough edges, remove excess material, and achieve a uniform finish. They're particularly useful for preparing blocks for decorative finishes or specialty applications.
Leveling and Aligning Wall Sections
As you build your concrete block wall, you'll need to confirm each section is perfectly aligned and level.
You'll check the wall's plumbness and levelness using a spirit level and a string line, making adjustments as necessary.
Check Plumb and Level
Check the wall section's plumb and level alignment by holding a level against the block faces and a string line along the top course to verify the wall is straight and even. This step is essential to guarantee the wall's stability and structural integrity. You'll need to check the alignment of each course, making adjustments as needed to maintain a consistent plumb and level.
Here are some key points to keep in mind:
-
Use a plumb bob to check the wall's vertical alignment, ensuring it's perfectly straight from top to bottom.
-
Verify the level gauge readings to confirm the wall is even and level, both horizontally and vertically.
-
Double-check the string line's alignment along the top course to guarantee it's perfectly straight and even, serving as a reference point for subsequent courses.
Align Block Courses
With the wall section's plumb and level alignment verified, lay the first course of blocks along the footing, guaranteeing each block is level and aligned with the string line. Now, focus on aligning subsequent block courses to maintain a straight and level wall. To achieve this, employ effective block alignment techniques and course adjustment methods.
| Technique | Description | Application |
|---|---|---|
| String Line Method | Use a string line to guide block placement, guaranteeing alignment with the footing. | Ideal for short wall sections and DIY projects. |
| Laser Level Method | Employ a laser level to project a level line, facilitating accurate block placement. | Suitable for larger wall sections and commercial projects. |
| Story Pole Method | Create a story pole with marked block courses, serving as a reference for subsequent courses. | Applicable to walls with complex layouts or irregular shapes. |
| Shim Adjustment | Use shims to adjust block courses, guaranteeing level and plumb alignment. | Essential for correcting minor deviations in block alignment. |
When aligning block courses, make adjustments as needed to maintain a level and plumb wall. By mastering these techniques and methods, you'll guarantee a sturdy and visually appealing concrete block wall that meets your project's requirements.
Mortar Application and Finishing
You'll apply a 3/8-inch to 1/2-inch layer of mortar to the top of each course, holding the trowel at a 45-degree angle to guarantee complete coverage. This guarantees a strong bond between courses and prevents water infiltration.
When selecting a mortar type, consider the project's specific requirements, such as high-strength, waterproof, or colored mortar.
To achieve a professional finish, focus on proper finishing techniques:
-
Float finishing: Use a wooden or resin float to smooth and level the mortar, removing excess material and creating a uniform surface.
-
Tuckpointing: Use a pointing trowel to fill gaps and joints, ensuring a neat and clean appearance.
-
Grout finishing: Apply a grout float to remove excess grout and create a smooth, even surface.
Reinforcement and Anchoring Systems
As you've achieved a strong bond between courses and a professional finish, it's now vital to add reinforcement and anchoring systems to guarantee the structural integrity and stability of your concrete block wall. These systems provide additional strength and resistance to external forces, making certain your wall can withstand environmental stresses and loads.
Reinforcement techniques and anchoring methods vary, but the most common ones include:
| Reinforcement Technique | Anchoring Method |
|---|---|
| Rebar installation | Anchor bolts |
| Fiber mesh reinforcement | Chemical anchors |
| Reinforced concrete beams | Mechanical anchors |
| Post-tensioning systems | Sleeve anchors |
When selecting a reinforcement technique and anchoring method, consider factors such as wall height, load-bearing capacity, and exposure to environmental elements. It's crucial to follow local building codes and regulations, as well as manufacturer guidelines, to ensure a safe and durable structure. By incorporating these systems into your concrete block wall, you'll achieve a robust and long-lasting construction that meets your project's requirements.
Safety Equipment for Concrete Work
When working with concrete, donning the right safety equipment is essential, since even brief exposure to its caustic properties can cause severe skin irritation, eye damage, or respiratory issues. You owe it to yourself to prioritize injury prevention and invest in the proper safety gear.
Here are three vital items to include in your arsenal:
-
Gloves: Look for heavy-duty, chemical-resistant gloves that provide grip and protection for your hands. They should be breathable, flexible, and have a textured palm to prevent slipping.
-
Goggles: Concrete dust and debris can wreak havoc on your eyes. Wear goggles that provide 360-degree protection, anti-fog coating, and UV protection.
-
Dust mask: A dust mask is critical for preventing respiratory issues. Choose a mask with a HEPA filter, adjustable straps, and a comfortable fit.
Frequently Asked Questions
How Do I Determine the Correct Block Size for My Wall Project?
When determining the correct block size for your wall project, you'll need to take into account two essential factors: block size considerations and wall thickness options.
You'll want to choose a block size that aligns with your wall's intended purpose, considering structural integrity, aesthetic appeal, and functional requirements.
Assess the wall's load-bearing capacity, insulation needs, and desired finish to select the best block size, ensuring a sturdy and efficient build.
Can I Use a Hammer Drill as a Substitute for a Rotary Hammer?
When considering a hammer drill as a substitute for a rotary hammer, you'll find it's not a suitable replacement.
While a hammer drill excels at drilling into masonry, it lacks the raw power and precision of a rotary hammer.
The latter's advantages lie in its ability to deliver high-torque, high-impact blows, making it ideal for heavy-duty concrete drilling and demolition.
Don't settle for a hammer drill comparison - invest in a rotary hammer for superior results.
What Is the Recommended Frequency for Cleaning My Tools?
As you wield your mighty tools, remember that a clean sword is a sharp sword.
You should clean your tools after every use to prevent rust and maintain their effectiveness.
Set a routine to sanitize your equipment daily, and perform a deep clean weekly using specialized cleaning solutions.
This ritual of tool maintenance will guarantee your arsenal remains in top condition, ready to tackle any project that comes your way.
How Do I Prevent Mortar From Staining My Tools and Equipment?
To prevent mortar from staining your tools and equipment, you'll want to act fast.
Immediately after use, scrape off excess mortar with a putty knife or wire brush.
Then, apply a mortar removal solution or a mixture of water and white vinegar to the affected areas.
Let it sit for a few minutes before rinsing with clean water.
Regularly following these mortar removal techniques and tool maintenance tips will help you avoid stubborn stains and keep your gear in top condition.
Are There Any Specific Regulations for Building Concrete Block Walls?
Building concrete block walls is like constructing a fortress - you need a solid foundation of knowledge to guarantee it stands the test of time.
When it comes to regulations, you'll need to familiarize yourself with local building codes and safety standards.
You'll need to comply with standards set by organizations like the International Building Code (IBC) and the Occupational Safety and Health Administration (OSHA).
Failure to do so can lead to costly rework, fines, or even injuries.
Conclusion
You've made it to the final stage of building your concrete block wall. Now, take a step back and admire your handiwork.
But before you do, ask yourself: did you use the right tools for the job?
With the top tools for building concrete block walls under your belt, you can guarantee a strong, durable, and professional-looking finish.
By mastering these essential tools and techniques, you'll be well on your way to creating a structure that will stand the test of time.
Related Posts
-

3 Best Hand Tools for DIY Concrete Construction
When tackling a DIY concrete construction project, you'll need three essential hand tools to achieve a professional-l...
-

Top DIY Concrete Grinding and Polishing Tools
When selecting DIY concrete grinding and polishing tools, you'll want to take into account a range of factors to guar...
-

Free Design Tools for Concrete House Planning
You can kick-start your concrete house planning project without breaking the bank, as there are several free design t...


