Top DIY Concrete Stamping Tools for Beginners
Share
You're about to start your DIY concrete stamping project, and having the right tools is essential to achieving professional-looking results. Vital tools include stamping mats, tamping tools, edging and jointing essentials, texturing tools, and colorizing materials. You'll also need sealers for durability and finishing coats for added traction. Don't forget safety gear, like gloves and goggles, to prevent injuries. By investing in these top DIY concrete stamping tools for beginners, you'll be well on your way to creating a stunning, high-quality finish. Now, take the next step and explore how to master these tools to reveal your project's full potential.
Key Takeaways
• Familiarize yourself with stamping tool basics, including handle, stamping surface, and release agent, to enhance effectiveness.
• Invest in must-have tamping tools, such as handheld tamper, tamping mat, and bull float, for a smooth concrete surface.
• Choose the right stamp mats considering pattern, material quality, and size to achieve realistic textures and easy maintenance.
• Master texturing tools and colorizing techniques, including stain and dye application, to create unique concrete patterns and designs.
• Prioritize safety gear, organize your workspace, and follow manufacturer's instructions to ensure a successful and safe DIY concrete stamping project.
Essential Stamping Tool Basics
Before you start creating your own DIY concrete stamping tools, familiarize yourself with the essential elements that make up a stamping tool, including the handle, stamping surface, and release agent. Understanding these components is vital in determining the effectiveness of your stamping techniques and overall project planning.
The handle provides a comfortable grip, allowing you to exert the necessary pressure and control during the stamping process.
The stamping surface is the pattern or design that will be imprinted onto the concrete, and its quality will directly impact the final result.
The release agent, typically a lubricant or powder, guarantees that the stamp can be easily removed from the concrete without damaging the surface.
By grasping the fundamentals of these elements, you'll be better equipped to design and create stamping tools that meet your project's specific needs.
With a solid understanding of the basics, you can focus on refining your stamping techniques and bringing your project vision to life.
Choosing the Right Stamp Mats
When choosing the right stamp mats for your DIY concrete project, you'll need to take into account several key factors.
You'll want to select a mat pattern that complements your design.
Make certain the material quality is high enough to withstand repeated use.
Pick a size that's proportional to your project's scale.
Mat Pattern Selection
You'll need to select the right stamp mat pattern to achieve the desired texture and design for your DIY concrete project. With so many options available, it's crucial to evaluate the style and theme you're aiming for. Look for mat pattern inspiration online, in magazines, or by visiting showrooms to get an idea of what you like.
Here are some popular mat pattern trends to evaluate:
-
Natural Stone Patterns: Mimic the look of natural stone with textures like slate, limestone, or fieldstone.
-
Wood Grain Patterns: Add a rustic touch with wood grain-inspired mats that resemble oak, pine, or cedar.
-
Geometric Patterns: Create a modern look with geometric shapes like chevrons, hexagons, or herringbone designs.
- Seasonal Patterns: Get inspired by seasonal trends, such as winter's snowflakes or summer's leaf patterns, to add a unique touch to your project.
Material Quality Matters
Selecting high-quality stamp mats is crucial to achieving professional-looking results, as they directly impact the final texture and pattern of your DIY concrete project. You want mats that can withstand the pressure and weight of wet concrete, as well as the rigors of repeated use.
Look for mats made from durable, high-strength materials that can resist wear and tear. A durability comparison between different materials will help you make an informed decision. For instance, polyurethane mats are more flexible and resistant to cracks than rubber mats, while silicone mats offer superior material strength and durability.
When choosing stamp mats, consider the level of detail and texture you want to achieve. High-quality mats will provide a more realistic and detailed pattern, while lower-quality mats may produce a blurred or uneven finish.
Additionally, high-quality mats are easier to clean and maintain, reducing the risk of damage or contamination. By investing in high-quality stamp mats, you'll guarantee that your DIY concrete project turns out looking like a professional job.
Size and Scale
As you prepare to create your DIY concrete project, determining the right size and scale of your stamp mats is critical to achieving a visually appealing and cohesive design. The size and scale of your stamp mats will impact the overall look and feel of your concrete project, so it's crucial to get it right.
When choosing the right stamp mats, consider the following factors:
-
Concrete size: The size of your concrete slab or pavers will influence the size of your stamp mats. Larger slabs require larger mats, while smaller pavers can accommodate smaller mats.
-
Scaling techniques: Consider the scaling techniques you'll use to create a cohesive design. Will you use a repeating pattern or a random, organic look?
-
Pattern complexity: The complexity of your pattern will also impact the size and scale of your stamp mats. Simple patterns may require smaller mats, while intricate designs may need larger mats.
- Personal preference: Ultimately, the size and scale of your stamp mats will depend on your personal preference and the aesthetic you're trying to achieve.
Texturing Tools for Patterns
When it comes to creating unique patterns on your concrete, you'll want to explore the different texturing tools available.
You'll have the option to choose from various pattern mat designs, which will give your concrete a distinct look.
Additionally, you can also consider texture skin options to add more complexity to your design.
Pattern Mat Designs
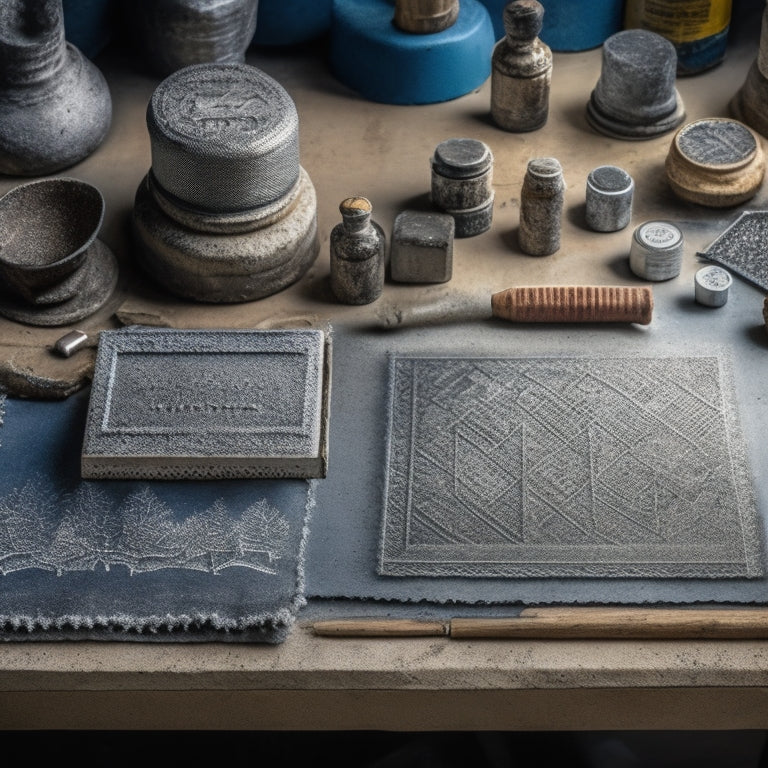
You'll need a variety of pattern mat designs to achieve unique textures and patterns in your DIY concrete projects. These mats are essential for creating the desired look, and with the right designs, you can open up a world of creative pattern ideas.
Here are some popular pattern mat designs to take into account:
-
Herringbone: A classic design that creates a zigzag pattern, perfect for adding visual interest to your concrete project.
-
Hexagon: A trendy design that creates a honeycomb-inspired pattern, great for adding a touch of modernity to your DIY project.
-
Wood Grain: A design that mimics the look of real wood, ideal for creating a rustic or natural look.
- Roman Slate: A design that creates a textured, stone-like pattern, perfect for adding a touch of elegance to your concrete project.
These pattern mat designs aren't only aesthetically pleasing but also follow popular design trends. By incorporating them into your DIY concrete projects, you'll be able to achieve a unique and professional-looking finish.
Remember to choose the right pattern mat design that suits your project's style and theme to guarantee a cohesive look.
Texture Skin Options
Beyond pattern mat designs, incorporating texture skin options into your DIY concrete projects allows you to add an extra layer of depth and realism to your desired patterns.
These texture skins are flexible, rubber-like mats that you press into the wet concrete to achieve specific textures. You'll find a wide range of texture skin options available, from natural stone patterns like slate, limestone, and fieldstone to faux wood textures that mimic the look of cedar, oak, and pine.
When choosing a texture skin, consider the overall aesthetic you want to achieve in your project. For instance, if you're creating a patio or walkway, a natural stone texture might be a great fit. On the other hand, if you're building a decorative wall or fireplace surround, a faux wood texture could add a unique touch.
Remember to choose a texture skin that complements your pattern mat design and the surrounding environment. With the right texture skin, you can create a stunning, realistic finish that will elevate your DIY concrete project.
Colorizing With Stain and Dye
With your concrete stamping project taking shape, now it's time to add some color and personality with stain and dye. You've got the texture, now it's time to bring it to life with some vibrant hues.
When it comes to colorizing your concrete, you've got two main options: stain and dye.
Here are 4 essential tips to keep in mind when working with stain and dye:
-
Choose the right stain: Acid-based stains are great for creating subtle, earthy tones, while water-based stains offer more vibrant colors.
-
Prepare the surface: Make sure your concrete is clean and dry before applying stain or dye to guarantee an even application.
-
Test the color: Always test the stain or dye on a small, inconspicuous area first to verify the desired color.
- Follow the instructions: Read and follow the manufacturer's instructions for stain application and dye techniques to achieve the best results.
Sealers for Durability
To guarantee your newly colored concrete stamping project remains vibrant and protected from the elements, applying a high-quality sealer is vital. You'll want to choose from two primary sealer types: topical and penetrating.
Topical sealers provide a protective barrier on the surface, while penetrating sealers absorb into the concrete for long-term protection. When selecting a sealer, consider factors like durability, UV resistance, and slip resistance.
Proper application techniques are just as important as the sealer type. Always follow the manufacturer's instructions, and make certain the concrete is clean and dry before applying the sealer.
Use a lambswool applicator or roller to evenly distribute the sealer, working in small sections to maintain control. Apply thin, even coats, allowing each coat to dry according to the instructions before applying the next.
Avoid over-applying, as this can lead to a sticky or uneven finish. By choosing the right sealer and following proper application techniques, you'll be able to enjoy your beautifully stamped concrete for years to come.
Must-Have Tamping Tools
You'll need a set of essential tamping tools to achieve a professional-looking finish and guarantee your stamped concrete design lasts for years to come.
Mastering tamping techniques is vital, and with the right tools, you'll be well on your way to creating a stunning, long-lasting design.
Here are the must-have tamping tools for beginners:
-
Tamping Tool: A handheld tamper is necessary for compacting and leveling the concrete. Look for one with a sturdy handle and a flat, wide base.
-
Tamping Mat: A tamping mat helps to prevent marks and scratches on the concrete surface. It also provides extra grip for your tamper.
-
Hand Tamper: A hand tamper is perfect for getting into tight spaces and corners. Its compact size makes it easy to maneuver.
- Bull Float: A bull float is used to smooth out the concrete surface, removing any air pockets and excess water.
Edging and Jointing Essentials
Proper edging and jointing techniques are essential in creating a realistic, high-quality stamped concrete design that can withstand the test of time. You'll want to achieve clean, defined edges and joints that mimic the look of natural stone or brick.
To do this, you'll need the right tools. Invest in a high-quality edger, which will help you create a smooth, even edge. You may also consider a jointing tool, which is used to create the grooves between the stamped patterns. This tool will help you achieve a more realistic look by creating a defined joint between the patterns.
When it comes to edge finishing, you'll want to use a tool that can create a smooth, rounded edge. This will help prevent chipping and cracking over time.
Jointing techniques are also vital, as they'll help you create a seamless shift between the stamped patterns. By using the right tools and techniques, you'll be able to create a stamped concrete design that looks like it was done by a pro.
Remember to practice on a small area first to get a feel for the tools and techniques before moving on to your larger project.
Finishing With a Skid-Resistant Coat
After achieving a stunning stamped concrete design, apply a skid-resistant coat to confirm your surface isn't only visually appealing but also safe to walk on. This vital step provides numerous skid resistance benefits, including increased traction, reduced slip hazards, and enhanced overall safety.
To guarantee a successful application, follow these essential techniques:
-
Prepare the surface: Clean the stamped concrete thoroughly to remove any dirt, oil, or other substances that might interfere with the coat's adhesion.
-
Choose the right product: Select a skid-resistant coating specifically designed for concrete, and make sure it's suitable for your climate and traffic conditions.
-
Apply evenly: Use a roller or brush to apply the coat in thin, even layers, working in sections to maintain uniform coverage.
- Allow proper drying: Follow the manufacturer's instructions for drying time, ensuring the coat is fully cured before exposing the surface to foot traffic or water.
Safety Precautions for Beginners
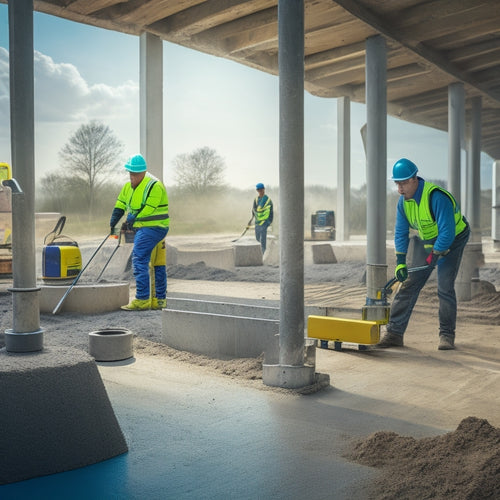
When working with DIY concrete stamping tools, beginners should take necessary precautions to avoid accidents and injuries, as the process involves handling heavy materials and using specialized equipment. You'll want to prioritize safety gear, such as gloves, safety glasses, and a dust mask, to protect yourself from potential hazards like cuts, abrasions, and respiratory issues.
Proper workspace organization is also essential to prevent tripping, slipping, and falling accidents. Clear the area of any obstacles, and guarantee that your tools and materials are within easy reach. This will help you stay focused on the task at hand and reduce the risk of accidents.
Additionally, make sure you're physically prepared for the task. Wear comfortable, sturdy shoes and clothing that won't get in the way of your work. Take regular breaks to rest your hands and eyes, and stay hydrated throughout the process.
Frequently Asked Questions
Can I Use Concrete Stamping Tools on Existing Concrete Surfaces?
You can use concrete stamping tools on existing surfaces, but it's essential to prepare the area properly. Guarantee a clean, dry, and even existing surface, and follow specific stamping technique tips to achieve a successful, long-lasting result.
How Do I Clean and Maintain My Concrete Stamping Tools?
You're a master chef, whipping up a concrete recipe, but now it's time to clean up the kitchen! You'll need to store your tools in a dry place, and regularly clean them with gentle solutions to prevent rust and maintain their stamping magic.
Are Concrete Stamping Tools Suitable for Small, Intricate Designs?
When working with small, intricate designs, you'll find that concrete stamping tools can deliver impressive results if you choose tools with high precision, as they'll help you achieve the desired level of design complexity.
Can I Create Custom Patterns With Concrete Stamping Tools?
Imagine a painter's palette, where colors blend to create unique masterpieces. Similarly, you can mix-and-match stamping tool options to develop custom pattern techniques, allowing you to bring your distinctive vision to life in concrete.
Do I Need to Rent or Buy Concrete Stamping Tools for a Small Project?
You'll need to weigh the cost comparison of renting versus buying concrete stamping tools based on your project size; if it's small, renting might be more cost-effective, but for larger projects, buying could be a better investment.
Conclusion
As you wrap up your first DIY concrete stamping project, you can't help but think, 'That was easier than I thought!'
It's not just a coincidence that you've ended up with a beautiful, professional-looking result - it's because you took the time to choose the right tools and follow the basics.
With these top DIY concrete stamping tools for beginners, you've set yourself up for success.
Now, go ahead and show off your new skills to friends and family - they'll be green with envy!
Related Posts
-

10 Must-Have Tools for Small Concrete Projects
When tackling small concrete projects, you'll need a range of essential tools to achieve professional-grade results. ...
-

Top Tools for Beginners in Concrete Masonry Coating
You're about to begin a concrete masonry coating project, and having the right tools is essential. Start with essenti...
-

What Tools Ensure Precise Concrete Leveling Results
You need a range of specialized tools to achieve precise concrete leveling results. Laser leveling instruments provid...


