Tools Required for Level DIY Concrete Wall
Share
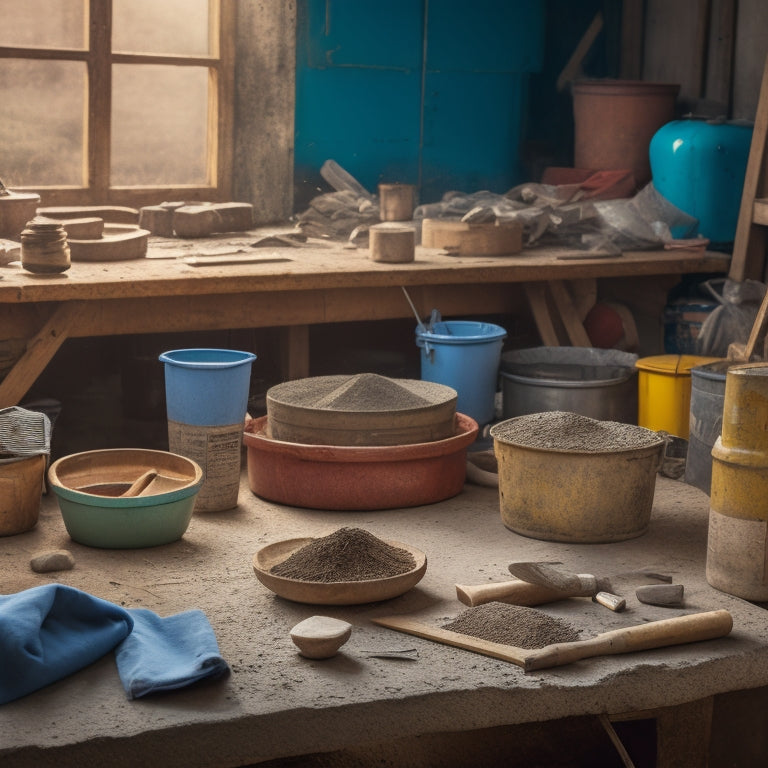
You'll need a range of specialized tools to build a level DIY concrete wall, including measuring and marking tools like a high-quality tape measure and reliable chalk line, laying and leveling tools like a laser level and screed board, and mixing and pouring equipment like a concrete mixer and pouring bucket. Compacting and finishing tools, such as a tamping tool and bull float, are also essential, along with safety and protective gear like eye protection, gloves, and a dust mask. With the right tools and equipment, you'll be well on your way to a strong, professional-looking wall, and exploring the specifics of each tool's role will help you refine your construction process.
Key Takeaways
• Measuring and marking tools like tape measures and chalk lines ensure accurate layout and precise lines on the concrete wall.
• Laying and leveling tools, including laser levels and spirit levels, are crucial for achieving a level and plumb wall.
• Mixing and pouring equipment, such as concrete mixers and pouring techniques, affect the structural integrity and appearance of the wall.
• Compacting and finishing tools, including screed boards and trowels, help achieve a smooth surface and prevent defects.
• Safety and protective gear, such as eye protection and gloves, are essential for preventing injuries and maintaining a safe workspace.
Measuring and Marking Tools
You'll need a set of precise measuring and marking tools to accurately layout and construct your DIY concrete wall. Start with a high-quality tape measure that can withstand rough job-site conditions. This tape measure should have clear, easy-to-read markings and a sturdy hook that can grip onto rough concrete surfaces. Additionally, consider investing in a 100-foot tape measure with a nylon-coated blade for added durability.
Next, you'll need a reliable chalk line to create straight, accurate lines on your concrete surface. Look for a chalk line reel with a sturdy handle and a consistent, smooth release mechanism. This will guarantee that your lines are sharp and consistent, making it easier to layout your wall's footprint and coursing. When selecting a chalk line, choose a color that provides high visibility on your concrete surface, such as bright blue or orange.
With these essential measuring and marking tools in your toolbox, you'll be well on your way to constructing a level, professional-looking DIY concrete wall that meets your project's specifications.
Laying and Leveling Tools
To guarantee your DIY concrete wall is properly aligned and level, set up a laser level or a transit level to project a precise, self-leveling reference line. This allows you to accurately position and align your wall forms. This confirms that your concrete wall is built on a solid foundation, which is critical for its structural integrity.
Next, you'll need a leveling rod or a spirit level to check the wall forms' levelness and plumbness. These tools will help you achieve the desired concrete leveling techniques, such as a level or sloped finish.
Additionally, you'll require a screed board or a tamping tool to compact and smooth out the freshly poured concrete. This is an essential step in wall reinforcement methods, as it eliminates air pockets and confirms a strong bond between the concrete and the reinforcement materials.
Mixing and Pouring Equipment
With the wall forms accurately positioned and leveled, you're now ready to prepare the concrete mixture and pour it into the forms, which requires a set of specialized tools and equipment.
For mixing, you'll need a concrete mixer, and there are several types to choose from, including drum mixers, pan mixers, and continuous mixers. Drum mixers are the most common type and suitable for small to medium-sized DIY projects. When selecting a mixer, consider the size of your project, the type of concrete, and the mixing capacity.
Before pouring, verify your mixer is clean and free of debris. Follow the manufacturer's instructions for mixing ratios and procedures.
When pouring, use a pouring technique that minimizes air pockets and guarantees a smooth, even flow. Use a pouring bucket or a chute to direct the concrete into the forms. Work in sections, pouring and finishing one area before moving on to the next.
It's crucial to maintain a consistent flow rate and avoid over- or under-pouring, which can lead to defects and inconsistencies in the finished wall.
Compacting and Finishing Tools
How do you achieve a dense, uniform concrete wall that meets structural and aesthetic requirements, especially after pouring the mixture into the forms? The answer lies in using the right compacting and finishing tools. You'll need a range of equipment to guarantee your concrete wall is smooth, even, and free of imperfections.
Start with surface preparation techniques, such as using a screed board to remove excess concrete and achieve a level surface. Next, use a tamping tool or hand tamper to compact the concrete, eliminating any air pockets and guaranteeing a solid foundation.
For a smooth finish, you'll need a bull float or trowel to apply a layer of cement paste and remove any excess water. Finishing techniques are just as essential. Use a power trowel or edger to achieve a high-gloss finish, or a broom finisher for a textured look.
Don't forget a jointing tool to create controlled joints and prevent cracking. With these compacting and finishing tools, you'll be able to achieve a professional-looking concrete wall that meets both structural and aesthetic requirements.
Safety and Protective Gear
As you prepare to work on your DIY concrete wall, you'll need to prioritize your safety above all else.
You'll be handling materials that can cause serious harm to your eyes, skin, and respiratory system, so it's vital that you have the right protective gear.
You'll want to make sure you have the necessary eye protection, protective clothing, and respiratory safety measures to prevent accidents and guarantee a successful project.
Eye Protection Essentials
You'll need ANSI-approved safety glasses or goggles that provide 99.9% optical clarity to shield your eyes from concrete dust, debris, and other hazardous particles when working on your DIY concrete wall project. This is essential, as even a single misstep can lead to serious eye injuries.
When selecting eye protection, consider the following essentials:
-
Goggle types: You can choose from vented, non-vented, or hybrid goggles, depending on the level of ventilation and protection you need.
-
Lens materials: Polycarbonate or Trivex lenses are ideal for their impact resistance, optical clarity, and lightweight design.
-
Anti-fog coatings: Look for goggles with anti-fog coatings to prevent moisture buildup and guarantee clear visibility.
Protective Clothing Needs
Two essential components of your DIY concrete wall project's protective gear are a long-sleeved shirt and long pants, which serve as a barrier against skin abrasion and concrete splatter.
You'll want to choose fabrics that are breathable, moisture-wicking, and resistant to tears. Additionally, consider clothing with built-in UPF protection to prevent sunburn.
Your hands are also at risk of injury, so don't forget to wear protective gloves.
Look for gloves with grip patterns on the palms to improve dexterity and prevent dropping tools. The gloves should be made of durable, puncture-resistant materials like synthetic leather or heavy-duty cotton.
Respiratory Safety Measures
Concrete dust and silica particles can pose serious respiratory hazards, so it's crucial to wear a dust mask or respirator that meets NIOSH standards for filtration efficiency. You don't want to compromise your health while working on your DIY concrete wall project.
Here are three key respiratory safety measures to keep in mind:
-
Ventilation systems: Maintain good airflow in your workspace by opening windows, using fans, or installing ventilation systems to remove dust and particles from the air.
-
Air quality monitoring: Regularly check the air quality in your workspace to confirm it's safe to breathe. You can use air quality monitors or hire a professional to test the air.
-
Proper mask fit: Verify your dust mask or respirator fits snugly on your face to prevent dust and particles from entering your lungs.
Additional Accessories Needed
As you prepare to tackle your DIY concrete wall project, you'll need to gather additional accessories to guarantee a successful outcome.
You'll require concrete mixing tools, such as trowels and mixing buckets, to achieve the right consistency and finish.
Additionally, you'll need wall forming accessories, like formwork and reinforcement materials, as well as safety gear essentials to protect yourself from potential hazards.
Concrete Mixing Tools
You'll need a set of essential concrete mixing tools, including a mixing bucket, a heavy-duty drill with a mixing paddle, and a trowel for scraping the sides and bottom of the bucket.
Mastering concrete mixing techniques is vital for achieving a strong and durable wall. The right tools will help you get the mixing consistency just right.
Here are some additional tools you'll need to guarantee a successful mix:
-
Measuring cups and spoons: Accurate measurements are critical for achieving the right mix ratio.
-
Mixing gloves: Protect your hands from the abrasive concrete and harsh chemicals.
-
Bucket liner: Prevents the concrete from sticking to the bucket and makes cleanup a breeze.
Wall Forming Accessories
With your mix prepared, it's time to focus on shaping it into a sturdy wall, which requires the right wall forming accessories to guarantee a smooth, even finish. As you'll be working with wet concrete, you'll need wall forming materials that can withstand the pressure and weight of the mixture.
You'll require a sturdy wall support system to hold the formwork in place, making sure your wall takes the desired shape. Invest in high-quality formwork panels, which come in various sizes and materials, such as steel or plywood. These panels will provide a smooth surface for your concrete to set against.
You'll also need formwork ties, which connect the panels together, and formwork spacers to maintain even spacing between them. Don't forget to get a level and a spirit level to make certain your wall is perfectly straight and even.
Additionally, consider getting a wall form release agent to prevent the concrete from sticking to the formwork, making it easier to remove once the concrete has set. With these wall forming accessories, you'll be able to achieve a professional-looking finish and a structurally sound wall.
Safety Gear Essentials
Protecting yourself from the hazards of working with concrete is essential, so make certain you have the necessary safety gear essentials, including gloves, safety glasses, and a dust mask, to prevent injuries and potential long-term health effects.
As you work on your DIY concrete wall, you'll be exposed to harsh chemicals, heavy materials, and airborne particles that can harm your skin, eyes, and lungs. Don't take any chances – invest in the right personal protective equipment to guarantee your safety.
Here are the top safety gear essentials you shouldn't skip:
-
Gloves: Look for heavy-duty, puncture-resistant gloves that can withstand the rough texture of concrete and protect your hands from cuts and abrasions.
-
Safety glasses: Choose glasses with shatter-resistant lenses and a snug fit to prevent debris from getting in your eyes.
-
Dust mask: Opt for a mask with a HEPA filter to block out 99.97% of airborne particles, including concrete dust and silica.
Frequently Asked Questions
Can I Use a Regular Drill for Mixing Concrete?
When it comes to mixing concrete, you're probably wondering if your regular drill will cut it. The short answer is, it depends.
While a regular drill can work for small batches, it's not ideal for larger mixing tasks. You'll want to take into account drill types specifically designed for heavy-duty mixing, like a hammer drill or a mixing drill with a paddle bit.
Mastering the right mixing techniques, such as slow and steady revolutions, will also make a big difference in achieving a smooth, consistent mix.
Do I Need a Permit to Build a Concrete Wall?
As you commence your concrete wall project, you're probably wondering: do I need a permit?
The answer is, it depends. Check your local building codes, as they vary by region.
If your wall exceeds a certain height, typically 3-4 feet, you'll likely need approval.
Don't risk fines or demolition; make sure you comply with regulations.
Research your area's specific requirements to avoid costly mistakes.
Can I Pour Concrete in Cold Weather?
When you're planning to pour concrete in cold weather, you'll need to take extra precautions to guarantee it sets properly.
You'll want to follow cold weather precautions, like using concrete mix additives that accelerate the setting process, and protecting the pour from wind and frost.
Make sure to also maintain a consistent temperature above 40°F (4°C) during the curing process.
How Long Does It Take for Concrete to Fully Cure?
You've got a million questions about concrete, and rightfully so!
Now, let's explore the curing process. You're probably wondering, how long does it take for concrete to fully cure?
Well, it typically takes around 28 days for concrete to reach its full strength, but it's not a one-size-fits-all answer.
The curing process is affected by factors like temperature, humidity, and mix design.
Is It Necessary to Add Reinforcement to a DIY Concrete Wall?
When building a DIY concrete wall, you'll wonder if adding reinforcement is necessary. The answer is yes, it's vital.
Reinforcement benefits your wall's stability greatly, ensuring it can withstand external forces like wind, rain, and weight. By incorporating rebar or fiber mesh, you'll create a robust structure that resists cracking and crumbling.
Don't skip this step, as it's essential for a durable and long-lasting wall that will give you peace of mind and a sense of accomplishment.
Conclusion
You've made it to the final stretch!
After gathering all the necessary tools for your DIY concrete wall project, you're ready to tackle the task like a pro.
With the right equipment, you'll be building a concrete wall that's as strong as a fortress in no time.
Don't forget to stay focused and patient, as the process can be a marathon, not a sprint.
Now, get out there and build something that'll last a lifetime!
Related Posts
-

Concrete Foundation Building Tools for Homeowners' Success
As you start your concrete foundation building project, it is vital to have the right tools to guarantee success. You...
-

Top Tools for Revamping Old Concrete Floors
You'll need a range of tools to revamp your old concrete floor, starting with epoxy, acrylic, or polyurethane paint, ...
-

Top Tools for Concrete Adhesion Success
When it comes to concrete adhesion success, you'll need to wield the right tools and techniques to guarantee a strong...


