
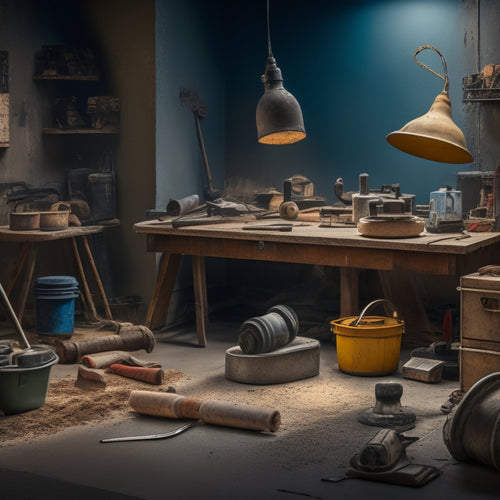
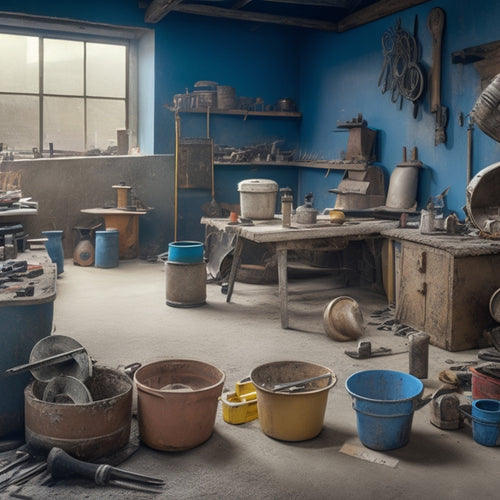
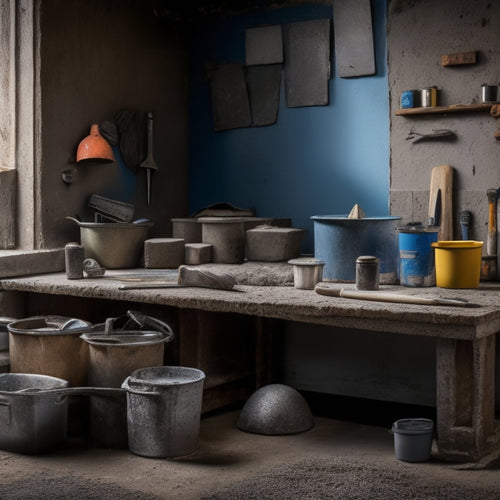
Must-Have Tools for Building Planters With Concrete
When building planters with concrete, you'll need essential safety gear like protective glasses, gloves, and dust masks to prevent injuries. Next, gather mixing and measuring tools, including digital scales and measuring buckets, to guarantee accurate ingredient proportions. Cinder block cutting tools, like diamond blade saws and masonry saws, are necessary for precise cuts. Additional must-haves include tamping tools, finishing tools for surface refinement, reinforcement and anchoring tools, planter shaping tools, cleaning equipment, and assembly tools. With these tools at your disposal, you'll be well-equipped to create sturdy, visually appealing planters - and the right techniques will take your project from good to great.
Key Takeaways
• Essential safety equipment, including protective gear, safety goggles, dust masks, and gloves, prevents injuries during concrete planter construction.
• Mixing and measuring tools, such as concrete mixing sticks, trowels, digital scales, and measuring buckets, ensure accurate ingredient proportions and efficient mixing.
• Cinder block cutting tools, like diamond blade saws and masonry saws, enable precise cuts and customization of planter designs.
• Tamping tools, including hand tampers, rubber mallets, vibrating tampers, and stomp tampers, compact concrete to achieve desired density and stability within the planter mold.
• Finishing and smoothening tools, such as sanding blocks, sandpaper, and finishing products, refine the planter's surface and provide protection from environmental elements.
Essential Safety Equipment Needed
Wearing protective gear, including safety glasses, gloves, and a dust mask, is vital when working with power tools and handling materials like wood and soil to prevent injuries and exposure to hazardous substances.
You'll need safety goggles to shield your eyes from flying debris and dust particles that can cause irritation or even blindness.
Dust masks will protect your lungs from inhaling harmful particles, such as silica dust, that can cause respiratory problems. When working with concrete, you'll be exposed to high levels of dust, so it's important to wear a dust mask that filters out 99.97% of particles as small as 0.3 microns.
Additionally, gloves will provide grip and protection for your hands when handling rough materials and power tools.
Don't compromise on your safety – invest in high-quality protective gear to guarantee you can work efficiently and safely.
Mixing and Measuring Tools Required
When you're building planters, mixing and measuring tools are essential for achieving the right consistency and proportions.
You'll need a sturdy concrete mixing tool, such as a mixing stick or trowel, to combine cement, sand, and water.
Concrete Mixing Tools
You'll need a set of concrete mixing tools to accurately measure and combine the dry ingredients and liquid components that form the foundation of your planter's structure. There are various concrete mixer types to choose from, including handheld mixers, paddle mixers, and drum mixers. Each type has its own strengths and weaknesses, so select one that suits your project's scale and complexity.
To guarantee a strong and durable planter, it's essential to follow mixing ratio guidelines. A general rule of thumb is to mix one part cement to two parts sand and three parts aggregate (gravel or crushed stone). However, this ratio may vary depending on your specific needs and the type of concrete you're using.
Make sure to consult your concrete supplier's instructions for specific guidelines. With the right mixing tools and a clear understanding of the mixing ratio, you'll be able to achieve a consistent and reliable concrete mix that will support your planter's structure.
Measuring for Accuracy
Measuring for Accuracy
Accurate measurements are essential in concrete mixing, and a digital scale or measuring bucket guarantees you're hitting the mark by weighing or scooping out exact quantities of each ingredient. When it comes to measuring techniques, you want to confirm you're using the right tools to achieve accuracy importance. A digital scale provides precise weight measurements, while a measuring bucket helps you scoop out exact volumes.
Here's a breakdown of the measuring tools you'll need:
| Tool | Purpose | Benefits |
|---|---|---|
| Digital Scale | Weighs ingredients accurately | Confirms precise proportions, reduces errors |
| Measuring Bucket | Scoops out exact volumes | Easy to use, reduces mess |
| Measuring Cups | Measures liquids and dry ingredients | Convenient, accurate |
| Leveling Tool | Confirms planter is level | Prevents uneven settling, confirms stability |
Cinder Block Cutting Tools
Cutting cinder blocks to size requires a few specialized tools, including a diamond blade saw or a masonry saw, which can slice through the block's dense, abrasive material with precision.
When selecting cinder blocks for your planter, you'll want to take into account their aesthetics, as well as their size and shape. You may need to cut them to fit your design, which is where these cutting tools come in.
A diamond blade saw is ideal for making precise, straight cuts, while a masonry saw is better suited for curved or irregular cuts. Both tools are essential for achieving clean, professional-looking cuts.
Remember to always wear protective gear, such as gloves and safety glasses, when operating these tools.
With the right cutting tools, you'll be able to transform your cinder blocks into a beautiful, custom planter that showcases your unique style. By taking control of the cutting process, you'll guarantee that your planter turns out exactly as you envisioned it.
Concrete Mixing and Pouring Tools
As you prepare to mix and pour concrete for your planters, you'll need a solid understanding of the essential tools and techniques required for a successful pour.
You'll start by gathering the right mixing bucket essentials, such as a sturdy bucket, a mixing stick, and a dust mask, to guarantee a safe and efficient mixing process.
Next, you'll need to master concrete pouring techniques and select the right tamping tool options to achieve a smooth, even finish.
Mixing Bucket Essentials
When preparing to mix concrete for your planter, you'll need a sturdy mixing bucket equipped with essential tools to guarantee a smooth and efficient process. You have two primary options for mixing bucket types: steel and plastic. Steel buckets are durable and can withstand heavy use, while plastic buckets are lightweight and easy to clean. Regardless of the type you choose, make sure it's large enough to hold the required amount of concrete for your planter.
Proper bucket maintenance is important to prevent contamination and guarantee consistent mixes. Clean your bucket thoroughly after each use, and apply a release agent to prevent concrete from sticking. Regularly inspect your bucket for signs of wear, such as rust or cracks, and replace it if necessary.
A well-maintained mixing bucket is essential for achieving the right concrete consistency and preventing costly mistakes. By investing in a high-quality mixing bucket and adhering to regular maintenance, you'll be well on your way to creating a sturdy and visually appealing planter.
Concrete Pouring Techniques
You'll need a set of specialized tools to guarantee a smooth concrete pouring process, including a mixing stick, tamping tool, and pouring chute, which will help you achieve a consistent mix and a visually appealing finish.
With these tools, you'll be able to maintain concrete consistency, a critical factor in building planters that are both functional and aesthetically pleasing.
As you begin pouring the concrete, focus on using controlled pouring techniques to prevent air pockets and unevenness. Start by pouring the concrete in a circular motion, slowly filling the planter mold.
Use your pouring chute to guide the flow of concrete and prevent it from spilling over the edges. As you pour, use your mixing stick to gently vibrate the mold, eliminating any air bubbles that may form.
This process will assure that your concrete sets evenly, resulting in a strong and durable planter. By mastering these concrete pouring techniques, you'll be able to create planters that are both beautiful and long-lasting.
Tamping Tool Options
With a smooth concrete pouring process underway, your attention now turns to the tamping tool, an essential component in guaranteeing the concrete is evenly distributed and compacted within the planter mold.
As you begin to tamper, you'll need to select the right tool to achieve the desired outcome.
When it comes to tamping tools, you have several options to take into account:
-
Hand tamper: A manual tool used for small to medium-sized planters, allowing for precision and control over the tamping process.
-
Rubber mallet: A gentler option for delicate planter molds, preventing damage while still achieving compaction.
-
Vibrating tamper: A power tool that uses vibrations to compact the concrete, ideal for large planters or those with complex designs.
-
Stomp tamper: A long-handled tool that allows you to apply force and pressure to the concrete, perfect for larger planters.
-
Tamping rod: A versatile tool used for both compacting and scraping excess concrete from the mold.
When selecting a tamping tool, take into account the size and complexity of your planter, as well as the tamping techniques and materials you'll be working with.
Finishing and Smoothening Tools
Sanding blocks and sandpaper are essential finishing and smoothening tools for removing imperfections and achieving a uniform surface on your planter's wood, metal, or plastic components. You'll use these tools to smooth out rough concrete edges, eliminate air pockets, and create a surface ready for finishing products.
When selecting sandpaper, choose grits ranging from coarse (80-100) to fine (220-240) to gradually refine your surface.
To master various smoothing techniques, experiment with different sanding block angles and pressures. For tighter spaces, use a detail sander or a rotary tool with a sanding drum attachment.
Once you've attained a smooth surface, apply your chosen finishing products, such as sealers, stains, or paints, to protect and enhance your planter's appearance. Remember to follow the manufacturer's instructions for application and drying times to guarantee a flawless finish.
Reinforcement and Anchoring Tools
Your planters' structural integrity relies on the strategic placement of reinforcement and anchoring tools, which secure the planter's components together and prevent cracking or detachment over time.
To achieve this, you'll need a range of specialized tools that enable you to implement effective reinforcement techniques and anchoring solutions.
Here are the essential tools you'll need:
-
Rebar cutters and benders: for cutting and shaping rebar to fit your planter's design
-
Wire mesh rollers: for rolling out and cutting wire mesh to size
-
Concrete anchors: for securing the planter's components together
-
Tie wire and pliers: for tying rebar and wire mesh in place
-
Anchoring epoxy and applicators: for bonding anchors to the concrete
Planter Shaping and Forming Tools
You'll shape and form your planters' intricate designs and patterns using a range of specialized tools that carefully manipulate and mold the concrete to accomplish the desired appearance and structure. These tools will help you refine your planter design, from the curves and contours to the textures and details.
For mold selection, you'll need a variety of mold-making tools, such as silicone or polyurethane mold rubbers, which will allow you to create complex shapes and patterns. You'll also need molding frames or liners to contain the concrete as it sets.
Additionally, you'll use tamping tools, such as hand tampers or vibrating tables, to remove air pockets and guarantee a dense, even pour.
To achieve specific textures and patterns, you'll use stamping tools or stencils, which can be applied to the wet concrete to create unique designs. Other tools, like edging tools or profiling tools, will help you refine the planter's edges and profiles.
With the right planter shaping and forming tools, you'll be able to bring your design vision to life, creating beautiful, functional planters that showcase your craftsmanship.
Cleaning and Preparing Tools
With every use, concrete residue and debris accumulate on your tools, making thorough cleaning and preparation vital to maintaining their effectiveness and extending their lifespan. You can't afford to skip this important step, as it directly impacts the quality of your planters and the longevity of your tools.
To guarantee your tools remain in top condition, adopt the following cleaning techniques:
-
Wire brush: Use a stiff-bristled brush to scrub off concrete residue from trowels, floats, and other tools.
-
Mild detergent: Mix a solution of mild detergent and warm water to clean tools with complex surfaces, such as texture mats.
-
Rinse thoroughly: Remove any soap residue to prevent it from affecting the bonding process in your next project.
-
Dry tools: Wipe tools dry with a clean cloth to prevent rust and corrosion.
-
Lubricate moving parts: Apply a light lubricant to hinges, pivot points, and other moving parts to maintain smooth operation.
Assembly and Finishing Touches
Once the planter's individual components are prepared, it's time to assemble them, guaranteeing a sturdy structure that can support the weight of soil, plants, and any additional decorative features.
You'll want to follow your design deliberations, taking into account the planter's size, shape, and material. Start by attaching the sides to the base, using a level to make sure they're even. Then, add the bottom plate, making certain it's securely fastened.
Next, install the drainage system, which is vital for planter drainage. You can use a drainage hole or a layer of aggregate material like gravel or perlite to prevent waterlogged soil.
As you assemble the planter, double-check your measurements and make any necessary adjustments. Use a rubber mallet to tap pieces into place, and fill any gaps with a concrete patching compound.
Finally, add a coat of sealant to protect the concrete from the elements. With your planter assembled and sealed, you're ready to add soil and plants.
Remember to take into account the weight and moisture requirements of your chosen plants when selecting the perfect planter design.
Frequently Asked Questions
Can I Use Regular Gloves Instead of Concrete-Handling Gloves?
When working with concrete, you're better off investing in concrete-handling gloves rather than relying on regular gloves.
The latter may not provide adequate protection against the abrasive, alkaline nature of concrete. Concrete-handling gloves are made from durable, puncture-resistant materials that prioritize your safety.
Regular gloves may compromise on safety precautions, putting your hands at risk of irritation and injury.
How Do I Store Leftover Concrete Mix After a Project?
When you're done with your project, you'll likely have leftover concrete mix.
To store it properly, you'll need an airtight container, like a plastic bucket or bag, to prevent moisture from getting in.
Seal it tightly and label it with the date and type of mix.
Store it in a cool, dry place.
Later, you can reuse it for small repairs or patching jobs, making the most of your leftover concrete.
Are There Any Eco-Friendly Alternatives to Traditional Concrete?
You're looking for eco-friendly alternatives to traditional concrete.
You'll find sustainable materials like hempcrete, a mixture of hemp fibers and lime, offering excellent insulation and low carbon footprint.
Another option is recycled aggregates, such as crushed glass or recycled concrete, which reduce waste and conserve natural resources.
Can I Build Planters With Concrete in Cold Weather?
As you venture into the frosty landscape, building planters with concrete in cold weather can be a challenging task, but fear not, winter warriors!
You'll need to wrap your concrete in a warm blanket of insulation, literally. Cold weather considerations are vital, so employ concrete insulation techniques like thermal blankets or insulating foam boards to keep the mix from freezing.
How Long Does It Take for Concrete to Fully Cure and Harden?
You're wondering how long it takes for concrete to fully cure and harden. The answer depends on factors like temperature, humidity, and moisture control.
Generally, concrete reaches 70% strength in 7 days, but full curing takes 28 days. You'll need to maintain ideal moisture levels and protect it from extreme temperatures.
With proper care, you'll achieve a strong, durable finish. Monitor the curing time closely to guarantee your concrete planters turn out as envisioned.
Conclusion
As you've gathered the essential tools for building planters with concrete, you're now ready to bring your vision to life.
Think of these tools as the ingredients in a recipe, each one playing a vital role in the final dish. Without them, your planter would be a flavorless, crumbling mess.
But with them, you'll be able to craft a sturdy, beautiful planter that will bloom with success.
Now, get mixing and building – your concrete masterpiece awaits!
Related Posts
-
Top Concrete Resurfacing Tools for a Pro Finish
When it comes to achieving a professional finish in concrete resurfacing projects, you require the right set of speci...
-
Best Tools for Concrete Restoration and Repair
When tackling concrete restoration and repair projects, you need a range of reliable tools to achieve professional-gr...
-
Top Tools for Beginners in Concrete Masonry Coating
You're about to begin a concrete masonry coating project, and having the right tools is essential. Start with essenti...


