Essential Tools for Prepping Concrete Surfaces
Share
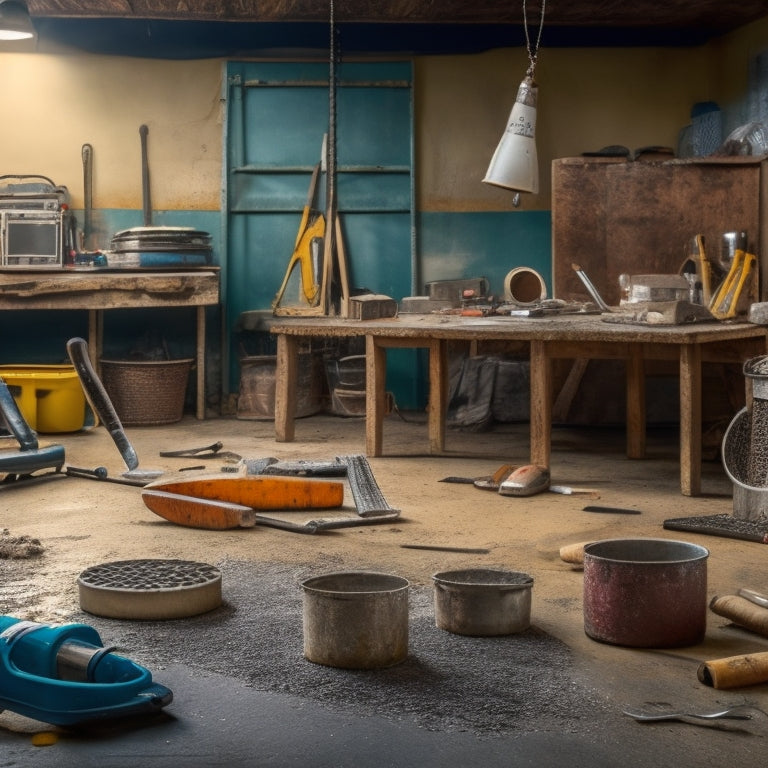
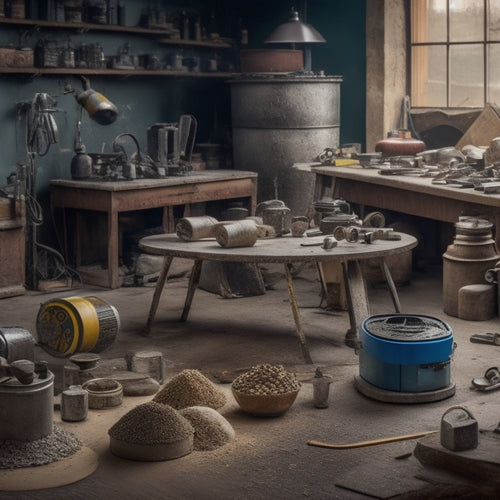
When prepping concrete surfaces, you'll need a variety of essential tools to get the job done right. For removing old paint and debris, chemical strippers, scrapers, and pressure washers are a must. For surface smoothing and leveling, scrapers, grinders, and diamond discs will help you achieve a uniform base. Filling concrete cracks and holes requires epoxy or polyurethane fillers, while etching and profiling tools like acid etching solutions and diamond grinding wheels prepare the surface for bonding. With the right tools, you'll be well on your way to a successful project - and there's more to learn about each step to guarantee a flawless finish.
Key Takeaways
• Utilize chemical strippers, scrapers, and pressure washers to remove old paint and debris for a clean surface.
• Employ scrapers, grinders, and diamond discs to smooth and level concrete surfaces, removing old adhesive and bumps.
• Fill concrete cracks and holes with epoxy or polyurethane, ensuring strong bonding and protection against damage.
• Use etching and profiling tools, such as acid etching solutions and diamond grinding wheels, to open concrete pores and remove imperfections.
• Conduct a final inspection to ensure surface cleanliness, dryness, and uniformity before applying new coatings or sealers.
Removing Old Paint and Debris
Remove old paint and debris from the concrete surface using a combination of chemical strippers, scrapers, and pressure washers to confirm a clean slate for your new project.
This vital step in surface preparation methods guarantees a strong bond between the new coating and the concrete.
You'll need to select the right paint removal techniques for your specific job. Chemical strippers can be effective for large areas, while scrapers are better suited for smaller, more detailed work. Pressure washers can be used to remove loose debris and dust.
Make certain to follow the manufacturer's instructions for each tool and take necessary safety precautions.
It's also important to test the surface for any remaining paint or debris after removal. A thorough cleaning will guarantee a successful project.
By using the right tools and techniques, you'll be able to achieve a smooth, even surface ready for your new coating.
Scraping and Grinding Tools
When prepping concrete, you'll need to tackle three key tasks with your scraping and grinding tools:
-
Removing old adhesive.
-
Grinding rough edges.
-
Smoothing out bumps.
These steps are essential for creating a strong bond between the old concrete and the new finish.
Remove Old Adhesive
You'll need to tackle the old adhesive residue left behind, which can be a stubborn obstacle to a successful concrete prep job. Different adhesive types, such as epoxies, acrylics, and polyurethanes, require specific removal techniques.
For instance, epoxy-based adhesives can be removed using a combination of scraping and solvent-based cleaners. Acrylic-based adhesives, on the other hand, respond well to mechanical scraping tools like putty knives or scraper blades. Polyurethane-based adhesives often require a more aggressive approach, involving the use of grinding tools or specialized adhesive removers.
When selecting a removal technique, consider the type of adhesive, its age, and the concrete surface's condition. You may need to experiment with different methods to find the most effective one.
Always wear protective gear, including gloves, safety glasses, and a dust mask, to prevent injury and exposure to hazardous materials. Remember to test a small area first to verify the removal method won't damage the underlying concrete.
Grind Rough Edges
With the old adhesive removed, it's time to tackle those rough edges by reaching for scraping and grinding tools that'll help smooth out the concrete surface. These tools are essential for edge finishing techniques, allowing you to achieve a smooth, even finish.
When it comes to scraping, you'll want to use a scraper with a sturdy handle and a replaceable blade. This will help you remove any remaining adhesive, dirt, or debris from the surface.
For grinding, you'll need a variety of grinding wheel types to tackle different edge profiles. A cup wheel is great for grinding curved edges, while a diamond wheel is better suited for straight edges. Always choose a wheel that matches the type of concrete you're working with, as well as the level of finish you're aiming for.
When grinding, work in small circular motions, applying moderate pressure. This will help you avoid creating scratches or swirl marks on the surface.
Smooth Out Bumps
Tackle those pesky bumps by switching to scraping and grinding tools specifically designed to flatten out irregularities, leaving your concrete surface silky smooth.
These tools are essential for effective surface preparation, ensuring a strong bond between the concrete and any subsequent coatings or finishes.
Here are some must-have scraping and grinding tools for smoothing out bumps:
-
Floor scrapers: These are ideal for removing old adhesive, paint, or other substances that can create bumps on the surface.
-
Walk-behind grinders: Perfect for larger areas, these grinders use rotating discs to smooth out the concrete.
-
Handheld grinders: For smaller areas or tight spaces, handheld grinders are versatile and easy to maneuver.
- Diamond discs: These abrasives are designed for aggressive smoothing and can be used with walk-behind or handheld grinders.
Filling Concrete Cracks and Holes
When it comes to filling concrete cracks and holes, you'll need to decide on the best repair method for the job.
You'll also need to take into account the depth of the hole and how to fill it to guarantee a smooth surface.
Crack Repair Methods
Fill cracks and holes in your concrete surface by using a combination of preparation, application, and finishing techniques to restore its original strength and appearance. To achieve a successful repair, you'll need to follow a few essential steps.
Here's what you should do:
-
Clean the crack: Remove any dirt, debris, or old sealant from the crack using a wire brush, vacuum, or solvent. This guarantees a strong bond between the crack and the repair material.
-
Prepare the surface: Use a grinder or sandpaper to roughen the surface around the crack, creating a better bonding area for the repair material.
-
Apply the repair material: Use a crack sealing material, such as epoxy or polyurethane, to fill the crack. For deeper cracks, consider using epoxy injections to fill the void.
- Finish and seal: Once the repair material has cured, use a sealant to protect the repaired area from further damage and water infiltration.
Filling Hole Depths
You'll need to assess the depth of the hole to determine the best approach for filling it, as the method and materials used will vary depending on the hole's size and location. Measuring the depth accurately is essential to choosing the right hole filler type. For shallow holes, you can use a patching compound, while deeper holes may require a more substantial filler, such as a concrete patching mix.
Here's a breakdown of common hole depths and recommended filler types:
| Hole Depth | Recommended Filler Type |
|---|---|
| < 1/4 inch | Patching compound |
| 1/4 - 1 inch | Acrylic-based filler |
| 1 - 2 inches | Epoxy-based filler |
| 2 - 4 inches | Concrete patching mix |
| > 4 inches | Structural repair compound |
When measuring the depth, use a ruler or caliper to get an accurate reading. Consider the hole's location and surrounding environment, as this may affect the filler's performance. By choosing the right filler type and following the manufacturer's instructions, you'll be able to effectively fill the hole and create a smooth surface for further preparation.
Surface Smoothening
With the hole depths accurately measured and filled, it's time to focus on smoothening the surface by addressing any remaining cracks and holes. This step is vital in achieving a smooth surface texture, which is essential for applying finishes like paint, coatings, or sealers.
To smoothen the surface, you'll need the following tools:
-
Putty knife or scraper: For scraping off excess filler material and smoothening out the surface.
-
Trowel or float: For applying and spreading a layer of finishing compound to fill in small cracks and holes.
-
Sander or grinder: For sanding the surface to remove any imperfections and achieve a smooth finish.
- Steel wool or wire brush: For removing any remaining imperfections and creating a smooth surface texture.
Smoothing Out Rough Surfaces
Rough surfaces can be a major obstacle to achieving a smooth, even finish, and tackling them requires the right tools and techniques. You'll need to adjust the surface texture to create a uniform base for your concrete project.
Start by evaluating the surface's roughness and identifying areas that need attention. Use a concrete scraper or grinder to remove any loose material and level out the surface. For more severe roughness, you may need to employ leveling techniques, such as applying a self-leveling compound or using a concrete overlay.
Remember to work in small sections, using a level to verify the surface is even as you go. It's also essential to clean the surface as you work to prevent debris from getting trapped in the new layer.
Don't be afraid to use a little elbow grease – smoothing out rough surfaces takes time and effort, but the end result will be worth it. By taking the time to properly prepare your surface, you'll be rewarded with a smooth, even finish that's ready for the next step in your concrete project.
Cleaning and Degreasing Concrete
Clean your concrete surface thoroughly to remove dirt, grime, and grease that can interfere with the bonding process of subsequent coatings or treatments. A clean surface is essential for ensuring a strong bond between the concrete and any subsequent coatings or treatments.
To get the job done, you'll need the right tools. Here are some essentials:
-
Pressure washer: Use a pressure washer to blast away dirt, grime, and loose debris from the surface. Make sure to adjust the pressure setting according to the surface type and condition.
-
Chemical cleaners: Apply chemical cleaners specifically designed for concrete to break down and dissolve grease, oil, and other stubborn substances. Always follow the manufacturer's instructions and take necessary safety precautions.
-
Broom or scrub brush: Use a stiff-bristled broom or scrub brush to agitate the cleaning solution and dislodge dirt and grime from the surface.
- Rinse water: Rinse the surface thoroughly with clean water to remove any remaining dirt, grime, or cleaning solution residue.
Remember to always wear protective gear, including gloves, safety glasses, and a face mask, when working with chemical cleaners and pressure washers.
Etching and Profiling Tools
You'll need to etch and profile the concrete surface to create a strong bond with subsequent coatings or treatments, and that's where the right tools come in. This step is vital to guarantee a successful application. Etching and profiling tools help to open up the concrete's pores, allowing for a stronger bond and better adhesion.
| Tool | Purpose |
|---|---|
| Acid Etching Solution | Opens up concrete pores, creating a strong bond |
| Diamond Grinding Wheel | Profiles the surface, removing imperfections |
| Scarifier | Removes old coatings, dirt, and debris |
| Edger | Trims and profiles edges and corners |
| Dust Collector | Minimizes dust and debris during the process |
When choosing etching and profiling tools, consider the size and type of your project. Acid etching solutions are ideal for small areas, while diamond grinding wheels are better suited for larger surfaces. Scarifiers and edgers are essential for removing old coatings and profiling edges. Finally, a dust collector will help keep your workspace clean and safe. By selecting the right tools, you'll be able to achieve a strong, long-lasting bond between your concrete surface and subsequent coatings or treatments.
Final Inspection and Preparation
With your concrete surface etched and profiled, it's time to conduct a final inspection to identify and address any imperfections or defects that may affect the adhesion of subsequent coatings or treatments.
Now, you'll perform a final quality assessment to guarantee your surface is ready for the next steps. Here's what to check:
-
Surface cleanliness: Verify that the surface is free of dust, dirt, and other contaminants that could compromise adhesion.
-
Moisture levels: Conduct surface moisture testing to ascertain the concrete is dry enough for coatings or treatments to adhere properly.
-
Cracks and defects: Inspect the surface for any cracks, holes, or other defects that may need to be filled or repaired before applying coatings or treatments.
- Profile uniformity: Check that the surface profile is uniform and even, ensuring a strong bond between the concrete and subsequent applications.
Frequently Asked Questions
How Long Does Concrete Prep Typically Take for a Small Project?
When estimating time for concrete prep, you'll find it's largely dependent on project size. For a small project, you're looking at around 1-3 hours, assuming minimal repairs and a straightforward cleaning process.
Can I Use a Pressure Washer for Cleaning Concrete Surfaces?
Imagine cleaning your driveway after a harsh winter; you'll find a pressure washer is perfect for blasting away dirt and grime. Yes, you can use a pressure washer for cleaning concrete surfaces, as it's highly effective in removing dirt and old coatings, making it an essential concrete cleaning technique.
What Safety Gear Is Required for Concrete Surface Preparation?
When preparing concrete surfaces, you'll need to wear safety gear like safety goggles to protect your eyes from debris and dust masks to prevent inhaling harmful particles, ensuring you're well-protected for the job.
Can I Prep Concrete in Cold or Wet Weather Conditions?
Imagine prepping a concrete patio in February - you'll need to adjust your strategy. In cold weather, you'll slow down the prep process, while in wet weather, you'll employ special techniques, like using a wet/dry vacuum to remove excess moisture.
How Do I Determine the Best Prep Method for My Specific Project?
You'll determine the best prep method by evaluating your project's surface conditions, considering factors like porosity, cracks, and contamination, and scaling your approach to fit your project's size and complexity.
Conclusion
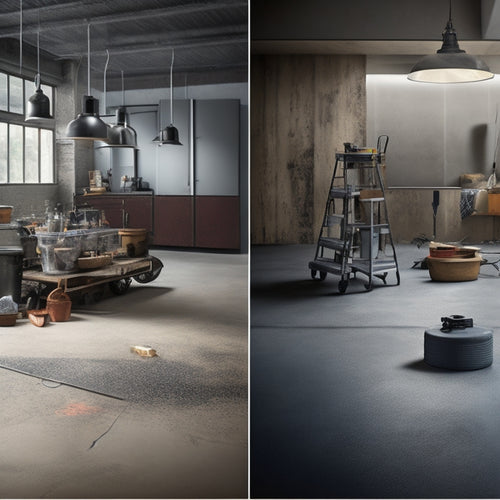
You've made it to the final step! Your concrete surface is now prepped and ready for its new finish.
But, don't get too comfortable - the real transformation is about to begin.
With a solid foundation in place, you're just one step away from revealing a surface that's stronger, more durable, and visually stunning.
The countdown begins... now!
Related Posts
-

Essential Tools for Concrete Wall Covering Projects
When tackling a concrete wall covering project, you'll need a range of essential tools and equipment. For cleaning an...
-

Top DIY Concrete Grinding and Polishing Tools
When selecting DIY concrete grinding and polishing tools, you'll want to take into account a range of factors to guar...
-

Top Tools for Revamping Old Concrete Floors
You'll need a range of tools to revamp your old concrete floor, starting with epoxy, acrylic, or polyurethane paint, ...


