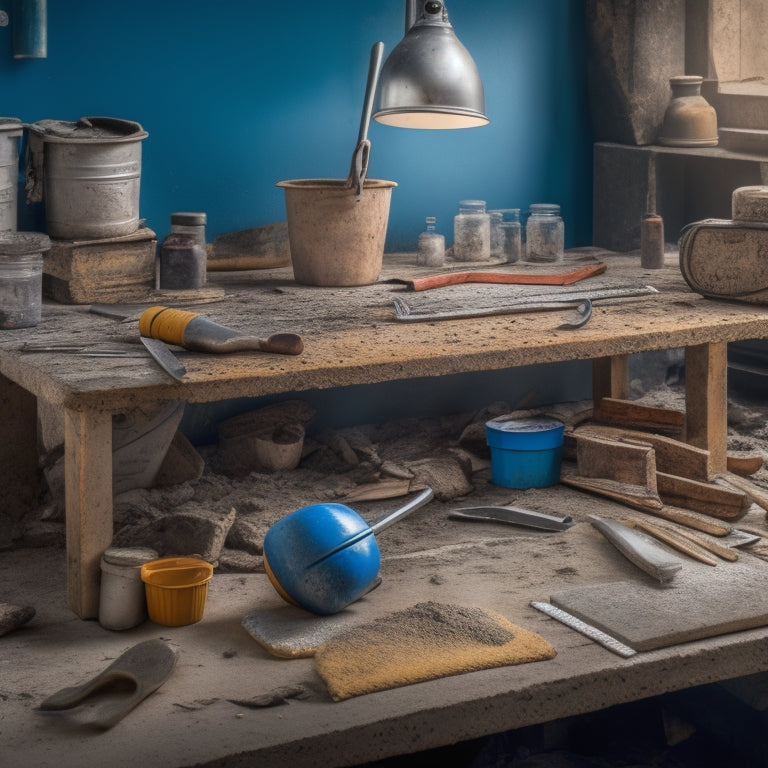
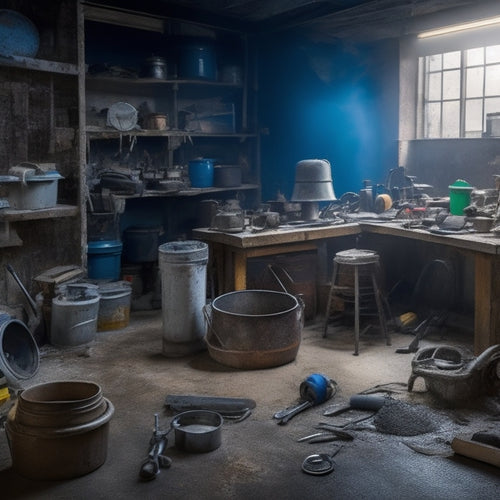
Budget-Friendly Tools for Concrete Repair Success
You'll need the right tools to achieve concrete repair success without breaking the bank. Start with essential tools like crack injection kits, surface leveling tools, and safety gear for crack repair. For mixing cement, look for affordable options like portable mixing drills and electric mixers. Budget-friendly grinders, such as angle grinders and walk-behind grinders, will help with surface prep. Cost-effective sealers, DIY-friendly patching compounds, and economical trowels will also be essential. Finally, invest in low-cost edgers and value-priced cleaners for a professional finish. Now, discover the specific tools and techniques that will help you achieve concrete repair success.
Key Takeaways
• Invest in a crack injection kit, surface leveling tool, and drill and bits for effective crack repair on a budget.
• Choose an affordable mixer, such as a portable mixing drill or electric mixer, that suits your project's size and requirements.
• Select a budget-friendly grinder, like an angle grinder or walk-behind grinder, based on the surface area and material removal type.
• Opt for cost-effective sealers, such as strong barrier sealers or acrylic and polyurethane sealers, and follow application techniques for durability.
• Utilize DIY-friendly patching compound options, like epoxy-based or cement-based compounds, and master patching techniques for successful repairs.
Essential Tools for Crack Repair
When tackling crack repair, you'll need a set of specialized tools to guarantee a durable and long-lasting fix. A crack injection kit is a must-have, as it allows you to fill cracks with a specialized epoxy or polyurethane-based material. This process involves drilling ports into the crack, injecting the material, and then sealing the ports.
You'll also need a surface leveling tool to make sure the area around the crack is even and smooth. This is vital, as an uneven surface can put additional stress on the repaired area, leading to further damage.
Additionally, you'll need a drill and bits specifically designed for concrete, as well as a mixing stick and bucket for preparing the repair material. A putty knife or trowel is also necessary for applying and smoothing out the material.
Don't forget safety gear, including gloves, safety glasses, and a dust mask, to protect yourself from the dust and debris generated during the repair process.
With these essential tools, you'll be well-equipped to tackle crack repair and achieve a professional-looking result.
Affordable Mixers for Cement Blending
With your crack repair toolkit in order, you can now turn your attention to mixing and blending cement, a process that requires a reliable and affordable mixer to achieve the right consistency and strength.
When it comes to cement blending, you'll want a mixer that can handle the job efficiently and effectively. For small to medium-sized projects, consider investing in a portable mixing drill with a mixing paddle attachment. This setup is perfect for mixing small batches of cement and is often more cost-effective than purchasing a dedicated mixer.
If you're working on larger projects or need to mix multiple batches of cement, an electric mixer is a worthwhile investment. Look for a mixer with a sturdy frame, reliable motor, and adjustable mixing speed. Electric mixers are ideal for heavy-duty mixing and can save you time and effort in the long run.
When selecting an electric mixer, consider the size of the mixing drum, the horsepower of the motor, and the type of mixing blades used. By choosing the right mixer for your concrete repair project, you'll be able to achieve a consistent and strong mix, ensuring a successful repair.
Budget-Friendly Grinders for Surface Prep
You'll need a grinder that can efficiently remove old coatings, rough surfaces, and other imperfections to guarantee a strong bond between the old concrete and the new repair material.
For budget-friendly surface preparation, consider the following grinder types. Angle grinders, also known as disc grinders, are ideal for removing thin layers of old coatings and smoothening rough surfaces. They're available in various sizes, ranging from 4 to 9 inches, and are suitable for small to medium-sized repair projects.
For larger areas, walk-behind grinders or floor grinders are more effective. These grinders are designed for heavy-duty surface preparation and can remove thick coatings, epoxies, and other stubborn materials. They often come with adjustable handlebars and are available in electric or gasoline-powered models.
When choosing a grinder, consider the surface area to be repaired, the type of material to be removed, and the level of dust control required. Proper surface preparation is essential for a successful concrete repair, and the right grinder can make all the difference.
Cost-Effective Sealers for Protection
After preparing the surface with the right grinder, it's time to apply a cost-effective sealer to protect the newly repaired concrete from environmental stressors, chemicals, and abrasion.
You'll want to choose a sealer that provides a strong barrier against water, salt, and oil, while also being easy to apply and maintain. Acrylic and polyurethane-based sealers are popular options for their affordability and effectiveness. When selecting a sealer, consider the level of traffic and exposure the concrete will face, as well as the desired level of gloss or matte finish.
Proper sealing techniques are just as important as the sealer itself. Make sure to follow the manufacturer's instructions for application, and apply the sealer in thin, even coats to avoid puddling or uneven coverage.
Additionally, consider using a primer to guarantee a strong bond between the sealer and the concrete. By applying a protective coating using the right sealing techniques, you'll be able to extend the lifespan of your concrete repair and prevent costly future repairs.
With the right sealer and application method, you can enjoy a durable, long-lasting finish that withstands the test of time.
DIY-Friendly Patching Compound Options
For effective concrete repair, you need a reliable patching compound that's easy to mix, apply, and finish. There are several DIY-friendly options available that fit the bill.
These compounds can be categorized into two main types: epoxy-based and cement-based. Epoxy-based compounds are ideal for structural repairs, offering high bonding strength and resistance to chemical attacks. Cement-based compounds, on the other hand, are suitable for non-structural repairs and offer excellent workability and finishing characteristics.
When selecting a patching compound, consider the specific requirements of your repair project. Look for compounds that are compatible with the substrate, can withstand the expected loads, and provide the desired finish.
It's also crucial to follow the manufacturer's instructions for mixing, application, and curing to guarantee a successful repair. Additionally, mastering various patching techniques, such as troweling, pouring, or injection, will help you achieve a seamless repair.
Economical Trowels for Smoothing
With a reliable patching compound in hand, it's time to select an economical trowel that will help you achieve a smooth, even finish. When it comes to trowel types, you'll find that each is suited for specific smoothing techniques. To guarantee you're making the right choice, consider the following options:
| Trowel Type | Material | Best For |
|---|---|---|
| Finishing Trowel | Stainless Steel | Fine-tuning and creating a high-gloss finish |
| Notched Trowel | Carbon Steel | Applying and spreading patching compound |
| Pool Trowel | Fiberglass | Smoothing large areas and creating a textured finish |
| V-Notch Trowel | Aluminum | Creating a rough, textured finish for non-slip surfaces |
When selecting a trowel, think about the specific demands of your project. Are you looking to create a high-gloss finish or a textured, non-slip surface? By choosing the right trowel, you'll be able to achieve professional-looking results without breaking the bank. Remember to pair your trowel with the correct smoothing techniques to guarantee a flawless finish. With the right tools and a bit of practice, you'll be well on your way to achieving success in your concrete repair project.
Low-Cost Edgers for Clean Finish
You'll need a reliable edger to remove excess patching compound and create a clean, defined edge along the repair area.
When it comes to low-cost edgers, you have two primary options: manual and power edgers. Manual edgers are ideal for small to medium-sized repairs and provide more control over the finishing process. They're available in various widths and are often paired with a rubber or metal blade.
Power edgers, on the other hand, are better suited for larger repairs and offer increased efficiency. They typically feature adjustable handles and interchangeable blades.
Regardless of the edger type you choose, mastering finishing techniques is essential for achieving a professional-looking result. Start by holding the edger at a 45-degree angle and applying gentle to moderate pressure.
Use slow, consistent strokes to remove excess compound and create a clean edge. For a more refined finish, use a damp cloth or sponge to wipe away any remaining compound or residue.
Value-Priced Cleaners for Stain Removal
Stains on the concrete surface can greatly undermine the aesthetic appeal of your repair work, making it essential to select a value-priced cleaner that effectively lifts dirt and grime without compromising the surrounding concrete.
You'll want to opt for eco-friendly solutions that are gentle on the environment and your wallet. Look for cleaners specifically designed for concrete that won't etch or discolor the surface.
When choosing a cleaner, consider the type of stain you're dealing with. Oil-based stains require a different approach than organic stains like dirt and grime. Always follow the manufacturer's instructions and take necessary safety precautions.
To prevent future stains, incorporate stain prevention tips into your routine, such as sealing your concrete surface and regularly cleaning up spills.
Frequently Asked Questions
Can I Use a Drill Instead of a Mixer for Small Concrete Repairs?
When tackling small concrete repairs, you can use a drill with mixing paddles as a mixer alternative, but be cautious with drill speed and mixing techniques to avoid introducing air pockets and compromising the repair's integrity.
How Long Does It Take for Concrete Sealer to Fully Dry and Cure?
"Rome wasn't built in a day," and neither will your concrete sealer dry and cure overnight. You'll need to wait 24-48 hours for the initial drying time, and up to 30 days for the full curing process to complete.
Are All Concrete Repair Compounds Suitable for Outdoor Use?
When selecting a concrete repair compound, you'll find that not all products are suitable for outdoor use, as some lack weather resistance, making them better suited for indoor applications, so be sure to choose a product that meets your specific needs.
Can I Use a Grinder With a Metal Blade for Concrete Surface Prep?
When preparing concrete surfaces, you'll need to choose the right grinding techniques and blade compatibility. Avoid using a metal blade grinder, as it can damage the surface or leave scratches, and opt for a diamond blade grinder instead.
Do I Need to Wear Protective Gear When Working With Concrete Cleaners?
When working with concrete cleaners, you should always wear protective gear, including protective goggles to shield your eyes from harsh chemicals and safety gloves to prevent skin irritation and exposure to toxic substances.
Conclusion
As you stand back to admire your handiwork, the once-fractured concrete now shines like new, a proof of your mastery of repair.
With these budget-friendly tools, you've bridged the gaps, smoothed the rough edges, and sealed the deal.
Your wallet's intact, and your concrete's stronger than ever.
You've orchestrated a symphony of success, harmonizing form and function in perfect unity.
Related Posts
-
7 Tools to Fix Damaged Concrete Floors
You're about to tackle that damaged concrete floor, and the right tools are essential for a successful repair. Start ...
-

5 Best Tools for Stamping Concrete Walls
When it comes to stamping concrete walls, you'll need a range of specialized tools to achieve the desired texture and...
-
7 Best Tools for Concrete Block Construction
You'll need a solid foundation, precise cutting, and seamless finishing to guarantee your concrete block construction...


