7 Must-Have Tools for Concrete Home DIY Projects
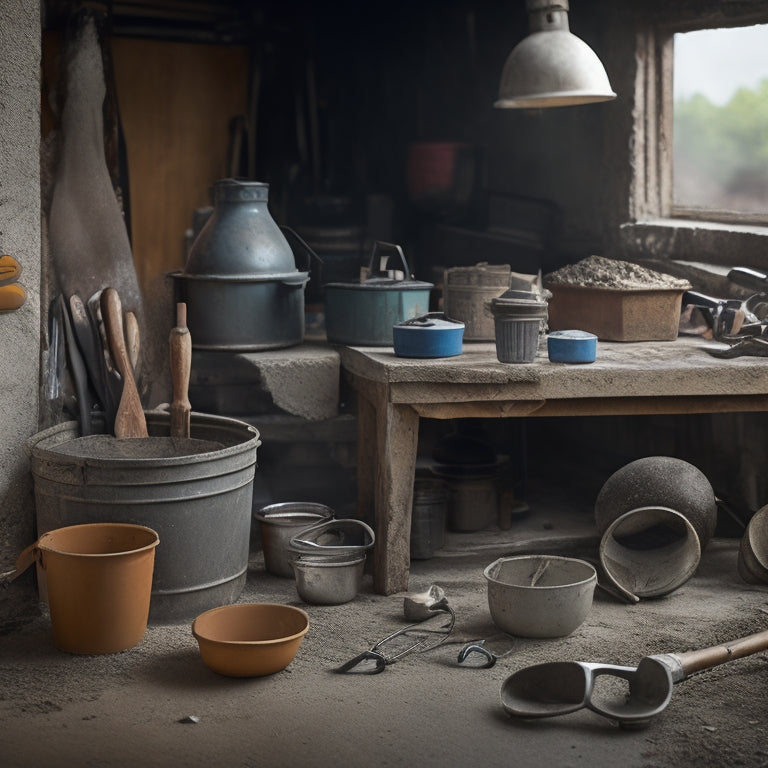
When tackling concrete home DIY projects, you'll need to arm yourself with the right tools to guarantee success. Safety gear, such as dust masks, safety glasses, and steel-toed boots, is essential for protecting yourself from concrete dust and debris. Next, you'll need demolition tools like jackhammers and wrecking bars to break up concrete blocks. Additionally, invest in concrete cutting and drilling tools, like drill bits and cutting wheels, and mixing and pouring equipment, such as a concrete mixer and pouring tools. Rounding out your toolkit will be tamping and finishing tools, surface preparation tools, and measuring and testing devices. As you get started, you'll discover the importance of each tool in achieving a professional-looking finish, and with the right guidance, you'll be well on your way to a successful project.
Key Takeaways
• Invest in essential safety gear, including dust masks, safety glasses, and protective gloves, to prevent injuries and health hazards.
• Choose the right demolition tools, such as jackhammers and wrecking bars, based on the project's scope and size of concrete blocks.
• Select the appropriate drill bits and cutting wheels for concrete cutting and drilling tasks to ensure efficiency and precision.
• For mixing and pouring concrete, use a reliable concrete mixer and follow proper techniques to achieve the right consistency and strength.
• Have measuring and testing devices, like concrete moisture meters and pH testers, on hand to ensure accurate assessments and optimal results.
Essential Safety Gear for Concrete
When working with concrete, protect yourself from serious injury by wearing essential safety gear, including a dust mask, safety glasses, gloves, and a long-sleeved shirt, as the alkaline nature of concrete can cause severe skin and eye irritation.
You'll need safety goggles to shield your eyes from flying debris and concrete particles. Don't settle for anything less than protective gloves that are resistant to abrasion and punctures. These will prevent cuts and lacerations from sharp edges and rough concrete surfaces.
Additionally, a long-sleeved shirt will protect your skin from alkaline burns and abrasions. You should also wear steel-toed boots or shoes with good traction to prevent slips and falls.
Demolition Tools for Block Removal
As you prepare to tackle block removal, you'll need to decide on the right demolition tools for the job.
You'll want to take into account the power source for your jackhammer, whether it's electric, pneumatic, or gas-powered, depending on the scope of your project and the amount of concrete you need to break up.
Additionally, mastering wrecking bar techniques will be essential in efficiently dismantling concrete blocks and minimizing damage to surrounding structures.
Jackhammer Power Sources
You'll need to choose the right jackhammer power source to efficiently demolish concrete blocks, and your options range from pneumatic, hydraulic, and electric models, each with its unique advantages and limitations.
Electric jackhammers are ideal for smaller projects, providing a quieter and more controlled operation. They're perfect for indoor work, as they produce less vibration and are easier to maneuver. However, they may lack the raw power needed for larger demolition tasks.
Pneumatic jackhammers, on the other hand, are the workhorses of the industry. Powered by compressed air, they deliver immense force, making them suitable for heavy-duty demolition projects. They're often used for breaking up thick concrete slabs, foundations, and walls. While they're more powerful, they also produce more noise and vibration, making them better suited for outdoor applications.
When deciding on a jackhammer power source, consider the scope of your project, the size and type of concrete blocks, and the level of noise and vibration you're willing to tolerate.
Wrecking Bar Techniques
Employing the right wrecking bar techniques is essential for efficiently and safely removing concrete blocks, allowing you to pry and break them apart with precision and control.
To master these techniques, you'll need to understand the fundamental principles of leverage mechanics. Start by positioning the wrecking bar at the weakest point of the block, typically where the concrete is most brittle.
Next, apply force in a controlled manner, using your body weight to amplify the pressure. As you pry, focus on using the bar as a fulcrum, leveraging the weight of the block against itself to create the necessary force for removal.
Be cautious not to apply too much pressure, as this can lead to accidents or damage to surrounding structures.
By honing your wrecking bar techniques, you'll be able to tackle even the most stubborn concrete blocks with confidence and ease.
With practice, you'll develop the skills and precision needed to tackle complex demolition projects, making you a master of concrete removal.
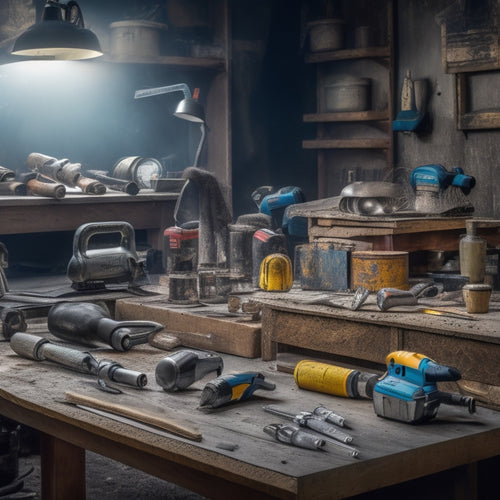
Concrete Cutting and Drilling Tools
When you're working with concrete, having the right cutting and drilling tools is essential to achieving professional-looking results.
You'll need to choose the correct drill bits for your specific project, as they can make all the difference in precision and efficiency.
Drill Bits Matter
Selecting the right drill bits is essential for efficient and effective concrete cutting and drilling, as they can make all the difference in achieving professional-looking results and preventing damage to your tools or the concrete itself. You'll want to choose drill bits that match the type of concrete you're working with and the specific task at hand.
Here's a breakdown of common drill bit types and materials:
| Drill Bit Type | Material | Best For |
|---|---|---|
| Twist bits | High-speed steel (HSS) | General-purpose drilling |
| Masonry bits | Tungsten carbide (TC) | Drilling into concrete, brick, and block |
| Diamond-coated bits | Diamond-coated steel | Drilling into hard concrete, tile, and stone |
| Step bits | HSS or TC | Drilling large holes and countersinks |
| Core bits | Diamond-coated steel | Drilling precise, large-diameter holes |
When selecting drill bits, consider the hardness of the concrete, the size and type of hole you need, and the speed and efficiency you require. By choosing the right drill bit, you'll get the job done faster, with better results, and without damaging your tools or the concrete.
Cutting Wheel Options
You'll need to choose the right cutting wheel for your concrete DIY project, as different wheels excel in various applications, from aggressive material removal to precision cutting and grinding. There are several cutting wheel types to take into account, including diamond-coated wheels for aggressive cutting, abrasive wheels for general-purpose cutting, and silicon carbide wheels for precision grinding.
When selecting a cutting wheel, think about the specific demands of your project and the desired finish. For instance, if you need to remove thick layers of concrete, a diamond-coated wheel is your best bet. On the other hand, if you're looking for a high-gloss finish, a silicon carbide wheel is the way to go.
Proper cutting wheel maintenance is also essential to extend the life of your wheel and guarantee peak performance. Regularly inspect your wheel for signs of wear, and replace it when necessary.
Additionally, make sure to clean your wheel after each use to prevent concrete residue buildup. By choosing the right cutting wheel and following proper maintenance procedures, you'll be able to tackle your concrete DIY project with confidence and achieve professional-grade results.
Precision Drill Press
A precision drill press is an essential component of your concrete cutting and drilling toolkit, allowing you to accurately bore precise holes and perform intricate drilling operations with unparalleled control. With a drill press, you can achieve precise drilling techniques that would be impossible with handheld drills. For instance, you can use it to drill anchor holes for concrete anchors or create precise holes for concrete countertops.
To get the most out of your drill press, regular maintenance is essential. Here are some tips to keep in mind:
| Maintenance Task | Frequency | Importance |
| Check and adjust belt tension | Monthly | High |
| Clean the drill press table | After each use | Medium |
| Lubricate moving parts | Quarterly | High |
| Inspect and replace worn bits | As needed | High |
| Check for squareness and alignment | Semi-annually | High |
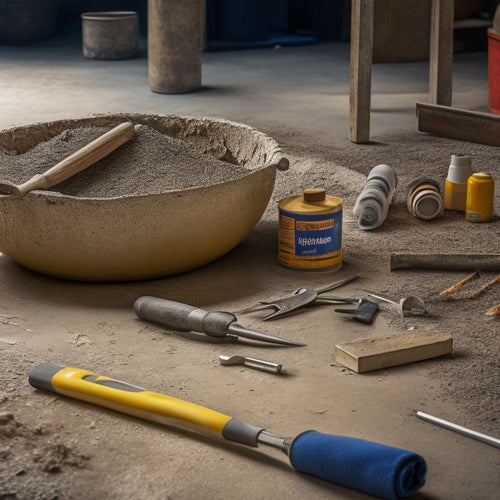
Mixing and Pouring Equipment Essentials
When tackling a concrete DIY project, your mixing and pouring equipment setup must include a sturdy, reliable concrete mixer that can handle the volume and consistency requirements of your specific project. This is vital, as it directly affects the quality of your final product. A good mixer will allow you to achieve the perfect mix, guaranteeing your concrete is strong, durable, and free of defects.
To guarantee a successful pour, you'll need to master various mixing techniques and pouring methods. Here are three essential considerations to keep in mind:
-
Mixing speed and duration: Adjust your mixer's speed and duration to suit the type of concrete you're working with.
-
Pouring rate and flow control: Control the flow of concrete to prevent segregation, honeycombing, and other defects.
-
Vibration and consolidation: Use vibration techniques to remove air pockets and guarantee proper consolidation of the concrete.
Tamping and Finishing Toolset
With your freshly poured concrete in place, it's time to focus on tamping and finishing techniques that guarantee a smooth, even surface. The right toolset is essential to achieving this goal. You'll need a tamper, also known as a screed board, to remove excess concrete and flatten the surface. This tool allows you to apply precise pressure, ensuring uniform compaction and preventing air pockets from forming.
Next, you'll need a bull float to further flatten and smooth out the surface. This tool is ideal for large areas and helps you achieve a uniform finish. For more intricate areas, a hand float or trowel is necessary to refine the surface and remove any imperfections.
To achieve a high-gloss finish, you may also consider using a power trowel or finishing trowel. These tools enable you to apply the perfect amount of pressure and speed to achieve a flawless finish.
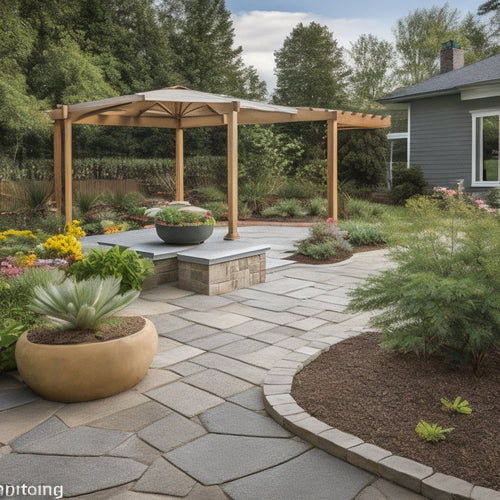
Concrete Surface Preparation Tools
You'll need to prepare the surface of your concrete slab or structure by removing dirt, oil, and other contaminants that can interfere with bonding. This is where concrete surface preparation tools come into play.
Effective surface prep techniques are vital for ensuring a strong bond between the concrete and any subsequent coatings or overlays. To achieve this, you'll need the right concrete cleaning tools.
Here are three essential tools for concrete surface preparation:
-
Power scrubbers: These tools use rotating brushes or pads to remove dirt, grime, and old coatings from the concrete surface.
-
Pressure washers: High-pressure water jets can blast away stubborn contaminants, leaving the surface clean and ready for further preparation.
-
Acid etchers: These tools use a mild acid solution to etch the concrete surface, creating a rough texture that allows for better bonding with subsequent coatings.
Measuring and Testing Devices Needed
Five critical measuring and testing devices are essential to guarantee the success of your concrete DIY project, as they help you accurately assess the concrete's condition, composition, and cure. These devices make certain you're using the right measuring techniques and testing methods to achieve the desired results.
Here are the must-have measuring and testing devices for your concrete DIY project:
| Device | Function |
|---|---|
| Concrete Moisture Meter | Measures the moisture levels in concrete to prevent delamination and ensure proper curing |
| Concrete pH Tester | Determines the alkalinity of the concrete, making sure it's within the suitable range for your project |
| Concrete Temperature Probe | Monitors the temperature of the concrete, helping you maintain ideal curing conditions |
Frequently Asked Questions
Can I Use a Regular Drill for Concrete Drilling Tasks?
When you're tackling concrete drilling tasks, you're probably wondering if your regular drill will cut it. The short answer is, it depends.
You'll need to choose the right concrete drill type, such as a hammer drill or rotary hammer, and select the correct drill bit for the job. Carbide-tipped bits or diamond-coated bits are must-haves for concrete drilling.
If you're using a regular drill, you'll struggle to make progress and risk damaging your tool. Invest in the right gear to get the job done efficiently and safely.
How Long Does It Take for Freshly Poured Concrete to Fully Dry?
You're probably aware that the ancient Egyptians used concrete to build the pyramids, which have withstood the test of time for over 4,500 years!
When you're working with freshly poured concrete, you'll want to know that the curing time can vary greatly depending on drying factors like temperature, humidity, and mix design.
Typically, it takes around 24 to 48 hours for the surface to set, but it can take up to 28 days for it to fully dry and reach its maximum strength.
Are Concrete Mixers Suitable for Mixing Other Materials Too?
You're wondering if your trusty concrete mixer can handle alternative mixing methods for other materials.
The answer lies in material compatibility. While concrete mixers are designed for heavy-duty concrete mixing, they can be suitable for mixing other materials like mortar, plaster, or even drywall compound.
However, you'll need to guarantee the mixer's drum and blades are compatible with the material's density and viscosity to avoid damage or poor mixing results.
Can I Use a Trowel to Smooth Out Freshly Poured Concrete?
You're about to tackle a freshly poured concrete slab, and it's as smooth as a still pond - but only for a moment.
Can you use a trowel to smooth it out? Absolutely!
Mastering trowel techniques is key to achieving flawless concrete finishing.
Hold the trowel at a 45-degree angle, applying gentle to moderate pressure, and work in small, overlapping circles.
This will help you achieve a smooth, even finish that'll make your DIY project shine.
Do I Need to Rent a Concrete Pump for Small DIY Projects?
You're wondering if you need to rent a concrete pump for small DIY projects.
The benefits of a concrete pump are undeniable - it saves time, reduces labor, and guarantees a smooth finish.
However, for small projects, the cost of renting mightn't be justified.
Consider the volume of concrete, distance to the pour site, and your labor resources before making a decision.
Weigh the benefits against the renting considerations to determine if a concrete pump is right for your project.
Conclusion
You've made it to the end of this concrete DIY project toolkit rundown.
With these 7 essential categories covered, you're well-equipped to tackle your concrete project with confidence.
Did you know that the global concrete market is projected to reach $642.8 billion by 2027? That's a lot of concrete!
By investing in these must-have tools, you'll be ahead of the curve and well on your way to creating a stunning, durable, and long-lasting concrete structure that will stand the test of time.
Related Posts
-
Top Tools for Repairing Cracked Concrete Surfaces
When tackling a cracked concrete surface repair, you'll need the right tools to guarantee a durable fix. Start with e...
-
Essential Power Tools for DIY Concrete Sculpting
As you begin DIY concrete sculpting, you'll need a strategic selection of power tools to achieve professional-grade r...
-
Why These Tools Are Crucial for Concrete Patio
You're about to commence on a concrete patio project, and having the right tools is vital to achieving professional-l...


