5 Key Tools for Laying Concrete Blocks Successfully
Share
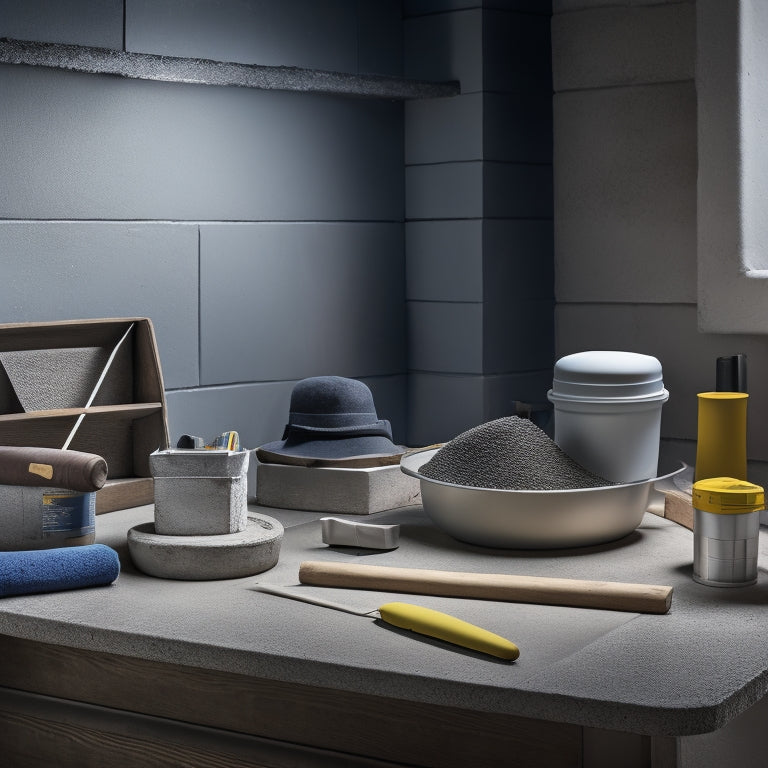
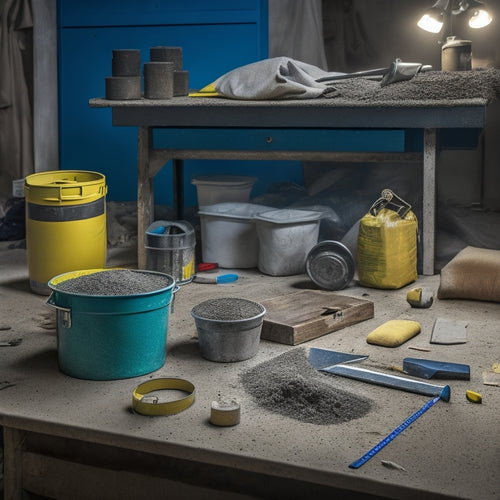
You'll need the right tools to lay concrete blocks successfully, starting with a reliable tamping tool to guarantee proper compaction, a spirit level to maintain accuracy, and a saw to cut blocks efficiently. A mixing bucket and trowel are also essential for mixing and applying mortar correctly. To finish the job, you'll need jointing tools like jointers, pointing trowels, and finishing trowels to refine joint profiles and surface textures. By having these five key tools at your disposal, you'll be well on your way to completing a strong, stable, and visually appealing concrete block structure - and with the right techniques, you can take your project to the next level.
Key Takeaways
• A reliable tamping tool is essential for compacting soil or gravel to prevent settling or shifting of concrete blocks.
• A spirit level, string line, and straightedge are necessary for leveling and aligning concrete blocks accurately.
• A masonry saw or circular saw with a diamond blade is required for cutting concrete blocks efficiently and safely.
• A trowel is necessary for applying mortar at a 45-degree angle to blocks during installation.
• Jointing tools, including jointers, pointing trowels, and finishing trowels, are essential for refining joint profiles and surface textures.
Essential Tamping Tool for Compaction
You'll need a reliable tamping tool to compact the soil or gravel base and guarantee a stable foundation for your concrete blocks. Compaction is vital to prevent settling or shifting of the blocks, which can lead to cracks and structural issues. A good tamping tool will help you achieve the necessary compaction, making certain your concrete blocks stay in place.
When it comes to tamping techniques, it's important to use the right amount of force. Over-tamping can damage the soil or gravel, while under-tamping can leave air pockets. You should aim for a smooth, even surface.
Start by tamping the center of the area and work your way outwards in sections. Use a consistent, systematic approach to guarantee uniform compaction.
Leveling and Alignment Made Easy
With your foundation properly compacted, now it's time to guarantee your concrete blocks are perfectly level and aligned.
You'll need a spirit level, a string line, and a straightedge to make sure your block layout is accurate. Start by snapping a string line along the length of your foundation to serve as a guide for your first course of blocks. Use your spirit level to check the levelness of each block as you lay it, making adjustments as needed. For longer walls, use a straightedge to keep your blocks aligned.
When it comes to alignment techniques, it's essential to maintain a consistent gap between blocks. Use a spacer or a piece of scrap wood to maintain uniformity. As you lay each block, tap it gently into place with a rubber mallet to avoid disturbing the surrounding blocks.
Remember to check your level frequently to make sure your wall remains plumb and level. By following these simple steps, you'll achieve a professional-looking block layout that's both level and aligned.
Cutting Concrete Blocks With Ease
Most concrete block projects require cutting blocks to fit around corners, pipes, or other obstacles, and having the right tools makes all the difference. When it comes to cutting concrete blocks, you'll need a reliable saw that can handle the tough material.
For most projects, a masonry saw or a circular saw with a diamond blade is the way to go. These saws are designed specifically for cutting concrete and will make the process much easier.
When selecting a saw, consider the type of project you're working on and the size of the blocks you need to cut. A masonry saw is ideal for smaller projects and tighter spaces, while a circular saw is better suited for larger projects and straight cuts.
Regardless of the saw you choose, it's crucial to develop good cutting techniques. Always wear protective gear, including safety glasses and a dust mask, and make sure the saw is properly aligned before making a cut.
Use a steady, consistent motion, and apply gentle to moderate pressure, depending on the saw and the block. With the right saw and proper technique, you'll be able to cut concrete blocks with ease and accuracy.
Mortar Mixing and Application Tips
Mixing and applying mortar correctly is essential to holding your concrete block project together, as it provides the necessary strength and stability.
You'll want to get it right to guarantee a solid foundation for your structure. Start by following the recommended mixing ratios for your specific mortar type. A general rule of thumb is to use one part cement to three parts sand, but be sure to check the manufacturer's instructions.
When mixing, use a wheelbarrow or mixing bucket and a shovel or trowel to combine the ingredients. Mix until you achieve a consistent, workable paste.
Now it's time to apply the mortar. Use a trowel to scoop up the right amount for each block, holding the trowel at a 45-degree angle to the block. Spread the mortar evenly, making sure to fill the gaps between blocks.
Use a level to guarantee the blocks are straight and plumb. As you lay each block, tap it gently into place with a rubber mallet to remove any air pockets.
Finishing Touches With Jointing Tools
Now that you've laid your concrete blocks with a strong, durable bond, it's time to focus on the finishing touches, where jointing tools come into play to guarantee a professional-looking result.
These tools are designed to refine the joint profiles and surface textures, ensuring a seamless and visually appealing finish.
You'll need a range of jointing tools, including jointers, pointing trowels, and finishing trowels. Jointers are used to compress and finish the joints, while pointing trowels are perfect for filling and shaping the joints. Finishing trowels, on the other hand, are ideal for smoothing out the surface texture and removing any excess mortar.
When choosing jointing tools, consider the type of joint profile you want to achieve and the surface texture you're aiming for. For example, if you're going for a concave joint profile, you'll need a concave jointer. Similarly, if you want a smooth surface texture, you'll need a finishing trowel with a flat, smooth edge.
Frequently Asked Questions
What Personal Protective Equipment Is Necessary for Concrete Block Laying?
When laying concrete blocks, you're going to need the right personal protective equipment to stay safe.
First and foremost, you'll need safety goggles to protect your eyes from debris and dust.
You'll also want to wear work gloves to grip the blocks securely and prevent cuts and abrasions.
Don't forget a dust mask to prevent inhaling concrete dust, and sturdy boots with good traction to prevent slips and trips.
Can I Use a Hammer to Tap Blocks Into Place Instead of a Tamping Tool?
Don't let your project crumble like a fragile leaf - use the right tool for the job.
You're tempted to use a hammer to tap blocks into place, but resist the urge. Hammer techniques can damage the block's edges, compromising its structural integrity.
Instead, invest in a tamping tool to guarantee precise block positioning. This specialized tool will help you achieve a solid foundation, saving you from costly repairs down the line.
How Do I Prevent Mortar From Drying Out Between Applications?
You'll want to prevent mortar from drying out between applications by maintaining high moisture retention.
Keep your mixing bucket covered and mist it with water regularly.
Consider using a retarder additive to slow down the curing process.
You can also use a damp cloth to cover the blocks and mortar, guaranteeing they stay hydrated.
Can I Reuse Excess Mortar From Previous Days' Work?
Like a master chef with leftover ingredients, you're wondering if you can reuse excess mortar from previous days' work. The answer is yes, but with caution.
Proper mortar storage is essential to maintaining its consistency. If stored in airtight containers, protected from air and moisture, you can reuse it.
However, if it's been exposed or has changed consistency, it's best to err on the side of caution and mix a fresh batch to guarantee a strong and durable bond.
What Is the Ideal Temperature for Laying Concrete Blocks Outdoors?
When laying concrete blocks outdoors, you'll want to aim for ideal weather conditions.
Temperature plays an essential role, as it affects the mortar's setting time and strength. Ideally, you should work in temperatures between 40°F and 90°F (4°C and 32°C).
Avoid extreme temperatures, as they can lead to weak or brittle joints. If it's too hot, the mortar will set too quickly, while cold temperatures will slow it down.
Find a comfortable middle ground for the best results.
Conclusion
As you stand back to admire your handiwork, the neatly stacked blocks seem to rise like a fortress from the ground. You've conquered the concrete jungle, and your structure stands strong.
With these five essential tools in your arsenal, you've tamed the beast of block-laying, mastering the art of compaction, leveling, cutting, mixing, and finishing.
Your creation is a symbol of your skill and precision, a monument to the power of the right tools in the right hands.
Related Posts
-

7 Tools to Fix Damaged Concrete Floors
You're about to tackle that damaged concrete floor, and the right tools are essential for a successful repair. Start ...
-

Top Mixing Tools for DIY Concrete Block Laying
When it comes to DIY concrete block laying, the right mixing tools are vital for a strong and durable structure. You'...
-

Must-Have Tools for Concrete Planter Projects
As you commence your concrete planter project, you'll need a range of specialized tools to achieve professional-grade...


