5 Best DIY Tools for Beginner Concrete Projects
Share
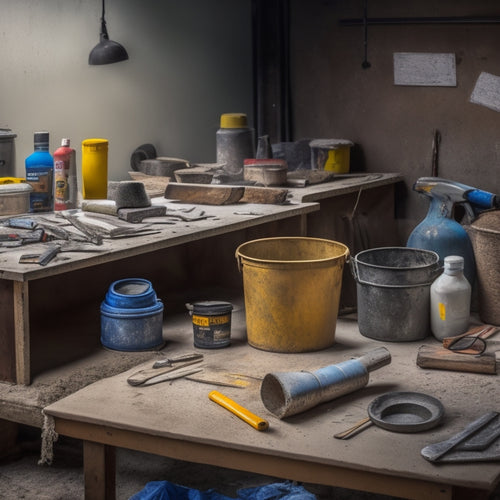
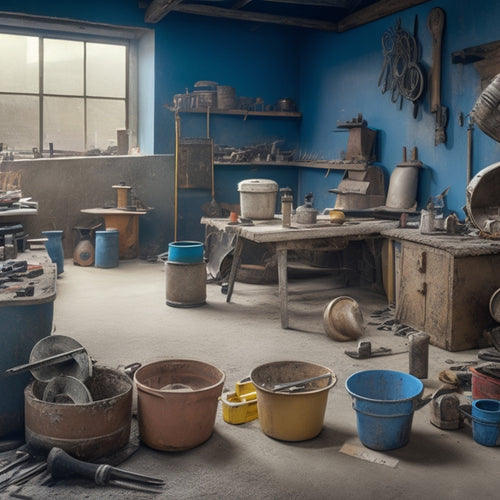
You'll need a reliable mixing system, including a high-quality concrete mixer and adjustable speed controls, to guarantee consistent results in your DIY concrete project. A digital scale or concrete-specific measuring cups will ensure precise ratios. For a professional-grade finish, invest in a trowel, float, and finishing tools like bull floats and edgers. Don't forget essential edge and joint forming tools, such as a joint trowel and edging chisel. Finally, prioritize safety with heavy-duty gloves, safety goggles, and a breathable mask. With these must-haves, you'll be well on your way to creating a stunning concrete piece - and there's more to explore to take your project to new heights.
Key Takeaways
• A high-quality concrete mixer with adjustable speed controls is essential for thorough blending of ingredients and consistent results.
• A digital scale or concrete-specific measuring cups ensure precise ratios and prevent errors in concrete integrity.
• A set of trowels, including a float and finishing tools, is necessary for spreading, smoothing, and refining concrete surfaces.
• Edge and joint forming tools, such as a joint trowel, edger, and joint spacers, help create clean, defined edges and joints.
• Safety gear, including heavy-duty gloves, safety goggles, and a breathable mask, protects against injuries and chemical exposure.
Mixing and Measuring Essentials
You'll need a reliable mixing and measuring system to guarantee consistent results in your concrete projects. This is vital, as even slight variations can compromise the strength and durability of your final product.
To achieve peak mixing techniques, invest in a high-quality concrete mixer that can handle the volume of your project. Look for features like adjustable speed controls and a robust mixing drum to assure thorough blending of ingredients.
Measuring accuracy is equally important, as incorrect proportions can lead to weak or brittle concrete. Use a digital scale or measuring cups specifically designed for concrete mixing to secure precise ratios of cement, aggregate, and water. Avoid using makeshift containers or inconsistent measuring methods, as this can introduce errors and compromise the integrity of your concrete.
Concrete Finishing and Smoothing
Frequently, even the most meticulously mixed and poured concrete requires additional refinement to achieve a smooth, professional-grade finish. As you work on your DIY concrete project, you'll find that finishing and smoothing are vital steps in achieving the desired surface texture. To get started, you'll need the right tools and techniques to refine your concrete surface.
Here are some essential tools and techniques to master:
-
Trowel techniques: Learn to use your trowel to spread and smooth out the concrete, creating an even surface. This will help you achieve a uniform texture and remove any air pockets or bubbles.
-
Surface textures: Experiment with different surface textures, such as smooth, broomed, or stamped, to add visual interest to your project. This will also help you achieve a unique, personalized look.
-
Float and finishing tools: Invest in a set of float and finishing tools, such as a bull float, edger, and finishing trowel, to help you refine and smooth out the concrete surface.
Edge and Joint Forming Tools
With your concrete surface refined and smoothed, turn your attention to defining the edges and forming joints that will add structural integrity and visual appeal to your project.
Now it's time to focus on the tools that'll help you achieve professional-looking results.
For edge forming, you'll need a combination of hand tools and specialized equipment. A joint trowel or edger will help you create clean, defined edges, while an edging chisel or jointer will allow you to remove excess concrete and create a crisp joint. Don't forget a spirit level and a straightedge to guarantee your edges are straight and level.
When it comes to joint forming, proper joint spacing is essential. A joint spacer or joint clip will help you maintain consistent joint spacing, while a joint cutter or concrete saw will enable you to make precise cuts for expansion joints.
Familiarize yourself with formwork techniques to guarantee your joints are properly aligned and spaced. By mastering these tools and techniques, you'll be able to create a concrete project that's both functional and visually stunning.
Safety and Protective Gear
Before starting your concrete project, gear up with the necessary safety and protective equipment to minimize the risk of injury and secure a successful outcome. As a beginner, it's vital to prioritize your safety above all else. Concrete projects can be hazardous, and without the right gear, you're exposing yourself to potential harm.
To guarantee a safe and successful project, make sure you have the following essential safety and protective gear:
-
Protective gloves: Heavy-duty gloves will protect your hands from abrasions, cuts, and chemical exposure. Look for gloves with grip patterns to prevent slipping and dropping tools.
-
Safety goggles: Safety goggles or glasses will shield your eyes from debris, dust, and chemical splashes. They're a must-have when working with power tools or mixing concrete.
-
Breathable mask or respirator: A breathable mask or respirator will protect you from inhaling dust, silica, and other airborne particles. This is especially important when sanding or grinding concrete.
Don't compromise on your safety – invest in these essential tools to secure a successful and injury-free concrete project.
Concrete Molds and Shaping
You'll need to create a mold or form to shape your concrete into the desired design, and the type of mold you choose will depend on the project's complexity and the finish you want to achieve.
There are various concrete mold types, such as silicone, plastic, or wooden molds, each with its own advantages and limitations. Silicone molds, for instance, are flexible and ideal for complex shapes, while wooden molds are more cost-effective and suitable for larger projects.
When it comes to shaping techniques, you'll need to determine the level of detail and precision required for your project. This may involve using specialized tools, such as trowels, floats, or edgers, to achieve the desired texture and finish.
You may also need to take into account techniques like stamping, stenciling, or carving to add patterns or designs to your concrete.
By selecting the right mold and mastering various shaping techniques, you'll be able to create stunning concrete pieces that showcase your creativity and skill.
With practice and patience, you'll be able to produce high-quality concrete projects that rival those of professionals.
Frequently Asked Questions
Can I Use a Regular Drill for Mixing Concrete?
You're wondering if a regular drill can handle mixing concrete?
The answer is, it depends on the drill type and your mixing techniques. A standard drill won't cut it, but a heavy-duty drill with a high torque output (like a hammer drill or impact driver) can get the job done.
However, you'll need to use the right mixing techniques, such as slow and steady movements, to avoid over-mixing and damaging the drill.
How Do I Remove Dried Concrete From My Tools?
Did you know that 75% of DIYers struggle with concrete removal from their tools? You're not alone!
To tackle this issue, you'll need to master concrete removal techniques. Start by soaking your tools in warm water and mild detergent. Then, use a wire brush or scraper to gently remove dried concrete. Finally, apply a rust-inhibiting coating to protect your tools.
Regular tool maintenance tips, like cleaning and storing your tools properly, can also prevent concrete buildup in the future.
Can I Mix Concrete in a Plastic Bucket?
When mixing concrete in a plastic bucket, you'll want to choose the right one.
Opt for a heavy-duty, thick-walled bucket with a smooth interior to prevent concrete from sticking. Avoid thin, flimsy buckets that can crack or break under the weight of the mix.
Mixing techniques also matter - use a sturdy mixing stick or a drill with a paddle attachment to achieve a smooth, consistent blend.
Do I Need to Seal My Concrete Project After Completion?
You're about to reveal the secret to making your concrete project last a lifetime - or at least, it'll feel like it!
When you're done, you'll want to seal your masterpiece to protect it from the elements.
Trust us, sealing isn't optional; it's essential for concrete durability.
You'll need to master various sealing techniques to guarantee a watertight finish.
Don't worry, with the right tools and a bit of practice, you'll be a pro in no time!
Can I Use Concrete for Outdoor Projects in Freezing Temperatures?
When working with concrete in freezing temperatures, you'll need to take extra precautions to guarantee proper curing.
In cold weather, concrete curing slows down, making it more susceptible to damage. You'll want to protect your project from frost and ice by using insulating blankets, tarps, or heated enclosures.
Additionally, consider using cold-weather concrete mixes or accelerators to speed up the curing process.
Conclusion
You've got the basics covered, and now you're ready to tackle your first concrete project.
Remember, with the right DIY tools, the possibilities are endless. In fact, according to the National Ready Mixed Concrete Association, the U.S. concrete industry generates over $100 billion in annual sales. That's a lot of concrete!
With these essential tools, you'll be well on your way to creating stunning concrete pieces that will make you proud.
Get mixing, and happy building!
Related Posts
-

3 Best Tools to Buy for Concrete Repair Online
When buying tools for concrete repair online, you'll want to research multiple retailer options to find the best prod...
-

Best Tools for Concrete Restoration and Repair
When tackling concrete restoration and repair projects, you need a range of reliable tools to achieve professional-gr...
-

Top Tools for Concrete Adhesion Success
When it comes to concrete adhesion success, you'll need to wield the right tools and techniques to guarantee a strong...


