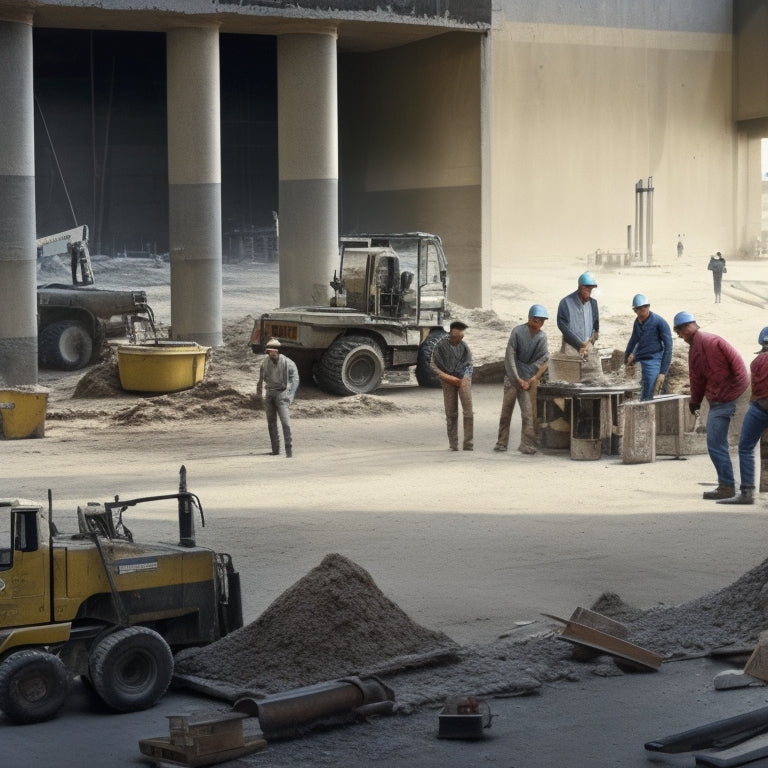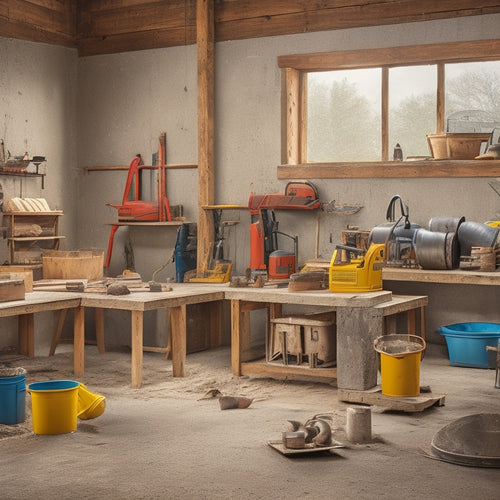
Top Tools for Efficient Concrete Repair Cleanup
Share
To tackle concrete repair cleanup efficiently, you'll need a range of essential tools and supplies. For cleaning concrete cracks, wire brushes, scrapers, and vacuums are must-haves, while safety gear like gloves and safety glasses protect you from debris and harsh chemicals. When it comes to removing debris and dust, wire brushes, HEPA vacuums, and damp cloths are key. For efficient surface cleaning, use a systematic approach, scrapers, and pressure washers with concrete-specific cleaning solutions. With the right tools and techniques, you'll be well on your way to a successful cleanup - and exploring the finer points of concrete repair cleanup will reveal even more strategies for achieving professional results.
Key Takeaways
• Use a wire brush to remove loose debris from cracks and a scraper/putty knife to scrape away old sealants or adhesives.
• Equip with a HEPA vacuum and handheld scraper for efficient debris and dust removal.
• A damp cloth/sponge is essential for wiping away remaining dirt and grime after cleaning concrete surfaces.
• Safety gear, including gloves, safety glasses, and dust masks, is crucial for protection during concrete repair cleanup.
• A pressure washer with a wide fan tip and concrete-specific cleaning solution can be used for thorough and efficient cleaning.
Essential Cleaning Supplies Needed
You'll regularly reach for a few fundamental cleaning supplies to effectively tackle concrete repair cleanup tasks. These essential items will help you remove dirt, grime, and old adhesive residue from the concrete surface, ensuring a strong bond between the old and new concrete.
First and foremost, you'll need a reliable cleaning agent, such as a degreaser or a mild detergent, to break down and remove stubborn stains and grime. Make sure to choose a cleaning agent that's specifically designed for concrete surfaces to avoid damaging the material.
Additionally, don't forget to prioritize your safety by wearing the necessary safety gear, including gloves, safety glasses, and a dust mask. These will protect you from harsh chemicals, flying debris, and inhaling dust and particles.
A stiff-bristled broom or scrub brush will also come in handy for agitating the cleaning agent and dislodging stubborn dirt and debris.
With these essential cleaning supplies at your disposal, you'll be well-equipped to tackle even the toughest concrete repair cleanup tasks with confidence.
Best Tools for Cleaning Concrete Cracks
Several specialized tools are necessary to effectively clean concrete cracks, and a wire brush is usually the first tool to reach for in this process.
You'll use it to remove any loose debris or dirt that may be obstructing the crack. This is a critical step in surface preparation, as a clean crack is essential for successful crack sealing.
When cleaning concrete cracks, you'll want to have the following tools at your disposal:
-
A stiff-bristled wire brush for removing loose debris
-
A scraper or putty knife for removing old sealants or adhesives
-
A vacuum or blower to remove dust and debris
-
A damp cloth or sponge for wiping away dirt and grime
-
A pair of safety goggles and gloves to protect yourself from debris and chemicals
Removing Debris and Dust Effectively
Removing Debris and Dust Effectively
To remove debris and dust effectively from concrete cracks, start by using a stiff-bristled wire brush to aggressively sweep away loose particles and dirt. This initial step is essential in preventing debris from getting trapped in the concrete, making it harder to clean and repair.
Next, utilize a vacuum cleaner with a HEPA filter to capture fine dust particles, guaranteeing effective dust control. Make sure to vacuum slowly and methodically to avoid spreading debris around.
For more stubborn debris, consider using a handheld scraper or a putty knife to gently pry out stuck particles. Remember to always work in small sections to maintain control over the debris management process.
As you remove debris, regularly inspect the area to verify all particles have been removed. Finally, use a damp cloth to wipe away any remaining dust or dirt, taking care not to soak the concrete.
Efficiently Cleaning Concrete Surfaces
When you're preparing a concrete surface for repair, you'll need to guarantee it's free from debris and thoroughly cleaned.
You'll want to remove all loose material, including dirt, oil, and old adhesive, to create a clean slate for the repair process.
Remove Debris Completely
By sweeping or blowing away loose debris, you can efficiently clear the concrete surface of dirt, dust, and chipped concrete fragments, preparing it for more thorough cleaning and eventual repair.
This initial step is vital in guaranteeing a successful concrete repair job. Effective debris removal sets the stage for a smooth and durable repair.
Here are some essential tips to keep in mind for complete debris removal:
-
Use the right broom or blower: Choose a sturdy broom or blower that can withstand the rigors of concrete cleanup.
-
Sweep in sections: Divide the concrete surface into sections to maintain a systematic approach and avoid missing spots.
-
Dispose of debris properly: Guarantee responsible debris disposal to prevent environmental hazards and maintain a clean worksite.
-
Remove stubborn debris: Use specialized tools, such as a scraper or wire brush, to remove stubborn debris that resists sweeping or blowing.
-
Inspect the surface: Conduct a thorough visual inspection to guarantee all debris has been removed, leaving the surface ready for further cleaning and repair.
Pressure Wash Effectively
With the concrete surface now clear of debris, you're ready to apply the high-pressure water stream that will dislodge and remove dirt, grime, and other substances that can compromise the bond between the old and new concrete.
To pressure wash effectively, it's crucial to use the right pressure washing techniques. Start by setting your pressure washer to a wide fan tip (25°-40°) and maintain a distance of 12-18 inches from the surface. This will help prevent damaging the concrete.
Next, use a cleaning solution specifically designed for concrete to enhance the cleaning power of the water. Apply the solution according to the manufacturer's instructions, and let it dwell for 5-10 minutes to allow the solution to penetrate the surface.
Then, use a slow, overlapping motion to pressure wash the surface, working in sections to maintain even coverage. Finally, use a wide-angle spray nozzle to rinse the surface thoroughly, ensuring all soap residue is removed.
Specialized Equipment for Tough Jobs
You'll need to break out the heavy artillery for tough concrete repair jobs that require removing thick, hardened material or scaling massive surfaces, which is where specialized equipment comes in. When dealing with stubborn concrete, you can't rely on basic tools to get the job done efficiently. That's why you'll need to invest in equipment specifically designed for heavy-duty concrete repair cleanup.
Here are some must-haves for tackling tough concrete repair jobs:
-
Concrete grinders: For removing thick, hardened material and smoothing out rough surfaces
-
Scalers: For scaling massive surfaces and removing old surface sealants
-
Floor scrapers: For removing old coatings, adhesives, and other stubborn substances
-
Chipping hammers: For breaking up and removing thick, hardened concrete
-
Vacuum systems: For containing and removing debris and dust generated during the repair process
With these specialized tools in your arsenal, you'll be well-equipped to tackle even the toughest concrete repair jobs with confidence and precision.
Preventing Future Crack Formation
To prevent future crack formation, it's vital to identify and address the underlying causes of concrete deterioration, such as poor drainage, inadequate curing, or insufficient joint spacing. By doing so, you'll be able to develop effective crack prevention strategies that guarantee the longevity of your concrete repairs.
Start by evaluating the site conditions and identifying potential weaknesses in the concrete structure. This will help you pinpoint areas that require additional attention and maintenance.
Implementing regular maintenance strategies is key to preventing future crack formation. This includes guaranteeing proper drainage, applying sealants or coatings to protect the concrete from environmental factors, and performing regular inspections to catch any potential issues early on.
Additionally, consider implementing joint sealing and repair techniques to prevent water infiltration and further damage. By taking a proactive approach to crack prevention, you'll be able to extend the lifespan of your concrete repairs and reduce the need for costly and time-consuming repairs down the line.
Final Inspection and Touch-Ups
As you near the completion of your concrete repair project, it's essential that you conduct a thorough final inspection to guarantee the job meets your quality standards.
You'll want to carefully check for any defects or imperfections that may have arisen during the repair process.
Check for Defects
During the final inspection, carefully scrutinize the repaired area to identify any defects or imperfections that may have been overlooked. This is your last chance to catch any mistakes before considering the job complete. Effective defect detection relies on thorough inspection techniques, so don't rush through this step.
As you inspect, keep an eye out for:
-
Inconsistencies in the repair material's texture or color
-
Cracks or fractures that may have developed during the repair process
-
Areas where the repair material may have pulled away from the surrounding concrete
-
Inadequate coverage or uneven application of the repair material
-
Any signs of water infiltration or leakage around the repaired area
Verify Repairs Complete
You've reached the final stage of the concrete repair process, where a meticulous verification of the repairs is essential to confirm a job well done.
This final inspection is critical to ascertain that the repair meets the required quality standards and that all defects have been adequately addressed. As you conduct the repair verification, pay close attention to every detail, no matter how small it may seem.
| Verification Checklist | Action Item |
|---|---|
| Verify all defects have been repaired | Check for any remaining cracks or damage |
| Inspect the repair area for cleanliness | Confirm the area is free from debris and dust |
| Check for proper bonding and adhesion | Verify that the repair material has bonded correctly |
| Verify the repair meets quality standards | Compare the repair to the original specifications |
Confirm Quality Standards
With the verification checklist complete, focus on conducting a meticulous final inspection to confirm the repair meets the required quality standards. This is your last chance to guarantee the repair quality is up to par and meets the client's expectations. Take your time to thoroughly examine the repaired area, paying attention to even the smallest details.
Here are some key aspects to focus on during the final inspection:
-
Check for any visible defects, such as cracks, unevenness, or discoloration.
-
Verify that all edges and joints are properly sealed and aligned.
-
Ascertain the repair material is evenly distributed and matches the surrounding concrete.
-
Test the surface for any signs of weakness or instability.
-
Compare the repaired area to the original inspection checklist to confirm all issues have been addressed.
Frequently Asked Questions
Can I Use Household Cleaners for Concrete Repair Cleanup?
When it comes to concrete repair cleanup, you might be wondering if you can use household cleaners to get the job done.
While it's tempting to reach for what's under the sink, the effectiveness of household cleaners is limited. They may not be strong enough to remove stubborn concrete stains, and some can even damage the surface.
You'll want to opt for specialized cleaners designed specifically for concrete stain removal to guarantee a thorough and safe cleanup.
How Do I Protect Surrounding Surfaces During Cleanup?
When working on a concrete repair project, you'll want to protect surrounding surfaces from damage and stains.
To do this, you'll need to set up surface coverings and protective barriers before starting the cleanup process.
Lay down drop cloths or plastic sheets to cover adjacent areas, and apply masking film or tape to create a seal.
This will prevent any cleaning solutions or debris from spreading and causing unwanted damage.
What Safety Gear Is Necessary for Concrete Repair Cleanup?
You might think you're being overly cautious, but trust us, safety gear isn't an area to skimp on.
When tackling concrete repair cleanup, you're dealing with harsh materials and hazardous debris.
You'll need safety goggles to shield your eyes from flying particles and dust masks to prevent inhaling harmful silica dust.
Don't risk your health - invest in proper protection to guarantee a safe and successful cleanup process.
Can I Reuse Cleaning Tools and Supplies?
When it comes to cleaning tool maintenance, you're probably wondering if you can reuse your gear. The answer is, it depends.
While some tools can be reused, others should be replaced to avoid contaminating future projects.
Proper supply storage solutions are key to extending the life of your equipment. You'll want to clean and dry your tools thoroughly, then store them in a dry, protected area to prevent damage.
How Long Does Concrete Repair Cleanup Typically Take?
When tackling a concrete repair project, you're likely wondering how long the cleanup process will take.
The cleanup duration largely depends on the project's scope and size. Typically, it can range from a few hours for small repairs to several days for larger, more complex projects.
Factors like the type of concrete, amount of debris, and your level of experience also play a role.
Conclusion
By following the steps outlined in this guide, you'll be well on your way to efficient concrete repair cleanup.
For instance, consider the case of a construction company that was tasked with repairing a 10,000-square-foot concrete parking garage.
By utilizing a combination of wire brushes, HEPA vacuum cleaners, and specialized concrete cleaning solutions, they were able to complete the job 30% faster than anticipated, saving thousands of dollars in labor costs.
Related Posts
-

What Tools to Rent for a Concrete Home Reno
When tackling a concrete home renovation, you'll need to rent a variety of specialized tools to get the job done. For...
-

Top Tools for Revamping Old Concrete Floors
You'll need a range of tools to revamp your old concrete floor, starting with epoxy, acrylic, or polyurethane paint, ...
-

10 Best Tools for Sealed Concrete Finishing Success
When it comes to sealed concrete finishing success, you need a robust arsenal of specialized tools. Start with essent...


