Top Tools for a Successful Stamped Concrete Job
You'll need a range of specialized tools to execute a successful stamped concrete job. Start with concrete preparation tools like subgrade assessment and compacting tools, followed by stamping pattern tools such as texture mats and pattern mats. Don't forget finishing and texturing tools like tamping tools and float blades. Next, consider color and sealer application tools, as well as safety and protective gear like hard hats and respirators. Finally, measuring and layout essentials like laser levels and grid paper will guarantee accuracy and precision. With these tools in your arsenal, you'll be well-equipped to tackle any stamped concrete project - and it's just the beginning of what you'll need to know to achieve perfection.
Key Takeaways
• A comprehensive set of tools is essential for a successful stamped concrete job, including concrete preparation, stamping pattern, and finishing tools.
• Selecting the right stamping pattern tools, such as mats and stamps, is crucial for achieving the desired texture and design.
• Finishing and texturing tools, like tamping tools and float blades, are necessary for a polished finish and to remove excess material.
• Color and sealer application tools, including color mixing techniques and sealer options, enhance the aesthetic and durability of the concrete.
• Safety and protective gear, such as hard hats and respirators, are vital for protecting workers from hazardous materials and injuries.
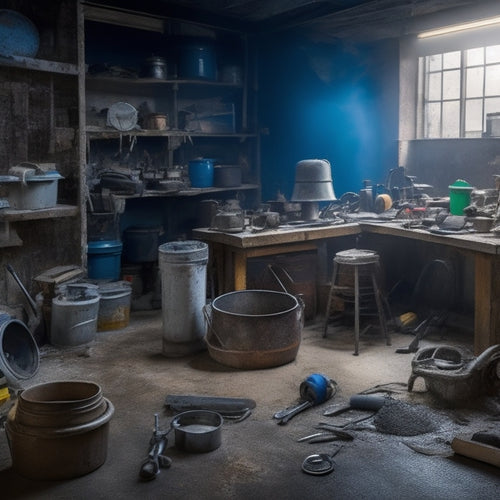
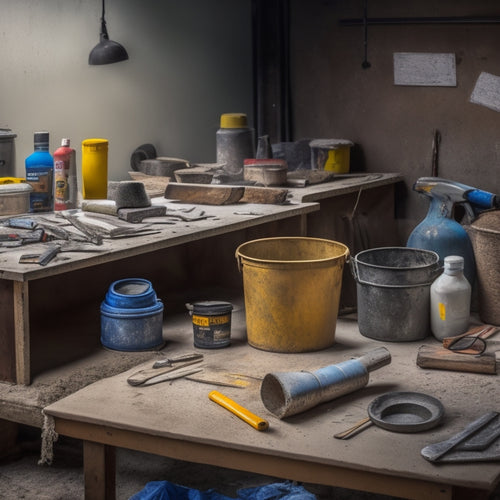
Essential Concrete Preparation Tools
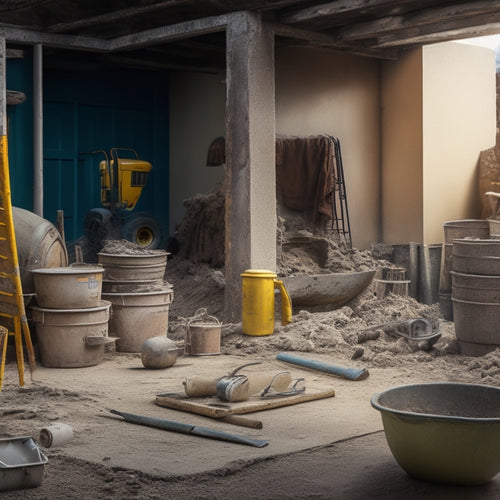
To guarantee a successful stamped concrete project, you'll need to start with a solid foundation, which requires using the right essential concrete preparation tools to prepare the site and mix the concrete.
A thorough subgrade assessment is vital to identify any underlying issues that could affect the concrete's performance. You'll need to inspect the site for any signs of settlement, cracks, or instability. Additionally, you should test the soil's density and moisture levels to determine the best course of action for moisture control.
Next, you'll need to prepare the subgrade by compacting and leveling the soil. This can be achieved using plate compactors, rammers, or rollers, depending on the soil type and condition.
Once the subgrade is prepared, you can proceed to lay down a layer of compacted aggregate material, such as crushed stone or sand, to provide a stable base for the concrete.
With the site prepared, you can then focus on mixing and pouring the concrete, using tools like mixers, trowels, and finishing tools to achieve the desired finish.
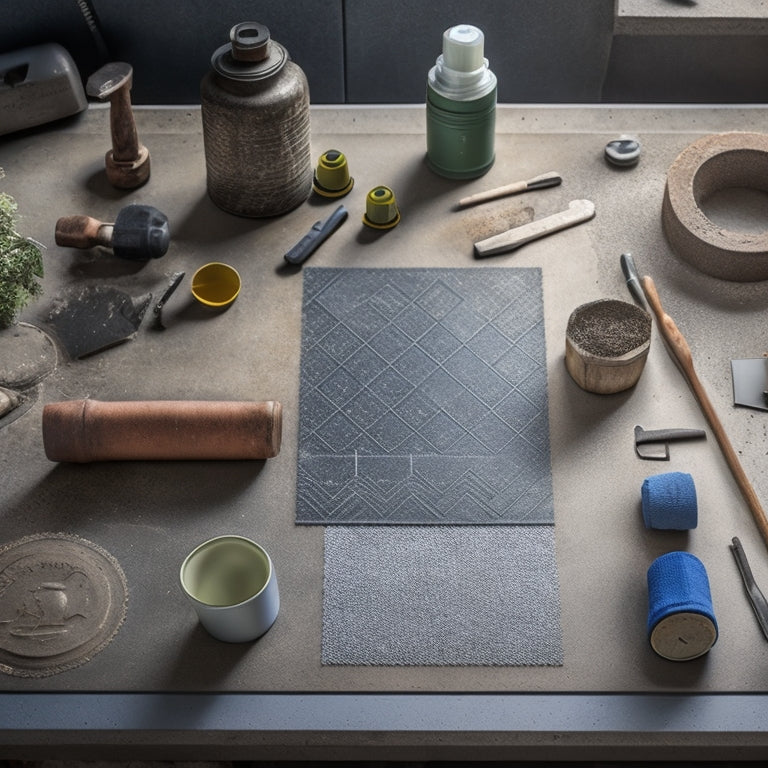
Must-Have Stamping Pattern Tools
When you're preparing to stamp concrete, you'll need the right pattern tools to achieve the desired design.
You'll want to choose from a selection of mats that fit your project's unique requirements, considering factors like texture, pattern, and scale.
Pattern Selection Guide
You'll need a solid understanding of pattern selection to achieve the desired look for your stamped concrete project, and that's where the right tools come in. A well-chosen pattern can elevate the entire aesthetic of your design, while a poorly selected one can fall flat.
When it comes to pattern selection, you'll want to take into account factors like design inspiration and pattern durability.
For design inspiration, look to natural materials like stone, wood, or brick. Reflect on the color palette and texture you want to achieve, as well as the overall style you're aiming for. Think about the space where the stamped concrete will be installed – will it be indoor or outdoor, and what kind of foot traffic will it see? This will help you narrow down your options and choose a pattern that fits the bill.
When it comes to pattern durability, you'll want to evaluate the wear and tear the concrete will face. Will it be exposed to heavy foot traffic, extreme weather conditions, or heavy machinery? Choose a pattern that's designed to withstand these stresses, and don't be afraid to ask for expert advice if you're unsure.
Stamp Mat Options
With your pattern selection criteria in mind, it's time to choose the right stamp mat options to bring your design to life. You'll want to reflect on the type of stamp mat materials and designs that will achieve the desired look.
Here are some must-have stamping pattern tools to add to your arsenal:
-
Texture mats: These mats create a textured, irregular pattern that mimics natural stone or rock. They're perfect for adding depth and visual interest to your design.
-
Pattern mats: These mats feature repeating patterns, such as brick, stone, or wood, that can be used to create a uniform look.
-
Accent mats: These mats are used to add decorative elements, like borders or centerpieces, to your design.
- Flexible mats: These mats are made of a flexible material that can be bent to fit curved or irregular surfaces.
When selecting stamp mat options, reflect on the specific requirements of your project, including the size and shape of the area to be stamped, the desired pattern and texture, and the level of detail you want to achieve.
Texture and Design
Selecting the right texture and design tools is essential to achieving the desired aesthetic and durability of your stamped concrete surface. You'll want to take into account the latest design trends and texture techniques to guarantee your project stands out. Here are some must-have stamping pattern tools to add to your arsenal:
| Tool | Description |
|---|---|
| Herringbone Stamp | Creates a classic, zig-zag pattern ideal for driveways and walkways |
| Ashlar Slate Stamp | Produces a natural, stone-like texture with varying depths and angles |
| Roman Slate Stamp | Offers a subtle, textured look with a Mediterranean flair |
| Wood Grain Stamp | Mimics the look of real wood, perfect for outdoor living spaces |
| Fractal Stamp | Generates a unique, geometric pattern with endless design possibilities |
These stamping pattern tools will help you achieve a wide range of textures and designs, from classic to modern. By incorporating them into your workflow, you'll be able to create stunning, one-of-a-kind stamped concrete surfaces that meet your clients' unique needs and exceed their expectations.
Finishing and Texturing Tools
When you're working with stamped concrete, you'll need to finish and texture the surface to achieve the desired look.
You'll rely on specialized tools to get the job done, including tamping and edging tools that help refine the edges and surfaces.
Tamping and Edging Tools
You'll need tamping and edging tools to achieve a smooth, even surface and crisp, clean edges in your stamped concrete design. These tools are essential for creating a professional-looking finish that enhances your design's overall aesthetic.
When it comes to tamping, you'll want to master various techniques to accomplish the desired texture and pattern. Here are some essential tamping and edging tools to have in your arsenal:
-
Tamping tools: Use these to compress and flatten the concrete, removing any air pockets and excess water. You'll need a combination of hand tampers and walk-behind tampers to cover large areas.
-
Edging tools: These are used to create clean, sharp edges and define the boundaries of your design. Choose from edging trowels, edging chisels, and edging machines to achieve the desired edging style.
-
Jointing tools: These are used to create control joints, which help prevent cracking and ascertain the concrete sets properly.
- Float blades: These are used to smooth out the surface and remove any excess material, leaving a smooth finish.
Stamp Mat Patterns
With your tamped and edged surface in place, it's time to add the final decorative touch with stamp mat patterns, which come in a wide range of designs and textures to mimic natural materials or create unique visual effects.
You'll find stamp mats that replicate the look of stone, wood, or brick, as well as more abstract designs.
When choosing a stamp mat pattern, consider the overall aesthetic you want to achieve and the level of detail you need.
Color and Sealer Application
By carefully selecting and applying the right colors and sealers, you can greatly enhance the aesthetic appeal and durability of your stamped concrete project.
To achieve the desired color, you'll need to master color mixing techniques, which involve combining different pigments to create unique shades and hues. This process requires precision and patience, but the results are well worth the effort.
When it comes to sealers, you have several options to choose from, each with its own strengths and weaknesses.
Here are four key considerations to keep in mind:
-
Acrylic sealers: Provide a high-gloss finish and are easy to apply, but may not offer the same level of protection as other types.
-
Polyurethane sealers: Offer excellent durability and resistance to wear, but can be more difficult to apply and may yellow over time.
-
Epoxy sealers: Provide a strong, chemical-resistant finish, but can be expensive and require special application equipment.
- Silane-based sealers: Penetrate deep into the concrete to provide long-lasting protection, but may not enhance the appearance of the surface.
Safety and Protective Gear
As you prepare to tackle your stamped concrete project, donning the right safety and protective gear is essential to preventing injuries and ensuring a successful outcome. You'll be working with heavy materials, power tools, and potentially hazardous chemicals, so it's important to prioritize your safety.
| Protective Equipment | Purpose |
|---|---|
| Hard hat | Protects from falling objects/debris |
| Safety glasses | Shields eyes from flying particles/chemical splashes |
| Steel-toed boots | Guards feet from heavy objects/crushing injuries |
| Gloves | Provides grip and protects hands from abrasions/cuts |
| Respirator | Filters air to prevent inhalation of hazardous materials |
Developing a thorough understanding of safety protocols is critical to a successful stamped concrete job. Familiarize yourself with the safety features of your tools and equipment, and establish clear emergency procedures in case of accidents. With the right protective equipment and a solid understanding of safety protocols, you'll be well-equipped to tackle your project with confidence and minimize the risk of injury.
Measuring and Layout Essentials
You'll need to accurately measure and layout your design to secure a precise and professional-looking stamped concrete finish. Measurement accuracy is vital in achieving the desired pattern and texture. A small mistake can lead to a flawed finish, wasting time, materials, and resources.
To guarantee a successful stamped concrete job, you'll need the following essential tools for measuring and layout:
-
Laser Level: Secures accurate layout and leveling of the concrete surface.
-
Measuring Tape: Allows for precise measurement of the area to be stamped.
-
Chalk Lines: Helps create straight lines and patterns for the stamp design.
- Grid Paper: Enables you to scale and transfer your design onto the concrete surface.
Mastering layout techniques and achieving measurement accuracy are critical skills for any stamped concrete professional. By using these essential tools, you'll be able to create a precise and professional-looking finish that meets your clients' expectations.
Frequently Asked Questions
How Do I Ensure Consistent Color Distribution Throughout the Concrete?
To guarantee consistent color distribution, you'll want to perfect your color mixing technique, selecting pigments that complement the concrete's natural tone, and then carefully calibrate the mixing ratio to achieve a uniform hue throughout the pour.
Can I Use a Regular Broom for Applying Release Agents?
You'll want to choose a broom specifically designed for release agent application, as regular brooms can leave fibers behind, affecting the final finish; opt for a high-quality, nylon-bristle broom or foam brush for best results.
What Is the Ideal Temperature for Stamping Concrete?
When you're planning your stamping techniques, you'll want to guarantee the ideal temperature for stamping concrete is between 50°F and 70°F, as temperature effects can impact the final outcome, affecting texture, pattern, and overall quality.
How Do I Fix Bubbles That Form During the Stamping Process?
When bubbles form during stamping, you'll need to act fast; to prevent them, guarantee proper surface preparation, and consider using a bubble-releasing agent or retarder to slow the set, allowing you to trowel them out.
Can I Stamp Concrete in the Rain or High Winds?
You shouldn't stamp concrete in the rain or high winds, as these weather conditions can compromise the concrete's integrity and affect your stamping techniques, leading to subpar results and potential rework.
Conclusion
With the right arsenal of tools, you'll be well-equipped to tackle even the most complex stamped concrete projects.
From preparation to finishing, every step requires precision and finesse.
By mastering these top tools, you'll reveal the secret to transforming ordinary concrete into extraordinary works of art that will leave clients in awe.
So, gear up and get ready to stamp your mark on the world of concrete craftsmanship!
Related Posts
-
7 Tools to Fix Damaged Concrete Floors
You're about to tackle that damaged concrete floor, and the right tools are essential for a successful repair. Start ...
-
3 Best Tools to Buy for Concrete Repair Online
When buying tools for concrete repair online, you'll want to research multiple retailer options to find the best prod...
-
What Tools Are Needed for Concrete Wall Foundations
You'll need a thorough array of tools and equipment to construct a concrete wall foundation that meets structural int...


