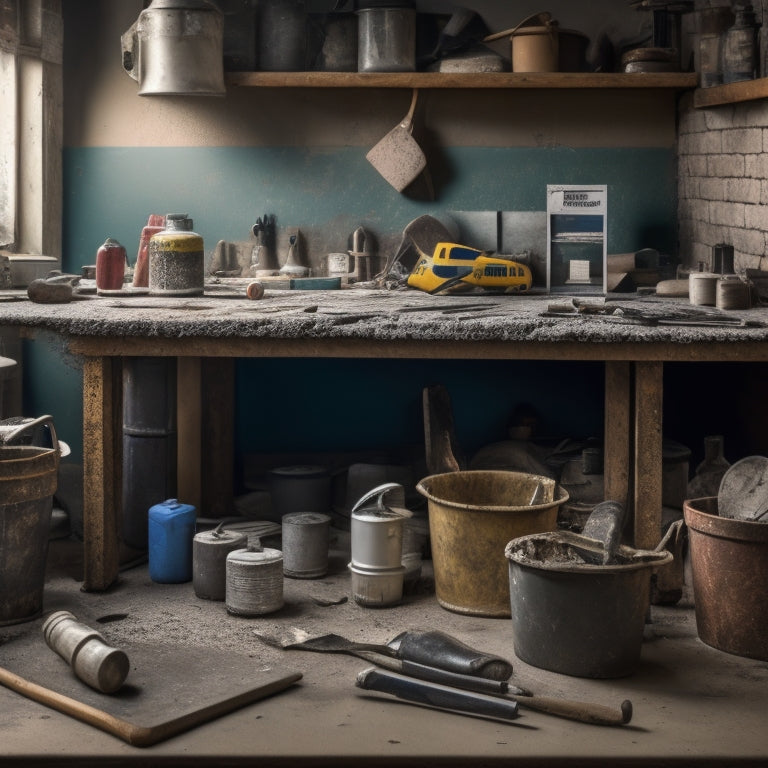
Top DIY Concrete Repair Tools for Home Owners
To tackle common concrete issues like cracks and uneven surfaces, you'll need a thorough set of DIY concrete repair tools, including a trowel, jointer, edger, and high-quality sealing products. For crack repair and injection, you'll require assessment and preparation tools, as well as injection techniques. Floor leveling and smoothing tools, like self-leveling compounds, are also essential. Additionally, you'll need concrete patching and filling materials, surface cleaning and preparation tools, grinding and polishing tools, edging and joint repair tools, and measuring and testing equipment. Now that you have a sense of what's involved, you can take the next step towards successfully restoring your concrete surfaces.
Key Takeaways
• A trowel, jointer, and edger are essential tools for applying and smoothing concrete mix, creating seamless joints, and defining clean edges.
• Crack repair and injection techniques require assessment, preparation, and injection of epoxy or polyurethane to restore concrete integrity.
• Floor leveling and smoothing involve cleaning, applying self-leveling compound, and sanding for a uniform and durable surface.
• Concrete patching and filling tools, such as patching compound and rapid-set concrete, are necessary for restoring structural integrity to concrete surfaces.
• Grinding and polishing tools, including angle grinders and polishers, remove imperfections and achieve smooth, high-gloss finishes on concrete.
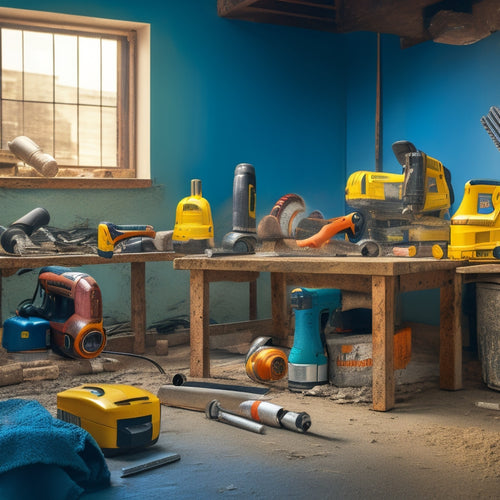
Essential Tools for Concrete Repair
You'll need a well-stocked toolkit to tackle concrete repair projects, and your arsenal should include a trowel, jointer, and edger, among other essentials. These tools will help you prepare the surface, apply the concrete mix, and finish the job with a professional touch.
A trowel, for instance, is perfect for applying and smoothing out the concrete mix, while a jointer is used to create a seamless joint between old and new concrete. An edger, on the other hand, helps to create a clean, defined edge around the repaired area.
When it comes to sealing products, you'll want to choose a high-quality option that's suitable for your specific project. This could include sealers, coatings, or other specialized products designed to protect the concrete from the elements and extend its lifespan.
Crack Repair and Injection
Often, crack repair and injection are crucial steps in the concrete repair process, as they enable you to effectively address hairline cracks and larger fissures that can compromise the structural integrity of the concrete.
Before you start, it's important to conduct a thorough crack assessment to determine the extent and severity of the damage. This will help you choose the most suitable injection techniques and materials for the job.
When it comes to crack repair, you'll need to clean and prepare the area, then fill the crack with a suitable epoxy or polyurethane-based material. For more extensive damage, injection techniques may be necessary to fill voids and stabilize the surrounding concrete.
In this case, you'll need to drill holes and inject the material under pressure to guarantee a strong bond. By mastering these techniques, you'll be able to restore the integrity of your concrete surfaces and prevent further damage.
With the right tools and materials, you can achieve professional-looking results and extend the lifespan of your concrete structures.
Floor Leveling and Smoothing
After addressing cracks and voids, turn your attention to floor leveling and smoothing, a critical step in DIY concrete repair that guarantees a uniform, even surface. This process verifies that your floor is level, stable, and free from imperfections.
To achieve this, you'll need to prepare the floor surface by cleaning it thoroughly and removing any dirt, oil, or old adhesives. Next, apply a self-leveling compound to fill in any low spots or uneven areas. This compound is designed to flow easily and settle evenly, providing a smooth, level surface.
When applying the self-leveling compound, make sure to follow the manufacturer's instructions and mix it to the correct consistency. Use a spirit level to verify the compound is spread evenly and level.
Allow the compound to set according to the instructions, then sand it down to a smooth finish. Proper floor preparation and the use of self-leveling compounds will result in a beautifully finished floor that's perfect for installation of new flooring or simply to provide a durable, long-lasting surface.
Concrete Patching and Filling
With the floor leveled and smoothed, you can now focus on patching and filling concrete imperfections, a process that requires precision and the right materials to restore the structural integrity of your concrete surface.
Concrete patching techniques vary depending on the size and depth of the imperfections. For small cracks, you can use a concrete patching compound, which is a pre-mixed blend of cement, sand, and aggregate. For larger holes, you'll need to use a more substantial filling material, such as a rapid-set concrete patch or a polyurethane-based filler.
When selecting a filling material, consider the type of concrete you're working with, as well as the environmental conditions it'll be exposed to. Some filling materials are designed for high-traffic areas, while others are better suited for areas with heavy exposure to water or chemicals.
Make sure to follow the manufacturer's instructions for mixing and application to guarantee a strong, durable bond. With the right techniques and materials, you can effectively patch and fill concrete imperfections, restoring your surface to its original condition.
Surface Cleaning and Preparation
Before applying any repair materials, you must thoroughly clean and prepare the surface to secure a strong bond between the old concrete and the new materials. This critical step guarantees that the repair materials adhere properly, resulting in a durable and long-lasting fix.
Start by removing any dirt, oil, or grease using a suitable cleaning agent. A degreaser or a concrete cleaner can be effective for this purpose. Next, use a wire brush or a scrub brush to scrub the surface, removing any loose particles or debris. This will help to create a rough texture, allowing the repair material to bond better.
For more thorough surface preparation, consider using advanced surface preparation techniques such as acid etching or mechanical scarification. These methods can help to increase the surface area, allowing for a stronger bond between the old and new concrete.
Additionally, make sure to rinse the surface thoroughly with water to remove any residue or cleaning agents. By following these steps, you'll be able to achieve a clean and prepared surface, ready for the application of repair materials.
Grinding and Polishing Tools
When you're ready to tackle concrete repair, you'll need the right grinding and polishing tools to get the job done.
You'll use angle grinders to remove imperfections and old coatings, and then switch to polishers to achieve a smooth, high-gloss finish.
Angle Grinders Explained
You'll select an angle grinder based on the specific concrete repair task at hand, as these versatile tools are designed to tackle a wide range of grinding and polishing applications.
There are several angle grinder types to choose from, including electric, pneumatic, and gasoline-powered models. Electric grinders are the most common and suitable for most DIY projects, while pneumatic grinders are ideal for heavy-duty industrial use. Gasoline-powered grinders are best for remote areas where electricity is unavailable.
When working with angle grinders, safety should be your top priority. Always wear protective gear, including safety glasses, ear protection, and a dust mask. Guarantee proper ventilation to avoid inhaling dust and debris. Keep loose clothing and long hair tied back, and avoid wearing jewelry that could get caught in the grinder.
Additionally, maintain a firm grip on the grinder and keep it away from water and other flammable materials. By choosing the right angle grinder and following essential safety guidelines, you'll be well on your way to achieving professional-looking results in your concrete repair projects.
Polishers for Smooth Finish
With your angle grinder ready to tackle coarse grinding tasks, now it's time to focus on polishers that can help you achieve a smooth, high-gloss finish on your concrete surfaces.
You'll need to choose the right polisher type for your project, and there are a few options to take into account. For example, a belt polisher is ideal for removing small scratches and imperfections, while a planetary polisher is better suited for larger areas and more aggressive polishing.
When it comes to polishing techniques, it's important to work progressively through a series of grit levels, starting with coarse and moving to finer. This will help you achieve a high-gloss finish without creating scratches or swirl marks.
Be sure to use the correct polishing pads and compounds for your concrete type, and always work in a well-ventilated area to avoid inhaling dust and debris.
Edging and Joint Repair
As you tackle edging and joint repair, you'll focus on three key tasks:
-
Filling and sealing joints to prevent further damage.
-
Cutting and replacing edges to restore a clean finish.
-
Cleaning out debris to guarantee a solid bond.
You'll need the right tools to get these jobs done efficiently and effectively.
Fill and Seal Joints
Fill and seal joints by preparing the area around the damaged joint, guaranteeing it's free from dirt, oil, and old sealant, before applying a new sealant to prevent further damage.
You'll want to remove any existing sealant, clean the area with a pressure washer, and let it dry completely. Next, apply a primer to the joint, making sure to follow the manufacturer's instructions.
When applying the new sealant, use a caulk gun to fill the joint, holding the gun at a 45-degree angle to guarantee proper flow. Fill the joint to about 25% of its depth, allowing for joint expansion.
Use a finishing tool to smooth out the sealant, feathering it out towards the edges. Make sure to apply the sealant in a continuous, unbroken bead to prevent water from seeping behind it.
Cut and Replace Edges
You'll need to cut and replace damaged concrete edges to maintain the structural integrity and appearance of your concrete surface, especially after filling and sealing joints. This step is essential in ensuring the longevity of your repair job.
To achieve a seamless repair, you'll need to master edge preparation techniques. This involves cutting out the damaged edge and preparing the surface for new concrete.
When it comes to cutting tools, you have several options. A circular saw or a diamond blade saw are both effective for cutting concrete edges. However, a diamond blade saw is more precise and leaves a cleaner cut. A demo saw or a reciprocating saw can also be used, but they may not provide as clean of a cut.
A cutting tools comparison will help you determine which tool is best suited for your specific project. Regardless of the tool you choose, make sure to follow safety protocols and take necessary precautions to avoid injury or damage.
Clean Out Debris
Clean Out Debris (Edging and Joint Repair)
Before applying new concrete or sealant, thoroughly sweep and vacuum the edging and joints to remove any debris, dust, or old adhesive that could compromise the bond between old and new materials. You'll be surprised at how much debris can accumulate in these areas, making it essential for a successful repair.
| Debris Removal Tools | Description |
|---|---|
| Wire brush | Removes loose debris and old adhesive from joints and edging |
| Vacuum cleaner | Picks up fine dust and debris, ensuring a clean surface |
| Putty knife | Scrapes out stubborn debris from joints and crevices |
| Broom | Sweeps away large debris and dirt from the surface |
| Compressed air | Blows out remaining dust and debris from tight spaces |
Measuring and Testing Equipment
When preparing for a concrete repair project, gather essential measuring and testing equipment to accurately assess the damage and guarantee a successful repair.
You'll need to determine the extent of the damage, identify the cause, and choose the right repair materials. Measurement techniques are vital in this process. Invest in a digital caliper to measure cracks, holes, and other defects with precision. A depth gauge will help you determine the depth of cracks and holes, while a straightedge or laser level will make certain your repairs are level and plumb.
Testing methods are equally important. A concrete test hammer will help you assess the surface hardness and detect any weaknesses. A moisture meter will detect excess moisture, which can compromise your repair.
Don't forget a thermometer to monitor temperature, as it affects the curing process. By using these measuring and testing tools, you'll be able to accurately diagnose the problem, choose the right materials, and perform a successful repair.
Frequently Asked Questions
Can I Use DIY Concrete Repair Tools for Large-Scale Industrial Projects?
When tackling large-scale industrial projects, you'll find that DIY concrete repair tools often lack the durability and heavy-duty capacity required for commercial applications, making them unsuitable for high-volume, high-stress projects that demand industrial-grade equipment.
How Do I Dispose of Leftover Concrete Repair Materials Safely?
When bidding farewell to leftover concrete, you'll want to "lay it to rest" responsibly. Explore eco-friendly concrete disposal methods, like recycling or reusing, to minimize environmental impact, and opt for sustainable alternatives to traditional landfills.
Are Concrete Repair Tools Suitable for Repairing Asphalt or Brick Surfaces?
You'll find that concrete repair tools aren't ideal for asphalt patching or brick sealing, as they're designed for concrete's unique properties. You'll need specialized tools for these surfaces to guarantee a proper, long-lasting repair.
Can I Rent Concrete Repair Tools Instead of Buying Them?
Like a master builder, you're wise to weigh your options. Renting concrete repair tools can be a cost-effective solution, offering rental benefits that outweigh buying, especially for infrequent use, making a thorough cost comparison a must.
Do I Need Special Licenses or Certifications to Use DIY Concrete Repair Tools?
You typically don't need special licenses or certifications to use DIY concrete repair tools, but it's important to check local DIY repair regulations and concrete tool certifications to guarantee compliance with area-specific requirements.
Conclusion
You've got the essential DIY concrete repair tools for homeowners covered!
From crack repair to surface cleaning, you're now equipped to tackle common concrete issues.
But, will you be able to diagnose the root cause of the problem and prevent future damage?
Having the right tools is just half the battle - understanding the underlying issues is key to a successful repair.
With practice and patience, you'll be well on your way to becoming a concrete repair pro!
Related Posts
-
Why You Need Affordable Concrete Wall Construction Tools
You need affordable concrete wall construction tools to guarantee a profitable project, as the cost of equipment can ...
-
5 Tips for Accurate Concrete Measurement Tools
To guarantee accurate concrete measurement, you'll want to calibrate your measuring tools regularly, choosing a frequ...
-
Essential Power Tools for Concrete Block Construction
When building with concrete blocks, you'll need a range of power tools to cut, drill, mix, and finish the blocks to g...


