Selecting the Right Tools for Small Concrete Repairs
Share
When tackling small concrete repairs, you need to have the right tools and materials to guarantee a strong, long-lasting fix. Selecting the correct crack filler is vital, whether it's a flexible polyurethane filler for active cracks or a high-strength epoxy filler for structural repairs. Having the right tools, such as a putty knife, caulk gun, and trowel, is also essential for a professional-looking result. By understanding your crack type, location, and stress level, you can choose the ideal filler and tool combination. Now that you've started, you'll want to explore more specific techniques and best practices to guarantee a flawless repair.
Key Takeaways
• Choose the right crack filler type based on crack width, location, and stress level for a strong and long-lasting repair.
• Select specialized tools, such as putty knives, caulk guns, and trowels, to ensure professional-looking results and effectiveness.
• Properly prepare and clean the crack by removing debris, assessing moisture levels, and using degreasers or solvents for optimal adhesion.
• Adjust application techniques based on crack width, using different fillers and methods for wide versus narrow cracks.
• Follow manufacturer instructions for application and drying times, focusing on durability and protection measures to ensure long-lasting repairs.
Choosing the Right Crack Filler
When tackling concrete repairs, you need to select a crack filler that not only fills the crack but also provides a durable, long-lasting bond with the surrounding concrete. This is essential to prevent further damage and guarantee the structure remains stable.
Polyurethane fillers are a popular choice for their flexibility and ability to expand and contract with the concrete. They're ideal for active cracks that are still moving and can be used for both horizontal and vertical repairs.
On the other hand, epoxy options offer exceptional strength and are better suited for structural repairs or when the crack is no longer moving. They provide a rigid bond and can withstand heavy loads, making them perfect for industrial or commercial applications.
When choosing between polyurethane and epoxy fillers, consider the type of crack, its location, and the level of stress it'll be subjected to. By selecting the right crack filler, you'll guarantee a strong, long-lasting repair that will stand the test of time.
Best Crack Filling Tools
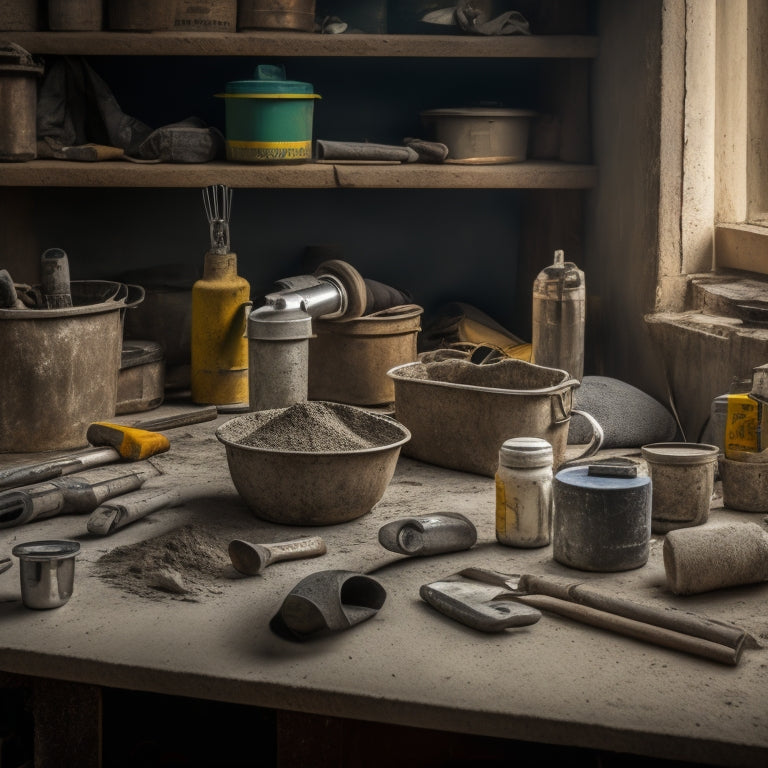
You'll need a range of specialized tools to effectively apply and finish your chosen crack filler, guaranteeing a professional-looking result that lasts. For DIY crack solutions, it's crucial to have the right tools to guarantee a successful and long-lasting repair. When it comes to seasonal repairs, having the right tools can make all the difference.
Here are some fundamental tools you'll need for crack filling:
| Tool | Purpose | Recommended Brand |
|---|---|---|
| Putty Knife | Applying and smoothing crack filler | Purdy |
| Caulk Gun | Dispensing and controlling crack filler flow | DeWalt |
| Trowel | Finishing and texturing the repair | Marshalltown |
These tools will help you achieve a professional-looking finish and guarantee your crack filler is applied correctly. A putty knife is ideal for applying and smoothing the crack filler, while a caulk gun provides precise control over the filler flow. Finally, a trowel is crucial for finishing and texturing the repair, guaranteeing a seamless blend with the surrounding concrete. With these tools, you'll be well-equipped to tackle any crack filling project and achieve a durable, long-lasting result.
Essential Concrete Repair Materials
Select the right concrete repair materials to guarantee a strong, long-lasting bond between the old and new concrete, and to prevent future damage.
You want to make sure that the repair materials you choose can withstand the test of time and harsh environmental conditions. Material durability is essential in determining the success of your repair job.
Here are some important concrete repair materials you should consider:
-
Epoxy-based repair compounds: These offer excellent bonding properties and are resistant to chemicals and abrasion.
-
Polyurethane-based sealants: These are flexible and can absorb movement, making them ideal for sealing joints and cracks.
-
Cement-based patching compounds: These are suitable for repairing small to medium-sized defects and can be mixed to match the color and texture of the original concrete.
When selecting repair materials, consider factors such as the type of concrete, the size and location of the repair area, and the expected level of traffic or exposure to the elements.
Advanced Crack Filling Techniques
With the right repair materials in hand, you're now ready to tackle the task of filling cracks. Advanced techniques can make all the difference in achieving a seamless, long-lasting repair.
One such technique is epoxy injection, which involves injecting a low-viscosity epoxy resin into the crack to fill it from the inside out. This method is particularly effective for deep or wide cracks, as it allows you to fill the entire crack without having to dig out the surrounding concrete.
Another advanced technique is surface bonding, which involves applying a thin layer of bonding agent to the surface of the crack before filling it with a repair material. This helps to guarantee a strong bond between the old and new concrete, reducing the likelihood of further cracking or delamination.
When used in conjunction with epoxy injection, surface bonding can create an incredibly strong and durable repair. By mastering these advanced crack filling techniques, you'll be able to tackle even the most challenging concrete repairs with confidence.
Professional Crack Filling Technique Guide
To guarantee a successful concrete repair, follow a step-by-step professional crack filling technique that begins with a thorough assessment of the crack's length, width, and depth. This assessment will help you identify the underlying cause of the crack, which is vital in determining the best repair approach. Common crack causes include shrinkage, settlement, and thermal changes, which can lead to seasonal crack expansion.
Before proceeding with the repair, take note of the following essential considerations:
-
Identify the type of crack you're dealing with, as this will impact the choice of filler and repair method.
-
Confirm the crack is stable and not subject to further movement, which can compromise the repair.
-
Consider the environmental factors that may be contributing to the crack, such as exposure to water or extreme temperatures.
Crack Preparation and Cleaning
Properly preparing and cleaning the crack is vital, as any remaining debris or contaminants can compromise the bond between the old concrete and the new filler material.
You'll want to begin by identifying the type and extent of the crack using crack identification methods such as visual inspection, sounding, or even invasive testing. This will help you determine the best approach for preparation and cleaning.
Next, assess the surface moisture levels to guarantee the area is dry and ready for filling. You can use surface moisture assessment tools, such as a moisture meter, to detect any excess moisture that may interfere with the bonding process.
Remove any loose debris or dirt from the crack using a wire brush or compressed air. Then, clean the crack thoroughly with a degreaser or solvent to eliminate any oils or contaminants.
Once the crack is clean and dry, you're ready to move on to the filling process. Remember, a well-prepared and clean crack is vital for a strong and lasting bond between the old concrete and the new filler material.
Filling Wide Versus Narrow Cracks
When you're preparing to fill cracks in concrete, you'll need to take into account the width of the crack to choose the right filler.
You'll find that different fillers are better suited for wide cracks versus narrow ones, and selecting the wrong one can lead to a subpar repair.
Crack Width Matters
You'll need to assess the width of the crack to determine the best repair approach, as filling wide cracks requires different techniques and materials than filling narrow ones. This essential step in crack assessment directly impacts the repair longevity and overall success of the project.
When evaluating the crack width, consider the following factors:
-
Crack width measurement: Accurately measure the width to determine the most suitable filler and application method.
-
Material selection: Choose a filler that matches the crack width, as some products are designed specifically for narrow or wide cracks.
-
Application technique: Adjust your application technique according to the crack width, as wider cracks may require more material and a different injection method.
Filler Selection Tips
With the crack width assessed, you can now pinpoint the ideal filler for the job, as the right selection is critical to achieving a durable, long-lasting repair.
When dealing with narrow cracks (less than 1/4 inch), you'll want to opt for a low-viscosity, flowable filler that can easily penetrate the crack. These fillers are typically polyurethane or acrylic-based and are ideal for injecting into tight spaces.
For wider cracks (over 1/4 inch), a thicker, paste-like filler is more suitable. These fillers often have a higher viscosity and are better suited for trowel application.
When choosing a filler, consider the application method as well. Will you be injecting the filler into the crack or applying it with a trowel? Different filler types are designed for specific application methods, so it's vital to select a filler that's compatible with your chosen method.
Additionally, consider the filler's shrinkage rate, as excessive shrinkage can lead to further cracking. By selecting the right filler for the job and considering the application method, you'll be well on your way to a successful, long-lasting repair.
Finishing and Sealing the Crack
Finish preparing the crack for sealing by cleaning it thoroughly with a wire brush or vacuum to remove any remaining debris or dust. This guarantees a strong bond between the concrete and the sealant.
Now, it's time to apply the finishing touches. When it comes to finishing techniques, you have several options:
-
Use a trowel to feather the filled area, blending it with the surrounding concrete.
-
Apply a concrete patching compound to achieve a smooth, even finish.
-
Use a grinder or sandpaper to remove any excess material and create a uniform surface.
Once you've achieved the desired finish, it's time to apply a sealant. Sealing methods vary, but common practices include applying a concrete sealer or epoxy-based coating to protect the repaired area from further damage.
Be sure to follow the manufacturer's instructions for application and drying times to guarantee a successful seal. By following these steps, you'll be able to achieve a durable, long-lasting repair that will withstand the test of time.
Frequently Asked Questions
Can I Use a Hair Dryer to Speed up Concrete Drying Times?
When you're wondering if you can use a hair dryer to speed up concrete drying times, it's crucial to understand its effectiveness.
While a hair dryer can accelerate evaporation, it's not the most efficient concrete drying technique.
In fact, it can lead to uneven drying, weakening the concrete.
Instead, consider using specialized equipment or techniques like moist curing or membrane-forming compounds, which promote stronger, more durable results.
How Long Does It Take for Concrete Filler to Fully Harden?
You're wondering how long it takes for concrete filler to fully harden? Well, buckle up, because the waiting game is about to begin!
The curing time can vary wildly, from a few hours to several days, depending on the type of filler you're using.
Epoxy-based fillers can take up to 24 hours, while acrylic-based ones might be ready in as little as 30 minutes.
Always check the manufacturer's instructions, but be prepared to wait it out – patience is key to a strong, long-lasting repair.
Are Concrete Repair Tools Suitable for DIY Beginners?
You're wondering if concrete repair tools are suitable for DIY beginners.
Absolutely! With the right guidance, you can master beginner repair techniques.
Start with DIY concrete tools like trowels, putty knives, and mixing buckets.
Practice mixing and applying concrete filler, and you'll be repairing cracks like a pro.
Don't be intimidated – these tools are designed for ease of use, and with patience, you'll achieve professional-looking results.
Can I Repair Concrete Cracks in Freezing Temperatures?
When winter concrete crack sealing is on your agenda, you'll face unique challenges. Freezing temperatures can halt the repair process, as most concrete patching products aren't designed for sub-freezing temps.
You'll need specialized winter-grade products that can cure in cold conditions. Confirm you choose a crack sealer suitable for winter applications, and follow the manufacturer's instructions for best results.
Don't let the cold weather stop you from tackling that concrete crack – with the right tools, you can get the job done.
Do I Need to Wear Protective Gear for Small Concrete Repairs?
When tackling small concrete repairs, you'll want to prioritize your safety above all.
Do you need to wear protective gear? Absolutely!
You should always wear protective gloves to shield your hands from harsh chemicals and rough textures.
Additionally, don't forget to don safety goggles to prevent eye damage from flying debris or splashes.
Conclusion
You've now got the right tools and techniques to tackle small concrete repairs like a pro.
Remember, a stitch in time saves nine - addressing cracks early on can prevent costly problems down the line.
By following these guidelines, you'll be able to fill cracks with confidence and guarantee a strong, durable finish.
With practice, you'll be able to tackle even the most challenging repairs and keep your concrete structures looking like new.
Related Posts
-

7 Tools to Fix Damaged Concrete Floors
You're about to tackle that damaged concrete floor, and the right tools are essential for a successful repair. Start ...
-

10 Must-Have Tools for Concrete Repair Organization
You'll need a solid organization system to keep your concrete repair tools and materials within easy reach, protected...
-

Reinforcement Tools Checklist for Concrete Block Walls
You'll need a range of reinforcement materials, including horizontal and vertical rebar, fiber mesh, and anchor bolts...


