Measuring Tools for DIY Concrete Block Projects
When tackling a DIY concrete block project, you'll need a set of essential measuring tools to guarantee accurate measurements and successful completion. Invest in a high-quality 25-foot or 100-foot tape measure, depending on the project size, to take precise readings. Measure each block personally, accounting for variations, and record its length, width, and height to the nearest 1/8 inch. Additionally, use a spirit level, string line, or laser level to guarantee accurate block placement. By mastering these foundational measuring techniques, you'll be well on your way to a sturdy, professional-looking structure - and there's more to explore to take your project to the next level.
Key Takeaways
• Use a high-quality 25-foot or 100-foot tape measure for accurate measurements, considering nominal vs. actual block dimensions.
• Measure block length, width, and height precisely to the nearest 1/8 inch, excluding irregularities and protrusions.
• Calculate block quantity by multiplying dimensions, adding 10-15% for cuts, wastage, and errors, and dividing by total project square footage.
• Ensure accurate block placement using a spirit level, string line, or laser level, maintaining consistent mortar joint width and depth.
• Employ advanced measuring techniques like laser tools and digital calipers for complex projects or irregularly shaped structures.
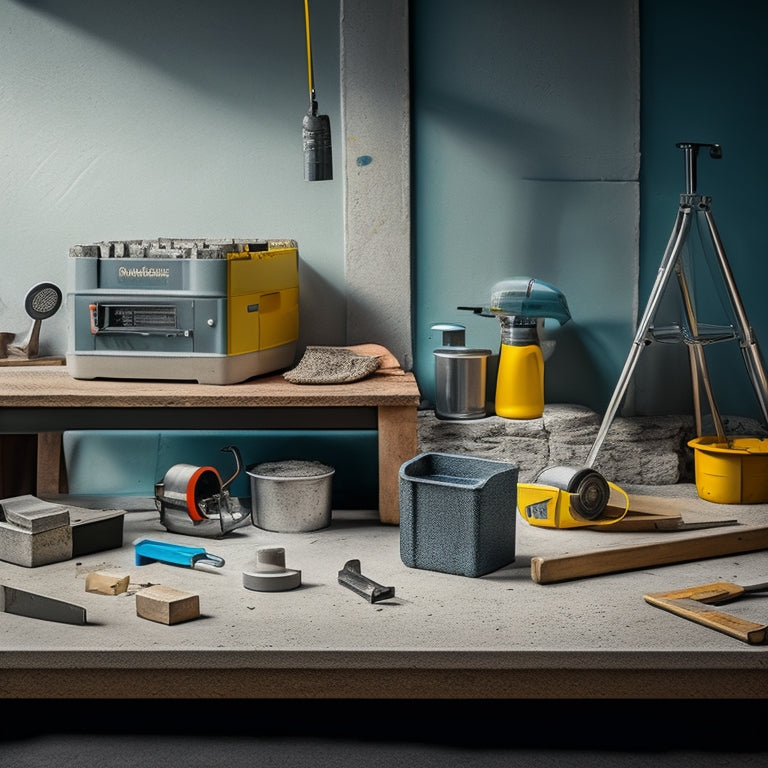
Essential Measuring Tools Needed
You'll need a set of essential measuring tools to confirm accurate calculations and avoid costly mistakes in your DIY concrete block project.
A high-quality tape measure is a must-have, and you should consider investing in multiple types, including a 25-foot tape measure for general measurements and a 100-foot tape measure for larger projects. Additionally, a rigid tape measure or a fiberglass tape measure can provide more precise readings.
When measuring concrete blocks, make sure to take into account the block's nominal dimensions, which may differ from its actual dimensions. For instance, a block labeled as 8x8x16 may actually measure 7 5/8 x 7 5/8 x 15 5/8 inches. To confirm accuracy, always measure the blocks yourself instead of relying on the manufacturer's specifications.
Moreover, take note of any block variations, such as those with a bullnose or a cove, which may require special measurement considerations.
Measuring Cinder Block Dimensions
When measuring cinder block dimensions, accurately record the length, width, and height of each block to confirm precise calculations and a successful DIY concrete block project.
You'll need to guarantee that your measurements are accurate to the nearest 1/8 inch, as even small variations can add up and affect the overall structure.
Here are the key dimensions to focus on:
-
Length: Measure the block's length from one end to the other, taking care to exclude any protrusions or irregularities.
-
Width: Measure the block's width, from one side to the other, ensuring you're measuring the flat surface.
-
Height: Measure the block's height, from the top to the bottom, again excluding any irregularities.
It's essential to consult the cinder block specifications provided by the manufacturer or supplier to guarantee you're working with the correct dimensions.
Measurement accuracy is vital, as it will impact the overall structural integrity of your project.
Calculating Block Quantity Required
With your accurate cinder block dimensions in hand, now it's time to calculate the quantity of blocks required for your DIY concrete block project. This step is essential in project material planning to guarantee you don't run out of blocks mid-project or end up with excess materials.
To estimate the block quantity, you'll need to determine the total square footage of your project. Measure the length, width, and height of your project, and calculate the total square footage by multiplying these dimensions together.
Next, calculate the square footage of a single block by multiplying its length, width, and height. Now, divide the total project square footage by the square footage of a single block to get an estimate of the block quantity required.
Be sure to add 10-15% to your total to account for cuts, wastage, and any potential errors. By doing so, you'll have a realistic block quantity estimation, guaranteeing your project stays on track and within budget.
Ensuring Accurate Block Placement
Having calculated the required block quantity, focus on guaranteeing accurate block placement to maintain structural integrity and achieve a professional-looking finish.
You'll want to pay close attention to the alignment and positioning of each block to avoid costly mistakes and guarantee a sturdy structure.
To achieve accurate block placement, follow these essential tips:
-
Use a spirit level: Guarantee the blocks are perfectly level and plumb to prevent unevenness and structural weaknesses.
-
Check block alignment: Verify that each block is aligned with the course below it, using a string line or laser level to guide you.
-
Maintain consistent mortar joints: Keep mortar joints consistent in width and depth to prevent uneven stress on the blocks and guarantee a strong bond.
Advanced Measuring Techniques Required
You'll need to employ advanced measuring techniques to confirm precise calculations and accurate block cuts, particularly when working with complex concrete block projects or irregularly shaped structures. This is where laser measuring tools come into play, allowing you to quickly and accurately measure distances, angles, and elevations.
These tools are especially useful when working with curved or irregular shapes, as they provide precise readings and reduce the risk of human error.
In addition to laser measuring, digital calipers are another essential tool for advanced measuring techniques. These precision instruments enable you to measure the width, length, and thickness of concrete blocks with exacting accuracy.
When used in conjunction with laser measuring tools, digital calipers provide a thorough measuring solution that confirms accurate block cuts and precise fitting.
Frequently Asked Questions
Can I Use a Tape Measure to Measure Curved Concrete Block Walls?
When measuring curved concrete block walls, you'll want to guarantee accuracy.
While a tape measure can provide a rough estimate, it's not the most reliable tool for this task. The curved surface can cause the tape to sag or kink, compromising accuracy.
For precise measurements, consider using a flexible curve calculator or a specialized curved measurement tool to get an exact reading.
How Do I Measure Concrete Blocks With Unusual Shapes or Angles?
"When life gives you curves, make adjustments!"
Measuring concrete blocks with unusual shapes or angles requires flexibility in your approach. You'll need to adapt your measuring techniques to accommodate these irregularities.
Make angle adjustments by using a combination of straightedge tools and flexible curves or templates. This will enable you to capture the block's unique shape accurately.
Take your time, and don't be afraid to think outside the box – or in this case, the block.
Are There Any Specific Measuring Tools for Measuring Block Cores?
When measuring block cores, you'll need specialized tools to guarantee accuracy.
You'll likely require block core calipers, designed specifically for this task. These calipers allow you to measure the core's diameter with precision.
Alternatively, core diameter gauges are also available, providing a quick and easy way to determine the core's size.
Both tools are essential for achieving accurate measurements, guaranteeing your DIY project turns out as planned.
Do I Need to Measure the Concrete Blocks Before or After They're Laid?
When building with concrete blocks, you'll want to determine the best measuring technique for your project.
To guarantee accurate layout planning, you should measure the blocks before laying them. This allows you to account for variations in block size and plan your course layout accordingly.
Measure the blocks' length, width, and height to calculate the overall dimensions and make adjustments as needed.
Can I Measure Concrete Blocks While Wearing Gloves or Protective Gear?
You might wonder if wearing gloves or protective gear will hinder your measuring accuracy. Don't worry, it's a valid concern!
While it's true that bulky gloves can compromise your grip, you can still measure concrete blocks effectively.
Look for gloves with a good grip, ensuring a firm hold on your measuring tool. Additionally, opt for protective gear with flexible coverage, allowing for precise movements.
With the right gear, you can prioritize safety without sacrificing measurement accuracy.
Conclusion
As you commence your DIY concrete block project, remember that precision is key.
Like an architect building a majestic castle, your measuring tools are the foundation upon which your structure stands.
With the right tools and techniques, you'll be laying blocks like a pro, ensuring a sturdy and impressive final product.
Don't let inaccuracies crumble your dreams - measure twice, build once, and your concrete block masterpiece will stand the test of time.
Related Posts
-
Best Tools for Concrete Restoration and Repair
When tackling concrete restoration and repair projects, you need a range of reliable tools to achieve professional-gr...
-
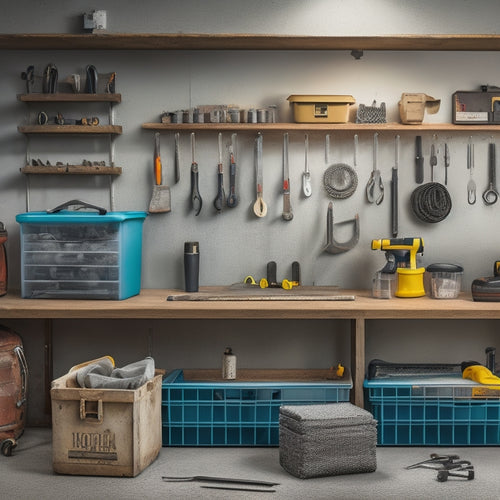
7 Must-Have Tools for Concrete Repair Organization
To effectively organize your concrete repair projects, you'll need a thorough toolkit that includes a well-planned st...
-
Why These Tools Are Crucial for Concrete Patio
You're about to commence on a concrete patio project, and having the right tools is vital to achieving professional-l...


