Mastering Decorative Concrete Repair With the Right Tools
Share
To master decorative concrete repair, you'll need the right tools, materials, and techniques. Start by evaluating cracks with a crack gauge, magnifying glass, and high-intensity LED light. Next, prepare the surface by removing contaminants, checking substrate durability, and using a stiff-bristled broom, wire brush, and pressure washer. Employ professional equipment like a crack evaluation kit, high-pressure injection pump, and concrete saw or grinder. Select appropriate epoxy or polyurethane-based fillers and understand application techniques for each. By mastering these essential steps, you'll be well on your way to achieving a seamless, long-lasting repair - and there's more to explore to take your skills to the next level.
Key Takeaways
• Conduct thorough crack assessments to determine the best filling approach and ensure aesthetic considerations align with surrounding concrete.
• Select the right repair compound based on project needs, considering factors like compressive strength, workability, and durability.
• Prepare the surface by removing contaminants, roughening with abrasive materials, and cleaning with a pressure washer and microfiber mop or cloth.
• Choose the appropriate injection method and adjust resin viscosity according to crack width for optimal results in concrete crack injection.
• Follow manufacturer's instructions for mixing and applying concrete fillers, and select a compatible sealer for decorative concrete type and traffic level.
Crack Filling Tools for Decorative Concrete
When repairing decorative concrete, you'll inevitably encounter cracks that need filling, and having the right crack filling tools is imperative to achieving a seamless, professional-looking finish.
Before you start filling, it's important to conduct a thorough crack assessment to identify the type, size, and location of the cracks. This assessment will help you determine the best approach for filling and blending the repaired area with the surrounding concrete.
Aesthetic considerations are also essential in crack filling. You need to take into account the color, texture, and pattern of the surrounding concrete to guarantee the filled area blends in seamlessly. This may involve using specialized tools, such as color-matched filler materials or texture-matching sprayers, to achieve a consistent appearance.
By taking the time to assess the cracks and take into account the aesthetic implications, you can guarantee a professional-looking finish that maintains the original beauty of the decorative concrete.
With the right crack filling tools and attention to detail, you can confidently restore damaged decorative concrete to its original glory.
Professional Crack Filling Equipment List
You'll need a thorough arsenal of professional crack filling equipment to tackle decorative concrete repairs, including a variety of tools and materials specifically designed to address different types of cracks and aesthetic requirements.
A crack assessment kit is vital for evaluating crack width, depth, and orientation, helping you determine the most effective repair techniques. A high-intensity LED light and magnifying glass will aid in inspecting cracks, while a crack gauge measures width and depth.
For filling cracks, you'll need a high-pressure injection pump, injection ports, and a variety of epoxy or polyurethane-based fillers. A concrete saw or grinder is necessary for preparing the crack surface, and a vacuum and cleaning solution guarantee a clean surface for bonding.
Additionally, a mixing stick, mixer, and applicator guns will facilitate efficient filling and finishing. With these tools, you'll be equipped to execute advanced repair techniques, such as epoxy injection and polyurethane foam injection, guaranteeing durable and long-lasting decorative concrete repairs.
Essential Concrete Repair Materials
When tackling a decorative concrete repair project, you'll need to select the right materials to guarantee a durable and visually appealing outcome.
You'll want to take into account a well-designed concrete mix, choose from a range of repair compound options, and prepare the surface properly to secure a strong bond.
Concrete Mix Design
To achieve a successful concrete repair, you need a well-designed concrete mix that matches the original structural and aesthetic properties of the damaged concrete, which is why a thorough understanding of concrete mix design is vital. A well-designed mix guarantees that the repaired area blends seamlessly with the surrounding concrete, maintaining its durability and visual appeal.
Concrete mix design involves understanding the relationships between concrete properties, such as compressive strength, workability, and finishing characteristics. This requires careful selection of mix ratios, which involve the proportioning of cement, aggregate, and water. The right mix ratio is critical, as it affects the concrete's strength, durability, and appearance.
Here's a breakdown of the key factors to take into account in concrete mix design:
| Concrete Property | Desired Value | Influencing Factor |
|---|---|---|
| Compressive Strength | 3000-4000 psi | Cement type and content |
| Workability | High flowability | Water-cement ratio |
| Finishing Characteristics | Smooth, even finish | Aggregate size and type |
| Durability | Resistance to weathering | Cement type and content |
Repair Compound Options
Selecting the right repair compound is vital, as it directly impacts the performance, appearance, and longevity of the concrete repair.
You'll need to choose from various repair compound types, each with its unique characteristics, strengths, and limitations. For instance, epoxy-based compounds offer superior bonding and durability, while polyurethane-based compounds provide excellent flexibility and impact resistance. Acrylic-based compounds, on the other hand, are ideal for cosmetic repairs due to their excellent color retention and UV stability.
When selecting a repair compound, consider the specific requirements of your project, including the type of concrete, exposure conditions, and desired finish.
It's also important to understand the application techniques for each compound type. For example, some compounds may require specialized mixing and application equipment, while others can be applied by hand.
Familiarize yourself with the manufacturer's instructions and recommended application techniques to guarantee a successful repair.
Surface Preparation Needs
Before applying a repair compound, you must thoroughly clean and prepare the damaged concrete surface to guarantee a strong, lasting bond between the old and new materials. This critical step ensures that the repair compound adheres properly, resulting in a durable and long-lasting fix.
To achieve the best surface preparation, you'll need to:
-
Perform a thorough surface evaluation to identify any cracks, pores, or other imperfections that may affect the repair.
-
Remove any dirt, oil, or other contaminants that could compromise the bond between the old and new materials.
-
Check the substrate durability to verify it can support the weight and stress of the repair compound.
- Use a suitable cleaning solution and abrasive materials to roughen the surface, creating a strong mechanical bond between the old and new materials.
Advanced Concrete Crack Injection
When you're tackling advanced concrete crack injection, you'll need to choose the right method for the job.
You'll have to contemplate the type and size of the crack, as well as the surrounding environment, to select the most effective injection method.
Crack Injection Methods
You'll achieve ideal results in advanced concrete crack injection by mastering the nuances of crack injection methods, which involve pressurizing epoxy or polyurethane resins into the crack to bond the concrete internally. This process requires a deep understanding of crack types and injection techniques to guarantee effective repair.
To successfully implement crack injection methods, you'll need to take into account the following factors:
-
Crack width and depth: Thicker cracks require more resin, while deeper cracks demand higher pressure to reach the bottom.
-
Resin viscosity: Thicker resins are better suited for wider cracks, while thinner resins are ideal for narrower cracks.
-
Injection pressure: Apply the right amount of pressure to fill the crack without pushing the resin out the surface.
- Flow rate control: Regulate the flow rate to prevent over- or under-injection, guaranteeing a strong bond.
Sealer Selection Criteria
Selecting the right sealer is essential for the success of advanced concrete crack injection, as it directly impacts the effectiveness and longevity of the repair. You'll want to choose a sealer that's compatible with the specific crack injection method and the type of concrete you're working with. Here are some key factors to take into account:
| Sealer Type | Characteristics | Application Techniques |
|---|---|---|
| Epoxy-based | High-strength, chemical-resistant | Injection with pressure, manual application |
| Polyurethane-based | Flexible, waterproof | Gravity-fed injection, manual application |
| Acrylic-based | Water-based, low-VOC | Brush or roll application, manual injection |
When selecting a sealer, think about the level of flexibility and strength required, as well as the environmental conditions the repair will be exposed to. Additionally, the application technique will depend on the sealer type and the specific crack injection method being used. By choosing the right sealer and application technique, you'll guarantee a durable and long-lasting repair that meets the demands of decorative concrete.
Surface Preparation and Cleaning
Before applying any decorative concrete repair materials, sweep or blow the surface clean to remove dirt, debris, and loose material that may interfere with bonding. This is a critical step in surface preparation and cleaning, as any remaining impurities can compromise the adhesion of your repair materials.
You'll need the right preparation equipment to get the job done efficiently. Here are some essential tools to have in your arsenal:
-
A stiff-bristled broom or a leaf blower for removing loose debris
-
A wire brush or a scrub brush for aggressive surface cleaning
-
A pressure washer for deep cleaning and removing stubborn stains
- A microfiber mop or cloth for dusting and drying the surface
When selecting surface cleaning techniques, consider the type of concrete you're working with, as well as the level of dirt and grime present. For instance, a pressure washer may be too aggressive for certain types of decorative concrete, while a wire brush may be necessary for removing stubborn stains.
Mixing and Applying Concrete Fillers
With the surface properly cleaned and prepared, you're ready to mix and apply concrete fillers to fill in cracks, holes, and other imperfections.
When mixing, follow the manufacturer's instructions for the recommended water-to-filler ratio. It's crucial to mix the filler to the correct consistency, as this will affect the final outcome. A general rule of thumb is to mix to a thick paste, similar to toothpaste. Avoid over-mixing, as this can lead to air bubbles and a weakened bond.
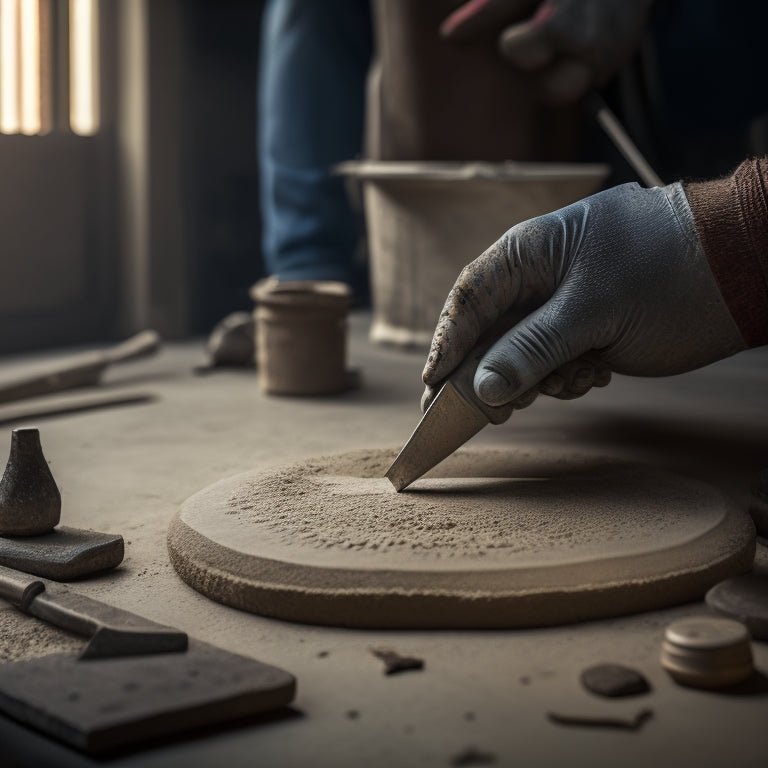
When applying the filler, use a putty knife or trowel to fill the imperfections. Press the filler firmly into the area, making sure to fill it completely. Use a level or straightedge to verify the filler is even with the surrounding surface.
For deeper holes, apply the filler in layers, allowing each layer to set before adding the next. Use a damp cloth to wipe away any excess filler or haze.
Finishing and Sealing Techniques
You'll need to apply a finisher or sealer to protect the repaired area from stains and damage, while also enhancing the appearance of the decorative concrete. This vital step requires attention to detail and the right techniques to achieve a flawless finish.
When it comes to finishing techniques, you'll want to take into account the type of decorative concrete you're working with, as well as the desired outcome.
Here are some key factors for mastering finishing and sealing techniques:
-
Choose the right sealer: Select a sealer that's compatible with the type of decorative concrete and the level of traffic it will receive.
-
Prepare the surface: Verify the surface is clean, dry, and free of any debris or contaminants that could affect the sealer's adhesion.
-
Apply the sealer correctly: Follow the manufacturer's instructions for application, and use the recommended tools and techniques to achieve an even, consistent finish.
- Allow proper curing time: Give the sealer sufficient time to cure, following the manufacturer's instructions, to guarantee a strong, durable bond.
Frequently Asked Questions
Can I Use Decorative Concrete Repair for Indoor and Outdoor Surfaces?
You're wondering if decorative concrete repair is suitable for both indoor and outdoor surfaces? Absolutely!
With the right techniques, you can achieve stunning results in either setting.
By selecting from a range of decorative techniques and texture options, you can tailor your repair to match the original surface or create a unique look.
Whether it's a residential patio or commercial flooring, decorative concrete repair offers versatility and durability for any environment.
How Long Does It Take for Repaired Concrete to Fully Cure?
As you begin your concrete repair journey, you'll naturally wonder when your handiwork will be fully cured.
The answer lies in the curing process, which can take anywhere from 24 hours to 28 days, depending on environmental factors.
To guarantee the best results, you'll need to maintain strict moisture control, keeping the area consistently damp or using specialized curing compounds.
With these conditions met, you'll be admiring your flawless, fully cured repair in no time.
Are There Any Specific Safety Precautions for Concrete Repair?
When working with concrete repair, you'll want to prioritize safety above all else.
You'll need to wear essential safety gear, including gloves, goggles, and a dust mask to protect yourself from harmful chemicals and airborne particles.
Additionally, you should familiarize yourself with specific repair methods that minimize risk, such as using containment systems to control spills and wearing knee pads to prevent injuries from kneeling.
Can I DIY Decorative Concrete Repair or Do I Need a Pro?
Can you tackle decorative concrete repair on your own? It depends on the scope of the project.
If you're comfortable with DIY techniques and have experience with concrete work, you might be able to handle small, cosmetic repairs.
However, if the damage is extensive or you're unsure about the repair process, it's best to seek professional help.
A pro can guarantee the repair is done correctly and safely, saving you time and potential headaches down the line.
Will the Repair Blend in With the Surrounding Concrete Surface?
As you assess the repair site, you're wondering if the fix will seamlessly blend in with the surrounding concrete surface. You're right to worry - an imperfect match can be an eyesore.
To achieve a flawless integration, you'll need to nail color matching and texture consistency.
Conclusion
You've made it through the grueling process of mastering decorative concrete repair. Pat yourself on the back, because you're now a certified concrete whisperer.
But let's be real, if you think you can tackle every crack and crevice without breaking a sweat, you're delusional.
Decorative concrete repair is a never-ending battle, and you're just a mere mortal armed with epoxy and a prayer.
Good luck, you're gonna need it.
Related Posts
-

7 Tools to Fix Damaged Concrete Floors
You're about to tackle that damaged concrete floor, and the right tools are essential for a successful repair. Start ...
-

Top Tools for Beginners in Concrete Masonry Coating
You're about to begin a concrete masonry coating project, and having the right tools is essential. Start with essenti...
-

Must-Have Tools for Concrete Planter Projects
As you commence your concrete planter project, you'll need a range of specialized tools to achieve professional-grade...


