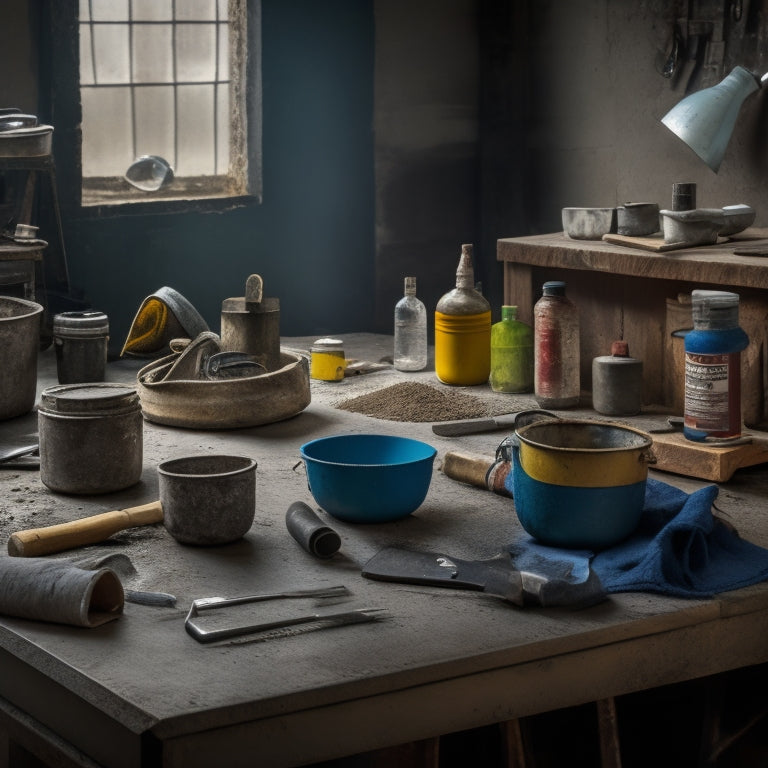
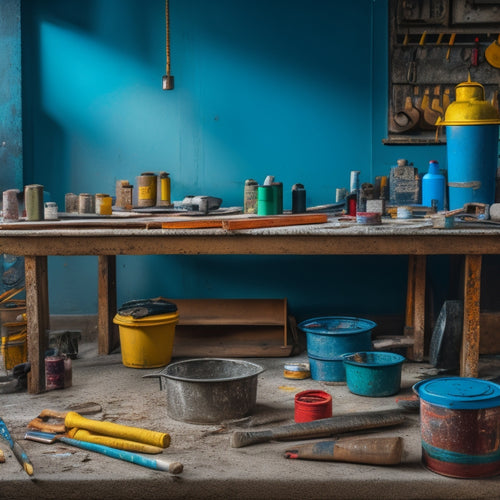
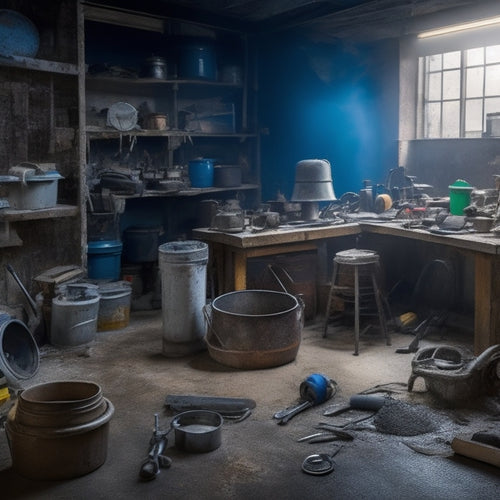
Essential Tools for Stained Concrete Makeover
You'll need a range of essential tools and equipment to achieve a stunning stained concrete makeover. Start with painting and priming tools, including paint selection, primer, and application tools like high-quality rollers and angled-cut paintbrushes. Next, prepare the surface with a thorough inspection, concrete repair, cleaning, and degreasing agents, as well as sanding and smoothing tools. Don't forget taping and masking essentials, like high-quality masking tape and flexible materials for complex shapes. Finally, apply primer and paint, and finish with sealers to protect and enhance your stained concrete. Now, let's dive deeper into the specifics of each step.
Key Takeaways
• Choose the right paint type, primer, and application tools for a successful stained concrete makeover.
• Prepare the surface by repairing cracks, cleaning, degreasing, and sanding for a smooth finish.
• Use high-quality masking tape and flexible materials to achieve crisp, sharp lines and patterns.
• Apply the right sealer type based on traffic level, chemical exposure, and desired finish to protect the concrete.
• Follow manufacturer instructions for proper application to ensure optimal results.
Tools Needed for Painting Over
When preparing to paint over stained concrete, you'll need a set of specific tools to guarantee a smooth, successful application.
First, choose the right paint type for your project. Epoxies, polyurethanes, and acrylics are popular options, each with its own strengths and weaknesses. Consider the level of foot traffic, exposure to chemicals, and desired finish when selecting your paint.
Next, gather essential application tools. A high-quality roller extension pole with a microfiber roller cover will help you achieve an even coat. For cutting in and detailing, use a high-capacity, angled-cut paintbrush.
Don't forget a paint tray, paint grid, and a drop cloth or tarps to protect surrounding areas from spills and stains.
Preparing the Concrete Surface
You'll need to prepare the concrete surface before applying paint to guarantee a strong bond and a successful finish. This step is essential, as it sets the stage for the entire makeover process.
Start by conducting a thorough surface assessment to identify any cracks, holes, or uneven areas. Take note of the surface's texture, porosity, and any existing coatings or sealers.
Next, perform any necessary concrete repair to guarantee a smooth, even surface. Fill in cracks and holes with a patching compound, and use a level to confirm the surface is even. If you find any oil stains, use a stain remover to lift them before proceeding.
Once repairs are complete, use a putty knife or scraper to remove any loose or flaking concrete. Finally, use a wire brush or grinder to roughen the surface, creating a better bond between the concrete and paint.
Remember to wear protective gear, including gloves, safety glasses, and a dust mask, to avoid injury or exposure to hazardous materials.
Cleaning and Degreasing Agents
Cleaning and Degreasing Agents
Clean the prepared concrete surface with a degreaser or cleaner specifically designed for concrete to remove dirt, grime, and any remaining residue that could interfere with the staining process. This step is essential, as any remaining impurities can affect the final result. When selecting a cleaning agent, consider eco-friendly cleaners that are gentle on the environment and won't damage the concrete. For tougher jobs, heavy-duty degreasers may be necessary to remove stubborn stains and grime.
Here are some popular cleaning and degreasing agents for stained concrete:
| Product Type | Description |
| Eco-Friendly Cleaner | Gentle, non-toxic, and biodegradable |
| Heavy-Duty Degreaser | Strong, industrial-strength for tough stains |
| Acid-Based Cleaner | Effective for removing old adhesives and grout |
| Enzyme-Based Cleaner | Breaks down organic matter and grease |
| pH-Neutral Cleaner | Won't affect concrete's natural pH balance |
Remember to always follow the manufacturer's instructions and take necessary safety precautions when using cleaning and degreasing agents. Wear protective gear, including gloves, goggles, and a mask, to avoid exposure to harsh chemicals.
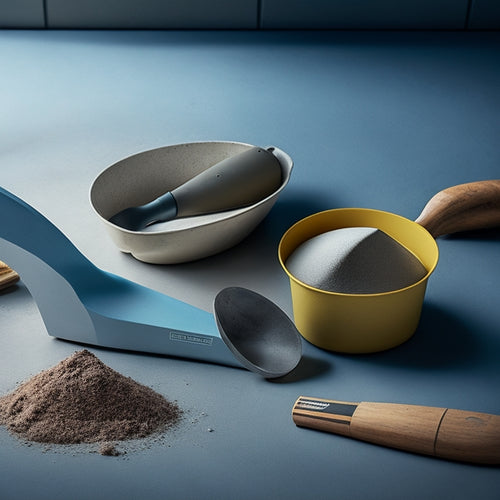
Sanding and Smoothing Tools
Now that the concrete surface is clean, you'll need to smooth out any rough spots and scratches using sanding and smoothing tools to guarantee an even finish. This step is vital in preparing the surface for staining.
Start with a coarse-grit sandpaper (around 80-100) to remove any major imperfections. As you progress, switch to finer grits (120-150) for a smoother finish. Always work in small, circular motions to avoid creating scratches.
When using sanding techniques, remember to wear protective gear, including gloves, safety glasses, and a dust mask. This will prevent injuries from flying debris and dust inhalation. For particularly rough areas, consider using a power sander with a dust-collection attachment to minimize mess and maximize efficiency.
Smoothing compounds can also be applied to fill in small cracks and imperfections. These products are specifically designed for concrete and can be sanded down to a smooth finish. Always follow the manufacturer's instructions and take necessary safety precautions when working with these compounds.
Taping and Masking Essentials
When you're preparing your stained concrete project, you'll need to protect your edges and mask off areas you don't want to stain.
You'll have to decide on the best edge protection methods and masking film options for your specific job.
Edge Protection Methods
To achieve crisp, clean edges and prevent unwanted stains, you'll need to master the art of taping and masking, an essential step in stained concrete projects.
When it comes to edge protection, you can't afford to compromise on safety. Make certain you're wearing the necessary safety gear, including gloves, safety glasses, and a dust mask, to protect yourself from potential hazards.
Next, focus on applying protective coverings to areas you want to shield from stains. Use high-quality masking tape to seal off edges, baseboards, and any other surfaces that shouldn't come into contact with the stain. Apply the tape carefully, making sure it's pressed firmly onto the surface to create a watertight seal.
For more complex shapes or curved edges, consider using a flexible masking material that can conform to the surface.
Remember to remove the tape carefully after the staining process to avoid damaging the surrounding surfaces. By taking the time to properly tape and mask your edges, you'll make certain a professional-looking finish and avoid costly mistakes.
Masking Film Options
Masking film options offer a range of solutions for protecting surfaces from stains, from general-purpose films to specialty products designed for specific applications, such as countertops or textures. When it comes to stained concrete makeovers, you'll want to choose a masking film that suits your project's unique needs.
Here are some common masking film options to take into account:
-
General-purpose films: These films provide a universal solution for most stained concrete projects. They're suitable for protecting surfaces from acid-based stains and offer a moderate level of adhesion.
-
Plastic sheeting: This type of film is ideal for large-scale projects or areas that require extra protection. It's often thicker and more durable than general-purpose films, making it perfect for high-traffic areas or surfaces prone to scratches.
-
Specialty films for textures: If you're working with textured surfaces, such as stamped concrete or concrete with aggregate, you'll need a film that can conform to the surface's irregularities. These films typically have superior adhesive qualities to guarantee a secure seal.
- Countertop films: Designed specifically for protecting countertops and other horizontal surfaces, these films are usually thinner and more flexible than general-purpose films, making them easier to apply and remove.
Tape Application Tips
With your masking film chosen, you're ready to apply tape to create crisp, sharp edges and precise patterns in your stained concrete design. To guarantee a professional-looking finish, it's vital to apply the tape correctly.
Start by cleaning the surface of the concrete to remove any dirt, oil, or moisture that might affect the tape's adhesion. Next, apply the tape along the edges and patterns you want to create, pressing it firmly onto the surface to eliminate air bubbles. Make sure to use high-quality tape with excellent durability to withstand the staining process.
When applying tape, it's important to confirm it's straight and smooth, as any wrinkles or creases can lead to uneven patterns. To achieve a seamless look, overlap the tape by about half the width of the tape, and press firmly to secure it.
Remember to remove the tape carefully after the staining process to avoid damaging the concrete or leaving residue behind. Proper tape removal is vital to prevent pulling off the stain or leaving behind sticky tape residue.
Applying Primer and Paint
You'll need to confirm the stained concrete surface is properly prepared before applying a primer, which helps create a strong bond between the concrete and paint. This guarantees a successful makeover and prevents peeling or flaking.
When selecting a primer, consider the type of paint you'll be using and the level of porosity in the concrete. There are various primer types, including epoxy, acrylic, and polyurethane, each with its own strengths and weaknesses.
Here are the essential tools you'll need for applying primer and paint:
-
Primer: Choose a primer that suits your paint finish and concrete type.
-
Paint: Select a paint with a finish that complements your design, such as matte, satin, or gloss.
-
Roller extension pole: Reach high areas and cover large surfaces efficiently.
- Paintbrushes: Use high-quality brushes for cutting in and detailing.
Remember to follow safety guidelines when working with primer and paint, including wearing protective gear, working in well-ventilated areas, and following manufacturer instructions.
Finishing Touches and Sealers
After applying the primer and paint, it's time to add the finishing touches and seal your stained concrete surface to protect it from wear and tear. A good sealer can enhance the appearance of your concrete, make it easier to clean, and prevent damage from spills and stains. But with so many sealer types and application techniques out there, it can be overwhelming to choose the right one for your project.
Here's a breakdown of some popular sealer types and their characteristics:
| Sealer Type | Characteristics |
|---|---|
| Acrylic | Water-based, easy to apply, non-yellowing |
| Polyurethane | Oil-based, high-gloss finish, durable |
| Epoxy | High-build, chemical-resistant, suitable for high-traffic areas |
| Silane | Penetrating sealer, breathable, suitable for outdoor use |
When choosing a sealer, consider the level of traffic, exposure to chemicals, and desired finish. Always follow the manufacturer's instructions for application techniques, and make sure to test the sealer on a small area first to verify compatibility with your concrete. By selecting the right sealer and applying it correctly, you'll be able to enjoy your beautifully stained concrete surface for years to come.
Frequently Asked Questions
How Long Does Stained Concrete Makeover Typically Take to Complete?
When planning a stained concrete makeover, you'll want to know how long it'll take to complete.
The project timeline depends on the staining techniques you choose and the size of your area. Typically, preparation and staining take 2-5 days, while sealing and finishing can add another 1-3 days.
However, complex designs or large areas may require more time. Be sure to factor in drying times and safety precautions to guarantee a successful and safe makeover.
Can I Stain Concrete in Extreme Weather Conditions?
Did you know that 70% of construction delays are weather-related?
When it comes to staining concrete, you'll want to avoid extreme weather conditions. You're wise to ask if you can stain concrete in such conditions.
The answer is, it's not recommended. Staining techniques require ideal temperatures and humidity levels to produce desired results. Weather considerations, such as direct sunlight, high winds, or freezing temperatures, can compromise the stain's adhesion and final appearance.
It's best to schedule your makeover during mild weather to guarantee a safe and successful outcome.
Is Stained Concrete Slippery When Wet?
You're right to wonder if stained concrete can be slippery when wet.
The answer is yes, it can be hazardous. When wet, stained concrete floors can become extremely slippery, posing a significant safety risk.
To guarantee stained concrete safety, you must take wet surface precautions. Apply a non-slip coating or texture to the concrete, and always clean up spills immediately.
Additionally, place warning signs in areas prone to moisture to prevent accidents.
Can I Stain Concrete That Has Been Previously Sealed?
Don't assume your previously sealed concrete is off-limits to staining. You can still achieve a stunning makeover, but it'll require some extra effort.
Before applying new stain, you'll need to strip the old sealer using specialized solvents or mechanical methods. Then, focus on thorough surface preparation, ensuring the concrete is clean, dry, and free of old sealant residue.
With the right staining techniques, you'll be able to achieve a beautiful, long-lasting finish.
How Often Should I Reapply Sealant to Stained Concrete?
When it comes to reapplying sealant to your stained concrete, you'll need to take into account the type of sealant you're using.
Acrylic and polyurethane-based sealants typically need reapplication every 2-3 years, while epoxy-based sealants can last up to 5 years.
However, factors like foot traffic, exposure to UV light, and cleaning frequency can affect reapplication frequency.
Be sure to follow the manufacturer's instructions and perform regular inspections to make certain the sealant remains effective and your concrete stays protected.
Conclusion
With these essential tools in your arsenal, you'll be unstoppable in transforming that dull, lackluster concrete into a stunning work of art.
You'll be a master of stained concrete makeovers, leaving friends and family agog at your handiwork.
Remember, a flawless finish depends on meticulous prep and the right gear.
Don't skimp – invest in these must-haves and get ready to release a million-dollar makeover on a shoestring budget!
Related Posts
-
Essential Tools for Painting Concrete Walls
When painting concrete walls, you'll need a range of specialized tools to achieve a professional-looking finish. Star...
-
7 Tools to Fix Damaged Concrete Floors
You're about to tackle that damaged concrete floor, and the right tools are essential for a successful repair. Start ...
-
Ergonomic Concrete Tools for Tight Spaces
When you're tackling concrete work in tight spaces, ergonomic tools are your best bet for comfort and efficiency. The...


