Essential Tools for Small Concrete Plastering Projects
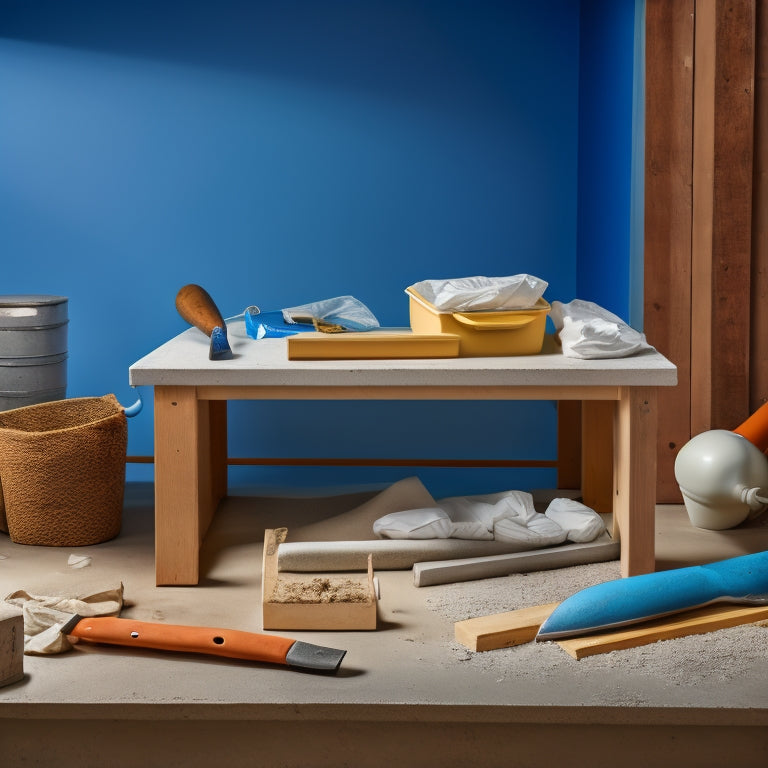
You'll need a well-stocked toolkit with specific essentials to tackle small concrete plastering projects efficiently and effectively. Trowels, hawks, and putty knives are must-haves for hand tools, while mixing buckets, power mixers, and concrete trowels are necessary for mixing and applying concrete. Smoothing and finishing tools like floats, edgers, and finishing trowels will guarantee a professional finish. Don't forget safety gear like sturdy gloves, safety glasses, and dust masks to protect yourself from harm. Finally, accurate measurements and leveling are vital, so invest in a reliable tape measure, digital caliper, and spirit level. By equipping yourself with these essentials, you'll be well on your way to achieving high-quality results in your small concrete plastering projects, and understanding the nuances of each tool will make all the difference.
Key Takeaways
• A well-maintained trowel is essential for applying and smoothing plaster in small concrete projects.
• A hawk and putty knife are necessary for efficient application and surface preparation.
• A mixing bucket, mixing stick, and power mixer are crucial for combining and mixing concrete mixture.
• Safety gear, including sturdy gloves, safety glasses, dust mask, and steel-toed boots, is vital for protecting oneself from hazards.
• Accurate measurements and leveling tools, such as a tape measure, digital caliper, and reliable level, ensure quality outcomes and prevent costly mistakes.
Essential Hand Tools for Plastering
When plastering, you'll need a set of reliable hand tools to guarantee a smooth, even finish and to avoid costly reworks. A well-maintained trowel is essential for applying and smoothing plaster.
You'll also need a hawk to hold and carry plaster, as well as a putty knife for scraping and leveling surfaces. A joint knife and finishing trowel are necessary for creating clean joints and achieving a smooth finish. Additionally, a level and straightedge will verify your work is accurate and precise.
Proper tool maintenance is critical for achieving peak results. Regularly clean and inspect your tools to prevent damage and wear. Store them in a dry, protected area to prevent rust and corrosion.
By following these guidelines, you'll be able to master various plastering techniques and produce high-quality work. Remember, investing in quality tools and maintaining them properly will save you time, money, and frustration in the long run.
With the right tools and techniques, you'll be able to achieve a professional-looking finish on your small concrete project.
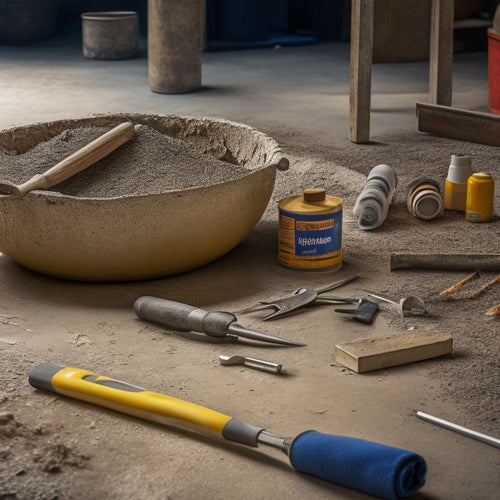
Mixing and Applying Concrete Tools
You'll need a range of specialized tools to efficiently mix and apply concrete for your small project. Mixing and applying concrete requires precision and control to achieve the desired consistency and finish.
A mixing bucket or wheelbarrow is essential for combining the concrete mixture, and a mixing stick or trowel is necessary for incorporating the ingredients. For effective mixing techniques, consider using a power mixer or a concrete mixer drill bit to reduce fatigue and guarantee a consistent mix.
When it comes to application methods, you'll need a range of tools to get the job done. A concrete trowel or screed is perfect for spreading and smoothing the concrete, while an edger or jointer helps create clean edges and joints. A level or straightedge guarantees your application is even and accurate.
Don't forget to wear protective gear, including gloves, safety glasses, and a dust mask, to prevent injuries and exposure to hazardous materials.
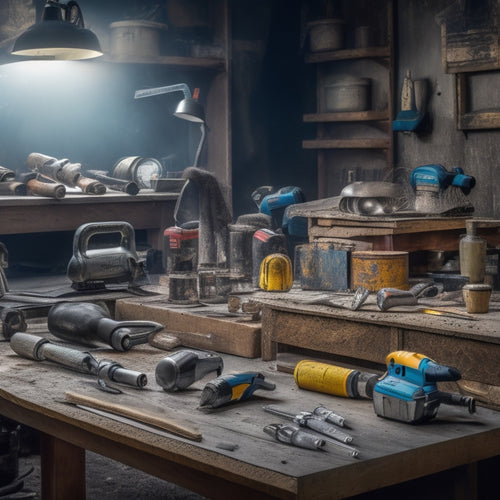
Smoothing and Finishing Tools Needed
With your freshly applied concrete in place, now it's time to focus on achieving a smooth, even finish by employing the right smoothing and finishing tools. You'll need a range of specialized tools to achieve the desired texture and finish for your project.
| Tool | Description |
|---|---|
| Trowel | Used for applying and smoothing concrete, available in various sizes and types (e.g., flat, curved, or notched) |
| Float | A long-handled tool for smoothing and flattening the concrete surface |
| Edger | A specialized tool for creating clean edges and corners |
| Finishing Trowel | A smaller, more precise trowel for creating detailed textures and finishes |
| Broom or Texturing Tool | Used to create specific texture finishes, such as broom or stucco finishes |
When working with these tools, it's crucial to master various trowel techniques, such as holding the trowel at the correct angle and applying the right amount of pressure. This will help you achieve a professional-looking finish and guarantee your project meets your desired standards. By investing in these vital smoothing and finishing tools, you'll be able to create a high-quality, long-lasting concrete surface that meets your needs.
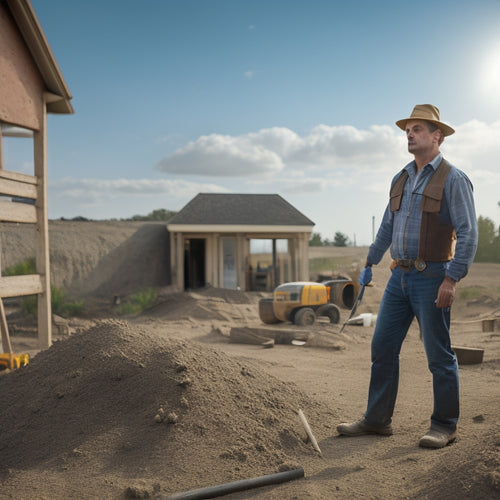
Safety Gear for Concrete Work
As you prepare to tackle your concrete project, don't overlook the critical importance of protecting yourself from the hazards associated with working with concrete. Concrete can be unforgiving, and the risks involved are very real. That's why it's crucial to invest in the right personal protective equipment (PPE) to safeguard your health and well-being.
Before starting your project, conduct a thorough risk assessment to identify potential hazards. This will help you determine the necessary safety gear you'll need to mitigate those risks. At a minimum, you should have a pair of sturdy gloves, safety glasses, and a dust mask. These will protect you from skin irritation, eye damage, and respiratory problems.
Additionally, consider wearing knee pads, a long-sleeved shirt, and pants to prevent skin abrasions and concrete splashes. Steel-toed boots are also a must-have to protect your feet from heavy objects and tools.
Don't underestimate the importance of safety gear - it's better to be safe than sorry when working with concrete. By taking the necessary precautions, you'll be able to focus on the task at hand, confident that you're protected from harm.
Measuring and Leveling Essentials
What's the most vital aspect of achieving a successful concrete project, besides safety gear, of course?
It's getting your measurements and levels spot on! Inaccurate measurements can lead to costly mistakes, wasted materials, and a subpar finish. That's why you'll need the right tools for the job.
When it comes to measuring, you'll want to invest in a high-quality tape measure, preferably one with a sturdy hook and a clear, easy-to-read display. For more precise measurements, consider a digital caliper or a laser distance measurer. These tools will help you accurately measure distances, widths, and heights, guaranteeing your concrete project turns out as planned.
Leveling is just as essential, as an uneven surface can compromise the structural integrity of your project. You'll need a reliable level, such as a spirit level or a laser level, to make certain your surface is perfectly horizontal or vertical.
Frequently Asked Questions
Can I Use a Drill for Mixing Small Batches of Concrete?
When mixing small batches of concrete, you're tempted to use a drill, but be cautious.
While a drill can work, it's vital to choose the right drill type and mixing technique to avoid inconsistent batches. A heavy-duty drill with a mixing paddle or a specialized concrete mixer drill bit is necessary.
Use a slow, controlled mixing motion to avoid introducing air pockets.
Always follow safety guidelines and manufacturer instructions to guarantee a safe and successful mixing process.
Do I Need to Prime the Surface Before Applying Plaster?
When applying plaster, you'll want to make sure the surface is properly prepared to guarantee a strong bond.
Yes, you need to prime the surface before applying plaster. This essential step enhances plaster adhesion, reducing the risk of delamination and making certain a durable finish.
Proper surface preparation involves cleaning, degreasing, and etching the surface to create a strong mechanical bond, allowing the plaster to adhere securely and safely.
Don't skip this step – it's key to a successful project.
How Long Does It Take for Plaster to Fully Dry and Harden?
When you apply plaster, you'll need to wait for it to fully dry and harden. The curing time varies depending on drying conditions.
Ideally, you'll want to maintain a consistent temperature between 60°F to 80°F (15°C to 27°C) and relative humidity below 60%. Under these conditions, you can expect the plaster to fully harden within 24 to 48 hours.
However, it's essential to follow the manufacturer's instructions and wait for the recommended time to guarantee a strong, durable finish that's safe to work with.
Can I Reuse Leftover Mixed Concrete or Plaster?
You're wondering if you can reuse leftover mixed concrete or plaster. The answer is a resounding no.
Once mixed, concrete and plaster have a limited pot life, and their properties degrade quickly.
Reusing leftover concrete can lead to a weaker, inconsistent final product, compromising its structural integrity and safety.
It's better to discard plaster waste and mix fresh batches to guarantee a strong, durable finish.
Do I Need a Permit for Small Concrete or Plastering Projects?
You'll need to determine if you require a permit for your small concrete or plastering project.
Check with your local government to understand permit requirements and project regulations.
Failing to obtain necessary permits can lead to fines, removal of work, or even legal action.
Don't risk it - verify the regulations in your area before starting your project to guarantee compliance and a safe working environment.
Conclusion
You've got the essentials covered for your small concrete plastering project.
From hand tools to mixing and applying, smoothing and finishing, safety gear, and measuring and leveling tools, you're all set.
Now, ask yourself: can you imagine tackling that DIY project without these must-haves? Exactly.
With these tools in your arsenal, you'll be well on your way to a professional-looking finish that'll make you proud.
Related Posts
-
Top Tools for Repairing Cracked Concrete Surfaces
When tackling a cracked concrete surface repair, you'll need the right tools to guarantee a durable fix. Start with e...
-
Essential Power Tools for DIY Concrete Sculpting
As you begin DIY concrete sculpting, you'll need a strategic selection of power tools to achieve professional-grade r...
-
Concrete Foundation Building Tools for Homeowners' Success
As you start your concrete foundation building project, it is vital to have the right tools to guarantee success. You...


