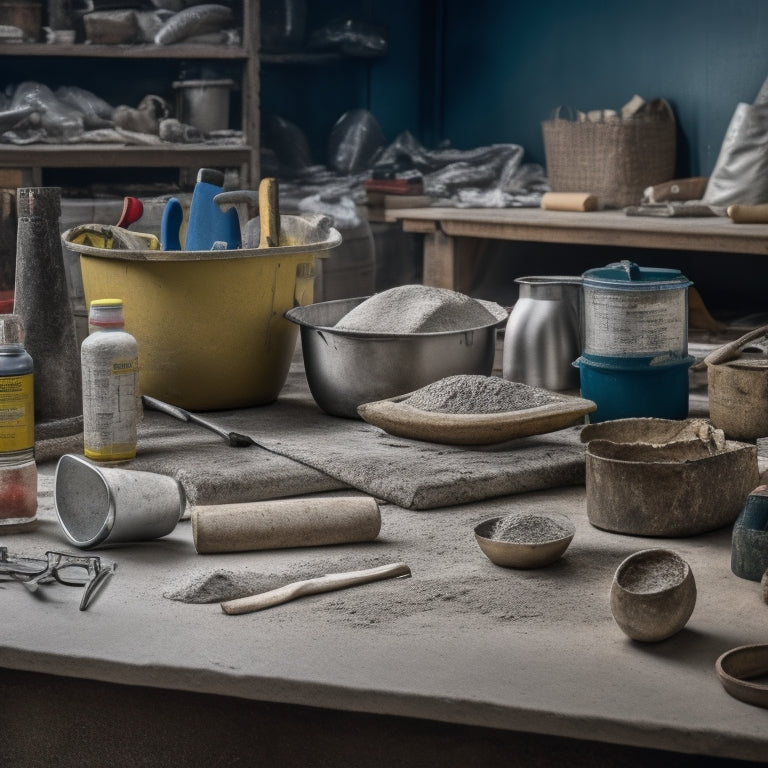
Essential Tools for DIY Concrete Repair Projects
You'll need a range of specialized tools and equipment to tackle a DIY concrete repair project successfully, from crack assessment and filling to surface preparation and finishing. Crack detection tools, like magnifying glasses or crack detection dye, help determine depth and width. Choose the right filling technique and tools based on crack size, and use groove creation and smoothing tools for a professional finish. Essential mixers and agitators, surface preparation equipment, and safety gear like goggles and gloves are also must-haves. With the right tools and techniques in hand, you'll be well on your way to a long-lasting, professional-looking repair - and understanding the nuances of each step will make all the difference.
Key Takeaways
• Assess cracks with magnifying glasses or detection dye to determine depth and width before filling.
• Choose the right filling tools, such as narrow nozzles or chisels, based on crack size for a professional finish.
• Select a reliable mixer or agitator that suits your project size, with features like adjustable speed controls and ergonomic handles.
• Prepare the surface with wire brushes, scrubbers, and pressure washers to remove dirt and old adhesives for a strong bond.
• Wear essential safety gear, including safety goggles, protective gloves, and a dust mask or respirator, to prevent injuries.
Concrete Crack Filling Tools
When repairing concrete cracks, you'll need a set of specialized tools to guarantee a strong and durable bond. A thorough crack assessment is essential in determining the right approach for filling the crack.
You'll need a crack detection tool, such as a magnifying glass or a crack detection dye, to identify the depth and width of the crack. Once you've assessed the crack, you can select the appropriate filling technique.
For narrow cracks, you'll need a narrow nozzle or a filling knife to inject or fill the crack with a suitable repair material. For wider cracks, you may require a chisel or a hammer to widen the crack and create a V-shaped groove, allowing for better bonding.
Additionally, you'll need a trowel or a putty knife to smooth out the filled area, ensuring a flush finish. By having the right tools for crack assessment and filling techniques, you'll be able to achieve a professional-looking repair that will last for years to come.
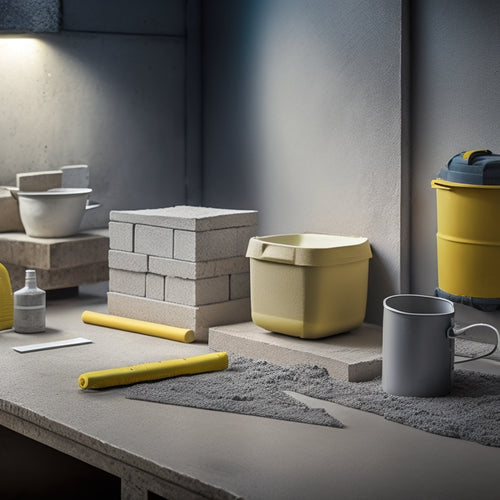
Essential Mixers and Agitators
You'll need a reliable mixer or agitator to combine and blend the concrete repair materials to the right consistency, guaranteeing a strong bond between the old and new concrete.
When selecting a mixer, consider the type of repair project you're undertaking. For small to medium-sized projects, a handheld mixer or a portable electric mixer is ideal. These mixer types are lightweight, easy to maneuver, and can handle small batches of repair material. For larger projects, a heavy-duty mixer or a gas-powered mixer is more suitable. These mixers can handle larger batches and are designed for heavy-duty use.
When it comes to agitators, look for features such as adjustable speed controls, ergonomic handles, and durable construction. Agitator features like these assure efficient mixing, reduce fatigue, and withstand the rigors of repeated use.
Additionally, consider the size and shape of the agitator's mixing paddles, which should be designed to effectively blend the repair material to the correct consistency.
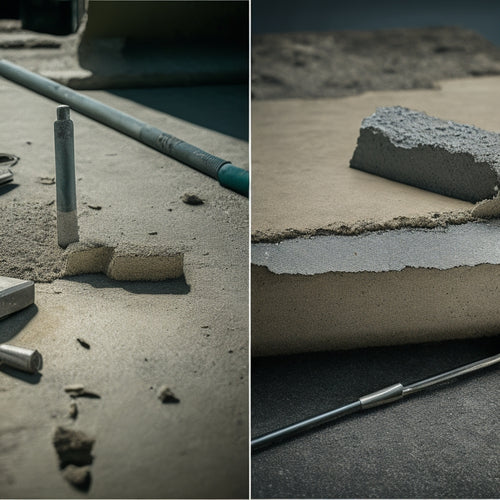
Surface Preparation Equipment
Proper surface preparation is essential to ensuring a strong bond between the old and new concrete, and that's where surface preparation equipment comes in - to clean, roughen, and ready the area for repair.
As you prepare to tackle your DIY concrete repair project, you'll need the right tools to get the surface ready. This includes surface cleaning tools, such as wire brushes, scrubbers, and pressure washers, to remove dirt, grime, and old adhesives.
You'll also need to perform a substrate assessment to identify any cracks, voids, or other defects that need to be addressed. This may involve using specialized equipment, like a concrete scanner or infrared thermometer, to gather more detailed information about the substrate.
By using the right surface preparation equipment, you'll be able to create a strong, durable bond between the old and new concrete, ensuring a successful repair.
DIY Finishing and Smoothing
With your surface preparation complete, it's time to focus on finishing and smoothing the repaired area to achieve a uniform, like-new appearance. This critical step requires the right tools and techniques to guarantee a professional-looking finish.
You'll need to select the appropriate finishing products, such as trowels, edgers, and floats, designed for your specific repair project. These tools will help you achieve a smooth, even surface.
When it comes to smoothing techniques, you'll want to use a combination of manual and mechanical methods. Start by using a trowel to spread and smooth out the repair material, feathering it out towards the edges.
Next, use an edger to create a clean, defined edge around the repair area. Finally, use a float to smooth out any remaining imperfections, achieving a high-gloss finish.
Safety and Protective Gear
As you shift from smoothing the repair area to applying the final touches, it's imperative to gear up with the necessary safety and protective equipment to prevent injuries and exposure to hazardous materials.
You'll need safety goggles to shield your eyes from flying debris, concrete dust, and chemical splashes. Look for goggles with anti-fog coating and good ventilation to guarantee clear visibility.
Next, invest in a pair of protective gloves that provide grip, dexterity, and puncture resistance. These gloves will protect your hands from cuts, abrasions, and chemical exposure. Opt for gloves with a breathable material, like nylon or polyester, to keep your hands cool and dry.
Don't forget to wear a dust mask or respirator when working with concrete to prevent inhaling dust and particles.
Frequently Asked Questions
Can I Use DIY Concrete Repair for Structural Foundation Damage?
When dealing with structural foundation damage, it's essential you don't take a DIY approach without a thorough foundation assessment.
You should consult a professional to evaluate the extent of the damage and recommend appropriate repair techniques.
They'll help you determine the best course of action to guarantee your foundation is stable and secure.
How Do I Remove Old Concrete to Replace It With New?
As you begin the challenging task of removing old concrete, imagine yourself a master excavator, unearthing the hidden flaws beneath.
To replace it with new, you'll need to employ concrete removal techniques like jackhammering, chiseling, or even chemical demolition.
What Is the Ideal Temperature for Working With Concrete?
When working with concrete, you're probably wondering what the ideal temperature is for best results.
The answer lies in understanding concrete curing and temperature effects. Ideally, you should aim for temperatures between 50°F and 80°F (10°C and 27°C) for proper curing.
If it's too hot or cold, the concrete may not set correctly, leading to weak spots or cracks.
Can I Use a Pressure Washer for Surface Preparation?
When it comes to surface preparation, you're wondering if a pressure washer is a good idea.
The answer is yes, you can use a pressure washer, and it's actually beneficial. The high pressure helps remove dirt, grime, and old coatings, leaving a clean surface for repair.
This surface preparation technique is especially effective for large areas.
Just be sure to use a wide fan tip and keep the nozzle at least 12 inches away to avoid damaging the concrete.
Do I Need a Permit for DIY Concrete Repair Projects?
You're wondering if you need a permit for your DIY concrete repair project.
Investigating the truth behind permit requirements reveals that it largely depends on your location and the scope of your project.
Research your local regulations to determine if a permit is necessary.
Typically, permits are required for larger projects or those affecting structural integrity.
You'll want to guarantee compliance to avoid fines and potential safety hazards.
Conclusion
You've made it to the end of your DIY concrete repair project! With the right tools, you've successfully filled cracks, mixed and applied concrete, prepared surfaces, and finished with a smooth touch.
Did you know that according to the American Concrete Institute, concrete is the most widely used man-made material in the world, with over 20 billion tons produced annually?
By having the essential tools, you've joined the ranks of skilled DIYers who can tackle concrete repair projects with confidence and precision.
Related Posts
-
What Tools Do I Need for Concrete Block Laying
You'll need a thorough set of tools to guarantee accurate, efficient, and professional concrete block laying. Essenti...
-
Top Tools for Concrete Adhesion Success
When it comes to concrete adhesion success, you'll need to wield the right tools and techniques to guarantee a strong...
-
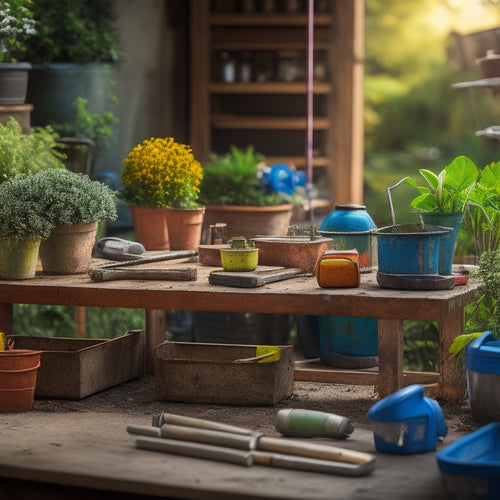
Must-Have Tools for Concrete Planter Projects
As you commence your concrete planter project, you'll need a range of specialized tools to achieve professional-grade...


