Essential Tools for Building Concrete Planters
Share
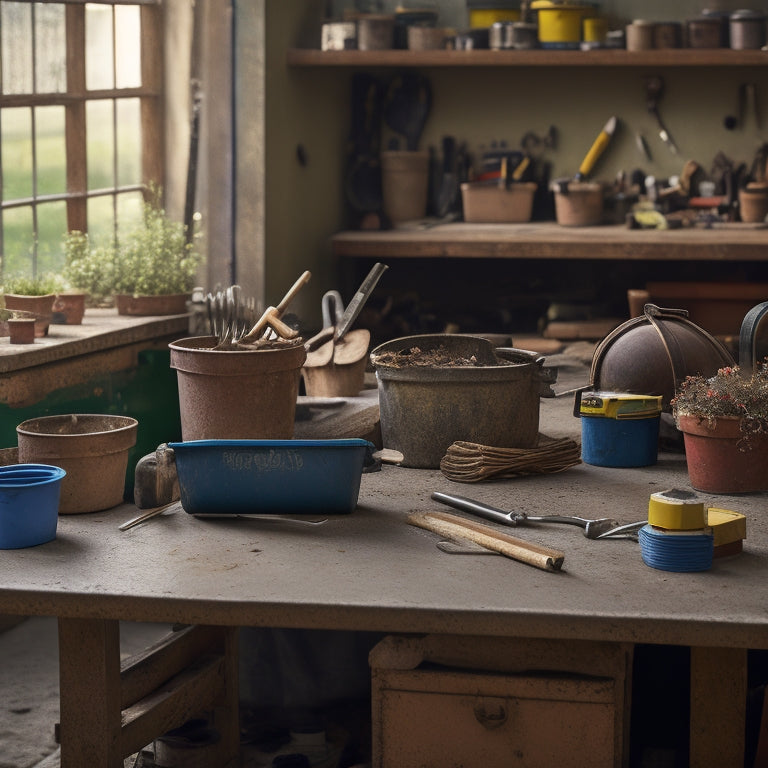
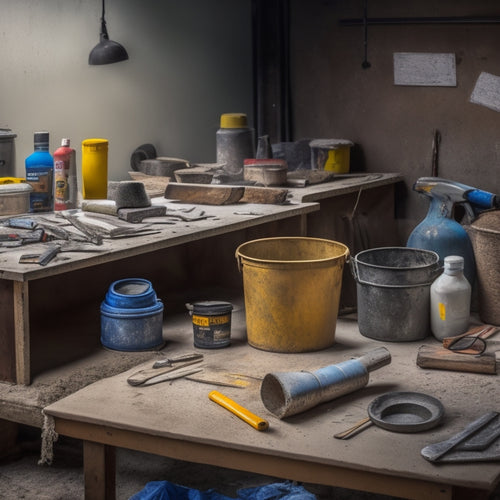
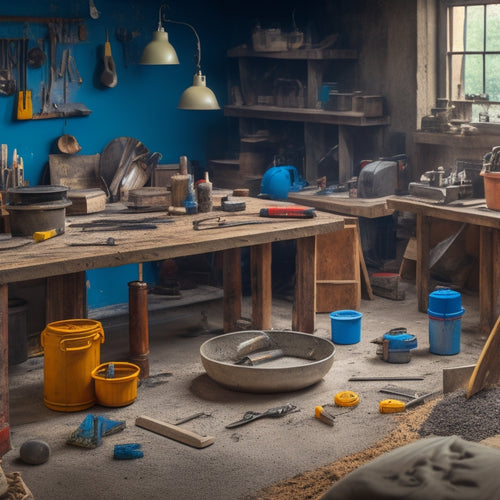
When building concrete planters, you'll need a range of essential tools to get the job done right. For cutting cinder blocks, invest in a masonry saw, circular saw, or diamond-blade saw, depending on the block type. Safety gear is a must, including protective eyewear, breathing masks, and gloves. Accurate measurement and marking are vital, so have high-visibility markers and combination squares on hand. From trowels and edgers to wire brushes and putty knives, you'll need various hand tools for shaping and smoothening. Finally, specialized tools like power trowels, stamps, and polishing compounds will help you achieve a professional finish - and with the right tools and techniques, you'll be well on your way to creating beautiful, long-lasting planters.
Key Takeaways
• A masonry saw or circular saw with a masonry blade is essential for cutting cinder blocks accurately and efficiently.
• Safety gear, including protective eyewear, breathing masks, and gloves, is crucial for preventing injuries and respiratory issues.
• Measuring and marking cinder blocks accurately is vital for structural integrity and aesthetics, using high-visibility markers and combination squares.
• Hand tools, such as trowels, edgers, and wire brushes, are necessary for shaping and smoothening concrete surfaces to achieve desired textures and patterns.
• Reinforcement materials, like steel rebar, fiber mesh, and polypropylene fibers, must be properly placed and secured to ensure planter structural integrity.
Tool Selection for Cinder Block Cutting
As you prepare for shaping your cinder blocks into the perfect planter, precision takes center stage, and the right tool selection becomes crucial for a clean, accurate cut.
The type of block you're working with will influence your tool choice. For standard cinder blocks, a masonry saw or a circular saw with a masonry blade will suffice. However, if you're working with denser blocks, such as those made from concrete or aggregate, you may need a more heavy-duty option like a diamond-blade saw.
When it comes to cutting techniques, you'll want to take into account the level of precision required for your design. For intricate cuts, a masonry chisel and hammer may be the way to go. For more straightforward cuts, a power saw will save you time and effort.
Regardless of the tool you choose, it's crucial to follow proper cutting techniques to avoid damaging the block or compromising its structural integrity.
Safety Gear for Planter Construction
As you prepare to construct your concrete planters, remember that safety should always come first. You'll need to shield yourself from hazards like flying debris and airborne particles, so make sure you've got the right gear.
Your eyes, lungs, and hands are particularly vulnerable, so let's take a closer look at the essential safety gear you'll need to protect them.
Protective Eye Wear
When working with concrete, you'll need to shield your eyes from flying debris and dust with protective eye wear, an essential safety gear for planter construction that can prevent serious eye injuries.
There are several eye protection types to choose from, including safety glasses, goggles, and face shields. Each type offers varying levels of protection, so it's vital to select the right one for your specific needs.
When it comes to lens material options, you'll have a range of choices. Polycarbonate lenses are a popular choice due to their impact resistance and lightweight design.
Trivex lenses offer excellent optical clarity and are also lightweight. Glass lenses provide superior scratch resistance but are heavier than polycarbonate or Trivex.
Consider your personal preferences and the demands of your project when selecting the right lens material.
Breathing Masks Required
Inhaling concrete dust and particles can lead to serious respiratory issues, so donning a breathing mask is a non-negotiable safety precaution for planter construction. You wouldn't want to compromise your health, especially when working with concrete. As you prepare for your project, remember that breathing masks are essential for protecting your lungs.
Here are some key factors to take into account when choosing a breathing mask:
| Mask Type | Filter Class | Breathing Techniques |
| Half-Face Mask | P100 | Normal breathing, gentle inhalation |
| Full-Face Mask | P95 | Deep breathing, rapid inhalation |
| Disposable Mask | N95 | Shallow breathing, slow exhalation |
| Reusable Mask | R95 | Alternate breathing, steady pace |
| Powered Air-Purifying Respirator (PAPR) | HEPA | Controlled breathing, relaxed pace |
When selecting a breathing mask, evaluate the level of protection you need, your breathing techniques, and the type of concrete you're working with. Remember, it's always better to be safe than sorry. Invest in a high-quality breathing mask that suits your needs, and you'll be well on your way to creating stunning concrete planters while keeping your health intact.
Glove Selection Matters
You'll need to shield your hands from the harsh, abrasive effects of concrete and its additives, which is where selecting the right gloves comes in.
When it comes to glove materials, look for ones that offer a balance between durability and dexterity. You'll want gloves made from materials like nitrile, polyurethane, or silicone, which provide excellent resistance to abrasion, cuts, and punctures. These materials will also offer grip comfort, ensuring you can work efficiently without fatigue.
Additionally, consider gloves with textured palms and fingertips to enhance grip and traction. This is especially important when handling wet or slippery concrete.
You'll also want to opt for gloves with breathable materials, such as mesh panels, to prevent moisture buildup and keep your hands cool and dry.
A good pair of gloves won't only protect your hands but also provide the necessary grip and comfort to get the job done efficiently. By choosing the right gloves, you'll be able to work confidently, knowing your hands are well-protected from the harsh effects of concrete and its additives.
Measuring and Marking Cinder Blocks
When building concrete planters, you'll quickly realize that cinder blocks come in varying sizes, and it's essential you account for these differences to guarantee a sturdy structure.
To avoid costly mistakes, you'll need to master accurate marking techniques that assure precise cuts and fits.
Block Size Variations Matter
Measuring and marking cinder blocks accurately is vital, as block size variations can greatly impact the structural integrity and aesthetics of your concrete planters.
When you're working with cinder blocks, you need to take into account the block size variations that can affect your planter's overall design and stability. Even a slight deviation in block size can lead to uneven weight distribution, compromising the structural integrity of your planter. This is especially important when you're building larger planters, as block weight implications can be significant.
You'll also want to reflect on block design considerations, such as the block's shape, size, and texture. These factors can influence the overall look and feel of your planter, so it's important to choose blocks that fit your design vision.
Accurate Marking Techniques Required
To guarantee your concrete planter's design vision is realized, accurately marking cinder blocks is a must, as even the slightest miscalculation can throw off the entire structure.
You'll want to employ precise marking methods to ascertain your blocks are cut to perfection. Start by using a high-visibility marker to draw a clear, straight line along the block's surface. This will serve as your guide for cutting.
Next, use a combination square to ascertain your lines are perfectly square and your corners are crisp. When marking multiple blocks, use alignment techniques such as snapping a chalk line or creating a template to maintain consistency.
This attention to detail will pay off when assembling your planter, as accurately marked blocks will fit together seamlessly. By taking the time to master these marking techniques, you'll be able to bring your design vision to life with confidence.
Measuring for Perfect Fit
Now that you've accurately marked your cinder blocks, it's time to guarantee they'll fit together perfectly by taking precise measurements. Measuring accuracy is vital to avoid any fit adjustments later on. To achieve this, you'll need a tape measure and a calculator. Measure the length, width, and height of each block, taking note of any variations. Calculate the total dimensions of your planter, considering the spacing between blocks and the thickness of the mortar.
As you take measurements, identify any blocks that need trimming or adjusting. Make a note of these blocks and set them aside for further work.
With your measurements in hand, you can now create a detailed layout of your planter, ensuring a snug fit between blocks. This step may seem tedious, but it's essential for a professional-looking finish.
Essential Power Tools for Cutting
Essential Power Tools for Cutting
Frequently, you'll find that a circular saw is the go-to power tool for making straight cuts in concrete blocks, pavers, or slabs, allowing you to efficiently section your materials for your planter project.
When choosing a circular saw, consider the saw type and power source that best suits your needs. For instance, a gas-powered saw provides more power and mobility, while an electric saw offers greater convenience and affordability. Additionally, you may opt for a masonry saw, specifically designed for cutting through concrete and other masonry materials.
Another essential power tool for cutting is a reciprocatory saw, also known as a sawzall. This versatile tool is ideal for making curved cuts or demo work, and its aggressive blade motion helps to reduce fatigue.
When selecting a reciprocatory saw, consider the stroke length, speed, and amp rating to guarantee you have the right tool for the job.
Hand Tools for Shaping and Smoothening
As you shift from cutting to shaping and smoothening your concrete planter's surfaces, a set of hand tools becomes indispensable for achieving the desired texture and appearance. You'll need a variety of tools to execute specific shaping methods and smoothing techniques.
A trowel is a must-have for applying and smoothening fresh concrete, allowing you to achieve a smooth, even surface. An edger or a jointer will help you refine the edges and create clean joints.
For more intricate details, a set of metal or wooden modeling tools will come in handy. These tools enable you to add textures, patterns, or shapes to your planter, giving it a unique character.
Additionally, a wire brush or a scrub brush can be used to remove excess concrete, smooth out surfaces, or create a distressed look. Don't forget a putty knife or a scraper for removing excess material and creating a more defined shape.
With these hand tools, you'll be able to refine your planter's surfaces, adding an extra layer of sophistication to your finished product.
Materials for Reinforcing Planters
You'll need to incorporate reinforcing materials into your planter's structure to guarantee its durability and stability over time. The right reinforcement materials will guarantee your planter can withstand external forces like weather and weight, maintaining its structural integrity.
When selecting reinforcement materials, consider the following options:
| Material | Benefits |
|---|---|
| Steel Rebar | Provides excellent tensile strength, ideal for large planters |
| Fiber Mesh | Offers flexibility and resistance to cracking, suitable for smaller planters |
| Polypropylene Fibers | Adds durability and resistance to freeze-thaw cycles |
| Glass Fibers | Enhances strength and reduces shrinkage, ideal for planters with complex shapes |
Remember to choose the reinforcement material that best suits your planter's design and size. Properly placing and securing the reinforcement materials is essential to achieving the desired structural integrity. By doing so, you'll guarantee your planter remains sturdy and long-lasting, providing a beautiful and functional space for your plants to thrive.
Specialized Tools for Planter Finishing
With your planter's structure reinforced, it's time to focus on the finishing touches, which require specialized tools to achieve a smooth, even, and visually appealing surface.
You'll need a range of tools to perfect your planter's finish, from edgers and grinders to trowels and floats. For a smooth, matte finish, you'll want to invest in a power trowel or a finishing trowel, which will help you achieve a uniform texture. If you're looking to add some visual interest, consider using a stamp or a texture mat to create unique patterns or designs.
When it comes to surface treatments, you'll need to decide on the level of shine or texture you want to achieve. For a high-gloss finish, you'll need a polishing compound and a series of progressively finer grit sandpapers. For a more matte finish, a simple sealant or wax will do the trick.
Whatever finishing techniques you choose, make sure you have the right tools for the job. With the right tools and a bit of practice, you'll be able to achieve a professional-looking finish that will make your planters stand out.
Frequently Asked Questions
Can I Use a Hammer to Break Cinder Blocks Into Smaller Pieces?
When breaking cinder blocks into smaller pieces, you'll want to exercise caution.
While a hammer can be used, it's vital to prioritize hammer safety. Avoid direct blows, as they can cause fragments to fly everywhere.
Instead, try cinder block techniques like scoring and prying, or use a demolition hammer for more control.
Wear protective gear, including safety glasses and gloves, to guarantee a safe and successful demolition.
How Do I Prevent Planters From Cracking in Freezing Temperatures?
When winter hits, you'll want to guarantee your planters can withstand freezing temperatures.
To prevent cracking, you'll need to focus on thermal insulation and moisture management.
Start by applying a waterproof coating to the planter's exterior, then add insulation like foam board or reflective tape.
Next, make certain the planter has proper drainage holes to prevent water from accumulating and freezing.
Are Concrete Planters Suitable for Indoor or Outdoor Use Only?
The age-old debate: can you truly commit to a concrete planter, or are you torn between indoor aesthetics and outdoor durability?
Let's be real, you want it all - and rightly so! The good news is, you can have your cake and eat it too (or in this case, plant your flowers and enjoy them anywhere).
Concrete planters are versatile enough to thrive in both settings, so go ahead, take the leap, and let your planter live its best life - wherever that may be!
Can I Paint or Stain My Concrete Planters for Decoration?
You're wondering if you can add some personality to your concrete planters, right? Absolutely! You can definitely paint or stain them for decoration.
When it comes to painting, consider techniques like stenciling, ombre, or faux finishes to add visual interest. For staining, explore options like acid-based, water-based, or oil-based stains to achieve the perfect hue.
Just make sure to prep your planters properly and follow the manufacturer's instructions for a flawless finish. Get creative and make your planters truly one-of-a-kind!
How Long Does It Take for Concrete Planters to Fully Cure and Dry?
You might be thinking, 'I'm not a patient person, do I really have to wait for my concrete planters to cure?'
But trust us, it's worth it!
The curing process is essential, and it typically takes 24 to 48 hours for the concrete to set, depending on the mix and environmental conditions.
After that, the drying time can take anywhere from a few days to several weeks, depending on the thickness of the concrete and the ambient temperature and humidity.
Conclusion
You've finally assembled the ultimate arsenal for building concrete planters!
With these essential tools, you'll be unstoppable, a master craftsman, a concrete wizard!
Your planters will be so sturdy, they'll withstand hurricanes, so beautiful, they'll make garden gnomes weep with envy.
So, go forth, create, and let your concrete masterpieces change the world, one planter at a time!
Related Posts
-

3 Best Tools to Buy for Concrete Repair Online
When buying tools for concrete repair online, you'll want to research multiple retailer options to find the best prod...
-

Ergonomic Concrete Tools for Tight Spaces
When you're tackling concrete work in tight spaces, ergonomic tools are your best bet for comfort and efficiency. The...
-

Budget-Friendly Tools for DIY Decorative Concrete Profiling
You can achieve professional-grade decorative concrete results on a budget by investing in the right combination of e...


