Essential Tools for Building Concrete Planter Boxes
Share
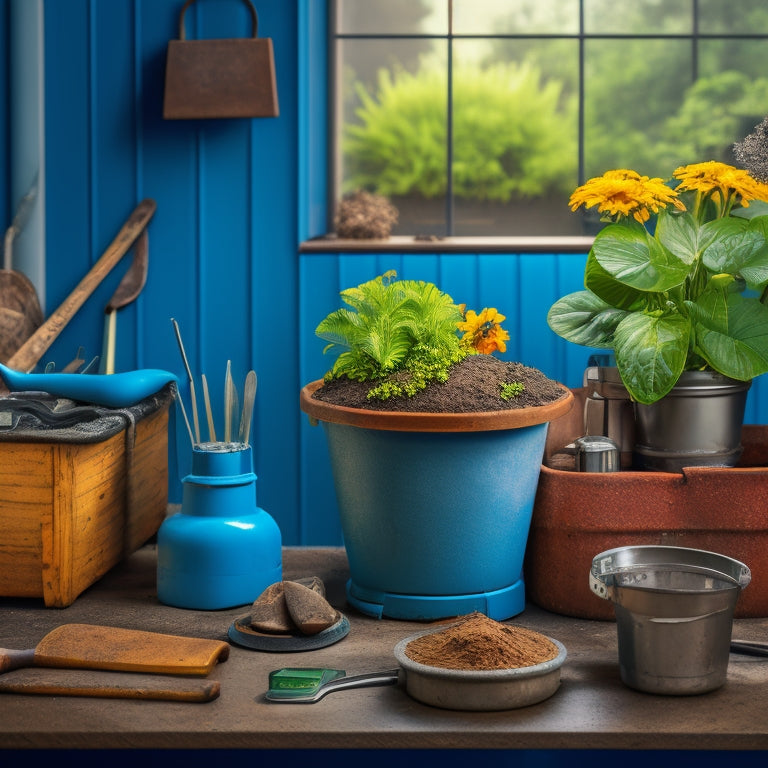
When building a concrete planter box, you'll need essential tools for concrete mixing, cinder block cutting, safety gear, measuring, and concrete finishing. A portable mixer, mixing bucket, digital scale, and mixing stick are must-haves for accurate concrete mixing. For cutting cinder blocks, choose the right saw type, power source, and technique. Don't forget safety gear like gloves, safety glasses, and a dust mask. Measuring and leveling tools, such as a reliable tape measure and spirit level, guarantee accurate construction. With the right tools, you'll be well on your way to building a sturdy and visually appealing planter box - and that's just the starting point.
Key Takeaways
• A portable mixer and mixing bucket are essential for measuring and mixing concrete ingredients accurately and consistently.
• A digital scale is necessary for precise measurements of cement, sand, and aggregate to achieve the correct ratio.
• Protective gear, including gloves, safety glasses, and a dust mask, is crucial for preventing injuries during the mixing and construction process.
• A reliable tape measure and spirit level are necessary for ensuring accurate measurements and level structure in the planter box.
• A screed board, trowel, and floating trowel are required for removing excess concrete, flattening the surface, and creating a smooth finish.
Essential Concrete Mixing Tools
As you prepare to mix your concrete, gather the following essential tools to guarantee a successful and efficient process.
You'll need a portable mixer, which can handle large batches of concrete and assures consistent mixing ratios. A mixing bucket or wheelbarrow is also necessary for measuring and mixing ingredients. Don't forget a shovel or trowel for scooping and blending the concrete.
To achieve precise mixing ratios, use a digital scale to measure cement, sand, and aggregate accurately. A mixing stick or paddle is also vital for scraping the sides and bottom of the mixing bucket.
Wear protective gear, including gloves, safety glasses, and a dust mask, to prevent injury and exposure to hazardous materials.
With these tools, you'll be able to maintain control over the mixing process, assuring a strong and durable concrete structure. By following recommended mixing ratios and using the right equipment, you'll achieve a consistent and high-quality concrete mix.
This will ultimately result in a sturdy and long-lasting planter box that can withstand the elements and support your plants.
Cinder Block Cutting Equipment
When building concrete planter boxes, you'll likely need to cut cinder blocks to fit your design.
To make clean cuts, you'll want to understand the best block splitting techniques and choose the right cutting tool for the job.
Block Splitting Techniques
You'll need to split cinder blocks to fit your planter box design, and the right cutting equipment can make this process efficient and accurate.
Mastering block splitting methods is essential to achieve professional-looking results. One efficient splitting technique is the 'score and break' method, where you score the block along the desired split line using a specialized tool, then apply gentle pressure to break it along the scored line. This technique helps minimize waste and guarantees clean, straight cuts.
Another method is the 'cut and split' technique, which involves cutting a shallow groove along the split line using a saw or grinder, then splitting the block using a splitting tool or hammer and chisel.
By mastering these block splitting methods, you'll be able to make precise cuts and achieve the desired shape for your planter box.
Remember to always follow safety guidelines and wear protective gear when working with power tools and heavy materials.
Cutting Tool Options
Selecting the right cutting tool is essential for efficiently and accurately splitting cinder blocks, and several options are available to suit your needs and preferences. You'll want to evaluate the type of saw, its power source, and the specific cutting technique required for your project.
Here's a comparison of popular cutting tool options:
| Saw Type | Power Source | Cutting Technique |
|---|---|---|
| Circular Saw | Electric | Push-through cutting |
| Reciprocating Saw | Electric/Battery | Back-and-forth cutting |
| Masonry Saw | Electric | Slow, controlled cuts |
| Hand Saw | Manual | Gentle, precise cutting |
When choosing a saw, assess the size and type of blocks you're working with, as well as your personal comfort level with different cutting techniques. For example, a circular saw is ideal for making quick, straight cuts, while a masonry saw is better suited for more precise, controlled cuts. By selecting the right cutting tool for your project, you'll be able to achieve professional-looking results with ease.
Safety Gear for Construction
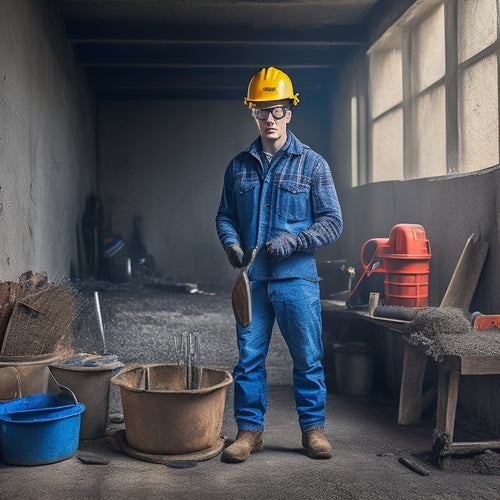
Before starting construction, always wear essential safety gear, including gloves, safety glasses, and a dust mask, to protect yourself from potential hazards like cuts, eye injuries, and respiratory problems.
You don't want to risk your health and well-being while building your concrete planter box. Safety goggles will shield your eyes from debris and dust, while protective gloves will prevent cuts and abrasions on your hands. A dust mask will filter out harmful particles from the air, keeping your respiratory system safe.
When choosing safety gear, look for products that meet industry standards and have good reviews. Make sure your safety goggles fit comfortably and have anti-fog coating to prevent fogging up.
Your protective gloves should be durable, grip-resistant, and provide flexibility for your hands. A dust mask with a HEPA filter will provide maximum protection against airborne particles.
Measuring and Leveling Tools
Measure the dimensions of your concrete planter box carefully, as accurate measurements are essential to achieving a level and balanced structure.
You'll need a reliable tape measure to get the job done. Look for a high-quality, 25-foot tape measure with clear markings and a sturdy design. This tool will help you measure the length, width, and depth of your planter box with precision.
Next, verify your planter box is perfectly level. A spirit level is a must-have for this task. This tool uses a bubble to indicate when your surface is perfectly horizontal or vertical.
You can use it to check the levelness of your planter box's base, sides, and top. Don't skip this step, as an unlevel planter box can lead to structural issues and uneven drainage.
Concrete Finishing and Smoothing
As you pour the concrete into your planter box, you'll need to tackle the essential step of finishing and smoothing the surface to achieve a professional-looking finish. This step requires attention to detail and the right tools to get the job done.
Start by using a screed board or trowel to remove excess concrete and flatten the surface. Then, switch to a floating trowel to smooth out the surface and eliminate any air pockets.
Next, apply a surface treatment to enhance the concrete's appearance and durability. This can include applying a texture or finish, such as a broom finish or exposed aggregate, to give your planter box a unique look. For a more subtle texture, use a steel trowel to create a smooth, even surface.
Planter Box Assembly Essentials
As you prepare to assemble your concrete planter box, you'll need to focus on three critical elements:
constructing a sturdy box frame,
mixing concrete to the right consistency,
and following a logical assembly sequence.
These essentials will guarantee your planter box turns out strong, durable, and visually appealing.
Box Frame Construction
You'll begin constructing your planter box frame by cutting four pieces of lumber to the required length for the sides, bottom, and ends. These frame materials will provide the structural foundation for your planter box. Confirm you choose durable, rot-resistant lumber, such as pressure-treated pine or cedar, to withstand outdoor conditions.
Next, assemble the frame by attaching the sides, bottom, and ends using rust-resistant screws. For added joint reinforcement, apply a bead of waterproof adhesive to the joints before screwing them together. This will guarantee a watertight seal and prevent water from seeping into the frame.
Here's a summary of the frame construction process:
| Step | Description |
|---|---|
| 1 | Cut four pieces of lumber to required length for sides, bottom, and ends |
| 2 | Assemble frame using rust-resistant screws |
| 3 | Apply waterproof adhesive to joints for added reinforcement |
Concrete Mixing Essentials
By the time you're ready to mix concrete, you should have a clear understanding of the essential components and their proportions to guarantee a strong, durable planter box. This includes the correct ratio of cement, sand, and aggregate, as well as the right amount of water.
When it comes to mixing techniques, it's vital to follow a consistent approach to achieve the desired concrete consistency. Start by adding the dry ingredients to your mixing container, followed by the water.
Use a mixing stick or trowel to combine the ingredients, working from the outside in. Be careful not to overmix, as this can lead to a weak or brittle concrete. Instead, aim for a consistency similar to thick batter.
If you're unsure, perform the 'squeeze test' by squeezing a small amount of concrete between your thumb and index finger. If it holds its shape, it's ready to use.
Assembly Sequence Matters
Mix your concrete to the correct consistency, and now it's time to turn your attention to assembling the planter box components in the correct sequence to guarantee a sturdy and durable structure.
You'll want to start by constructing the frame, making certain it's square and level. Next, install the joint reinforcement, such as rebar or fiber mesh, to provide added strength and prevent cracking.
After that, pour the concrete into the frame, making sure to vibrate it to remove any air pockets. Allow the concrete to set and cure according to the manufacturer's instructions.
Once it's set, you can begin assembling the sides and bottom of the planter box. Use assembly techniques such as overlapping joints and securing with wire or rebar to guarantee a strong bond.
Remember to work methodically and efficiently, as the assembly sequence can greatly impact the final product's integrity.
Frequently Asked Questions
How Do I Prevent Planter Boxes From Cracking Over Time?
To prevent planter boxes from cracking over time, you'll want to understand the common cracking causes, such as shrinkage, settlement, and thermal expansion.
You can counter these issues by using reinforcement techniques like adding fiber mesh or rebar to the concrete mix.
Additionally, guarantee proper curing, avoid over-mixing, and control the temperature and humidity during the curing process.
Can I Use a Drill to Mix Small Batches of Concrete?
Think of mixing concrete like whipping cream - you need the right tool to get the right consistency.
While a drill can be used to mix small batches, it's not the most efficient tool.
For small batches, opt for a cordless drill with a mixing paddle attachment or a dedicated concrete mixer.
Use a slow, controlled mixing technique to avoid introducing air pockets.
What Type of Sealant Is Best for Outdoor Planters?
When selecting a sealant for your outdoor planters, you'll want to prioritize types that guarantee outdoor durability.
You'll need a sealant that can withstand harsh weather conditions, UV exposure, and temperature fluctuations.
Look for silane-modified polyethers (SMPs) or polyurethane-based sealants, which offer excellent water resistance and flexibility.
These sealants will provide a strong, long-lasting bond that protects your planters from the elements, ensuring your plants thrive in their new concrete home.
Can I Build Planter Boxes on a Sloping Surface?
Imagine your planter boxes as anchors on a hillside, defying gravity's pull.
But, can you build them on a sloping surface? Yes, you can, but be prepared to tackle sloping challenges.
To overcome these, you'll need to employ leveling techniques, like excavating the soil or using adjustable footpads. By doing so, you'll guarantee your planters stand firm, and your plants thrive.
With the right approach, you'll be able to conquer the slope and create a stunning outdoor space that's both functional and beautiful.
Do I Need to Waterproof the Inside of the Planter Box?
When building a planter box, you'll want to take into account waterproofing the inside to guarantee its longevity.
You'll need to apply a waterproofing method to prevent water from seeping into the concrete and causing cracks or damage.
You can use a waterproofing membrane, epoxy coating, or sealant to protect the interior.
Conclusion
As you put the finishing touches on your concrete planter box, it's not just a coincidence that the tools you used are the same ones that will help you build a strong foundation in life - preparation, precision, and patience.
The essential tools for building concrete planter boxes are also the keys to constructing a solid future.
With these tools, you'll be ready to take on any project that comes your way, and that's no accident.
Related Posts
-

What Tools Do I Need for Concrete Wall Repair
As you prepare for a concrete wall repair job, you'll need a variety of tools to guarantee a successful outcome. Star...
-

Must-Have Handheld Tools for Concrete Repair
When tackling a concrete repair project, it is crucial to have the right handheld tools to achieve a professional fin...
-

Must-Have Tools for Concrete Planter Projects
As you commence your concrete planter project, you'll need a range of specialized tools to achieve professional-grade...


