Essential Tools for Building a Concrete Wall
Share
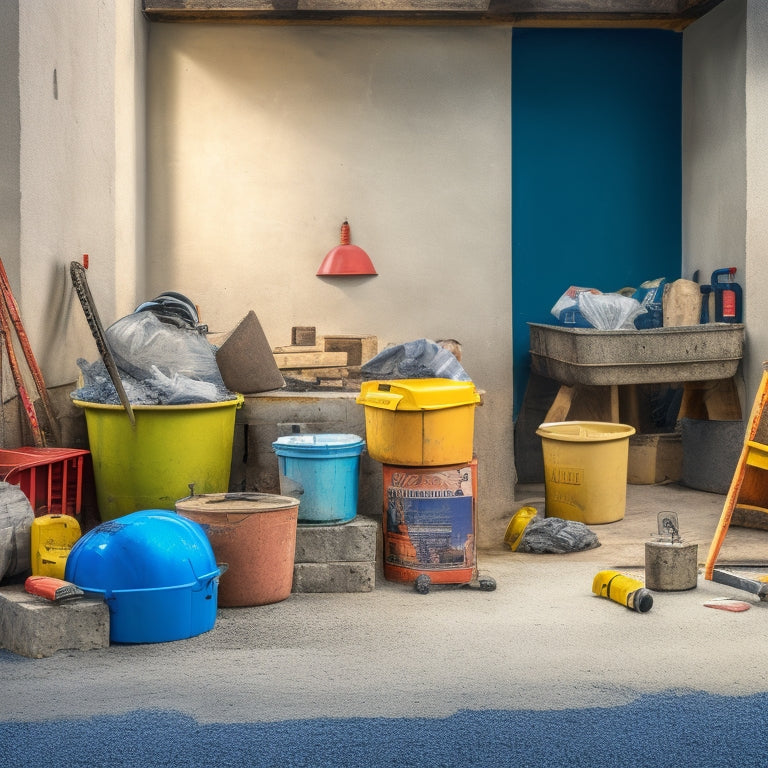
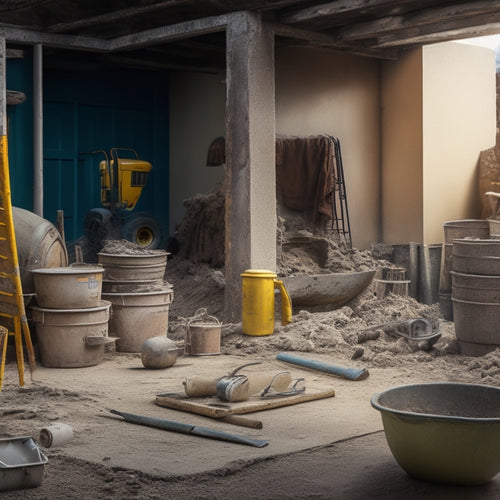
As you prepare to build a concrete wall, it is vital to have the right tools for the job. You'll need concrete mixing and laying tools, such as a mixing bucket and screed board, as well as block cutting and shaping tools, like a masonry saw and hollow block cutter. Mortar and grout application tools, like mixers and trowels, are also must-haves. Additionally, leveling and aligning equipment, safety gear, and measuring and marking devices are important for a successful project. With these tools in hand, you'll be well on your way to constructing a sturdy and professionally finished concrete wall - and that's just the beginning of what you'll need to know to get the job done right.
Key Takeaways
• Concrete mixing and laying tools, such as a mixing bucket, mechanical mixer, and screed board, are essential for building a concrete wall.
• Block cutting and shaping tools, like masonry saws and hollow block cutters, ensure precise cutting and uniform walls.
• Mortar and grout application tools, including mixers, trowels, and floats, are necessary for applying mortar and grout accurately.
• Leveling and aligning equipment, such as laser levels and spirit levels, establish a reference plane for walls and ensure accuracy.
• Safety gear and protective wear, including hard hats, safety glasses, and steel-toed boots, are crucial for preventing injuries during construction.
Concrete Mixing and Laying Tools
You'll need an extensive set of concrete mixing and laying tools to achieve a strong, durable, and visually appealing concrete wall.
A sturdy mixing bucket, a mechanical mixer, and a mixing stick are essential for combining cement, aggregate, and water in the correct proportions. Don't forget to incorporate concrete additives, such as retarding agents or accelerators, to enhance the concrete's workability and strength. Mastering various mixing techniques, like the 'mix-design' method, will also help you achieve the desired consistency and quality.
As you mix, you'll need to monitor the concrete's slump, temperature, and air content to guarantee ideal results. A slump cone, thermometer, and air meter will come in handy for these tasks.
Once the mix is ready, you'll need to lay it efficiently using a screed board, float, and tamping tool. These tools will help you achieve a smooth, even finish and compact the concrete effectively.
Block Cutting and Shaping Tools
Frequently, precise cutting and shaping of concrete blocks are essential to achieving a uniform and structurally sound wall, which is where block cutting and shaping tools come into play.
As you work with different block types, such as solid, hollow, and insulated concrete blocks, you'll need the right tools to cut and shape them accurately. You'll use cutting techniques like scoring, snapping, and grinding to achieve precise cuts and shapes.
A masonry saw or a circular saw with a diamond blade is ideal for making straight cuts. For curved cuts, you'll need a masonry grinder or a concrete cutter.
When working with hollow blocks, you may need a hollow block cutter to remove sections for electrical or plumbing installations. Additionally, a block chisel and hammer will come in handy for removing excess material and shaping blocks to fit around obstructions.
Mortar and Grout Application Tools
As you prepare to lay the blocks, you'll need the right tools to apply mortar and grout efficiently.
You'll be working with a variety of materials, from thick mortar to thin grout, and each requires a specific tool to get the job done right.
From mixers to trowels, floats to spreaders, you'll need to familiarize yourself with the essential tools for mortar and grout application.
Mortar Mixers and Paddles
With a robust mortar mixer, you can efficiently combine cement, sand, and water to produce a consistent, workable mix for your concrete wall project. When selecting a mixer, consider the type of mortar you'll be working with. For example, Type S mortar is ideal for structural applications, while Type N is better suited for non-structural projects.
| Mortar Mixer Feature | Importance Level |
|---|---|
| Drum Capacity | High |
| Mixing Speed | Medium |
| Power Source | High |
| Ergonomic Design | Medium |
| Maintenance Access | High |
Regular mixer maintenance is essential to guarantee peak performance and extend the mixer's lifespan. Make sure to clean the mixer thoroughly after each use, lubricate moving parts, and store it in a dry location. Additionally, inspect the mixer's blades and paddles regularly and replace them as needed. By following these guidelines, you'll be able to achieve a uniform mix and guarantee the success of your concrete wall project.
Trowel and Float Options
You'll need a reliable set of trowels and floats to efficiently apply and finish mortar and grout in your concrete wall project.
Trowels are used to apply and spread mortar, and there are various types to choose from. Pointing trowels, for instance, are ideal for applying mortar to small areas, while v-notched trowels are better suited for larger areas. You may also opt for a square-notched trowel for applying grout.
Floats, on the other hand, are used to smooth and finish the surface of the mortar or grout. They come in different materials, including magnesium, aluminum, and resin. Magnesium floats are lightweight and easy to use, making them perfect for large surfaces. Aluminum floats are more durable and suitable for heavy-duty applications. Resin floats, with their non-stick surface, are ideal for grouting.
When selecting trowels and floats, consider the size and type of your project, as well as your personal comfort and preference. Invest in high-quality tools that will provide you with the results you need to achieve a professional-looking concrete wall.
Grout Spreaders and Sponges
Grout spreaders and sponges are vital tools for efficiently applying and spreading mortar and grout in your concrete wall project, allowing you to achieve a uniform and professional-looking finish. As you'll be working with wet materials, it's important to choose the right tools to guarantee a smooth and even application.
When selecting a grout spreader, consider the size and shape of your concrete blocks or bricks. A larger spreader may be necessary for larger blocks, while a smaller one will suffice for smaller bricks. Sponges, on the other hand, come in various sizes and textures, and are used to remove excess grout from the surface of the wall.
Here's a comparison of grout spreaders and sponges:
| Tool | Description |
|---|---|
| Grout Spreader | Used to apply and spread grout between concrete blocks or bricks |
| Rubber Grout Float | Used to smooth and level grout, creating a uniform finish |
| Cellulose Sponge | Used to remove excess grout from the surface of the wall, ideal for grout application techniques |
| Microfiber Sponge | Used for detailed cleaning and sponge cleaning methods |
| Grout Brush | Used to apply grout to small areas and corners |
Leveling and Aligning Equipment
Leveling and aligning equipment allows you to precisely establish a reference plane, guaranteeing your concrete wall is constructed on a stable and even foundation. This critical step in the construction process demands accuracy, and the right tools can make all the difference.
Laser levels, for instance, project a level line or plane across the work area, providing a precise reference point for your wall. You can use them to check the elevation and alignment of your forms, guaranteeing they're perfectly level and plumb.
In addition to laser levels, alignment tools such as spirit levels and straightedges help you achieve precise alignment of your wall components. These tools enable you to detect even the slightest deviations from the desired plane, allowing you to make adjustments before pouring the concrete.
Safety Gear and Protective Wear
As you prepare to build your concrete wall, donning the right safety gear and protective wear is vital to preventing injuries and guaranteeing a safe working environment. You'll need personal protective equipment (PPE) that meets industry standards to safeguard yourself from potential hazards.
Start with a hard hat to protect your head from falling objects, followed by safety glasses or goggles to shield your eyes from debris and chemical splashes. A dust mask or respirator is also essential to prevent inhaling concrete dust and other airborne contaminants.
Don't forget to wear steel-toed boots with good traction to prevent slips and falls. Additionally, consider wearing knee pads, gloves, and a long-sleeved shirt to protect your skin from abrasions and cuts.
Secure your site safety by setting up warning signs, barriers, and cordoning off the area to prevent unauthorized access. Remember, site safety is everyone's responsibility, so make certain all team members are equipped with the necessary PPE and adhere to safety protocols.
Measuring and Marking Devices
With your safety gear in place, you'll need to turn your attention to accurately measuring and marking the area where your concrete wall will be built. This is where measuring and marking devices come into play. These tools are essential for guaranteeing that your wall is constructed to the correct specifications and that it's built to last.
When it comes to measuring techniques, you'll need a tape measure or a laser distance meter to accurately calculate the length and width of your wall. These tools will allow you to take precise readings, ensuring that your wall is built to the correct dimensions.
For marking accuracy, you'll need a level and a chalk line to create a straight and level reference point. This will guarantee that your wall is built on a solid foundation and that it's free from any deviations or irregularities.
Additionally, a marking gauge can be used to create consistent spacing between blocks, while a spirit level will help you maintain a level surface throughout the construction process.
Cinder Block Wall Material Calculator
When building a cinder block wall, you'll need to estimate the number of blocks required, calculate the wall's size, and analyze the material costs.
To guarantee accuracy, you'll rely on a cinder block wall material calculator to provide these critical calculations.
Block Quantity Estimation
You'll need to accurately estimate the number of concrete blocks required to guarantee you have sufficient materials for your project, and a cinder block wall material calculator can help you do just that.
This tool takes into account block size calculations, which involve measuring the length, width, and height of each block to determine the total number needed.
When making these calculations, consider the wall height, as taller walls require more blocks. You'll also need to account for any obstructions, such as windows or doors, that may affect the number of blocks required.
A cinder block wall material calculator simplifies this process by asking for specific inputs, such as block dimensions, wall height, and mortar joint thickness.
Once you've entered this information, the calculator provides an estimate of the total number of blocks, sand, and cement needed for your project.
Wall Size Calculation
To accurately determine the wall size, input the length and height of your wall into the cinder block wall material calculator, taking into account any obstructions or openings that may affect the overall dimensions.
When calculating the wall height, take into account the foundation preparation and verify it can support the weight of the wall. You'll need to evaluate wall height considerations such as the thickness of the footing, the depth of the foundation, and any local building codes or regulations.
For example, if you're building a 10-foot tall wall, you may need to account for a 2-foot deep foundation, which would increase the overall height of the wall.
Additionally, you'll need to factor in any openings or obstructions, such as windows or doors, which will affect the overall wall size.
Material Cost Analysis
Using the cinder block wall material calculator, calculate the total quantity of materials needed, including cinder blocks, mortar, and sand, to guarantee accurate cost estimation and procurement for your project. This vital step guarantees you're well-prepared for budgeting strategies and cost comparison.
By inputting the wall's dimensions, you'll get an exact calculation of the required materials, eliminating the risk of under or overestimating costs.
Here are three essential considerations for material cost analysis:
-
Material prices: Research and compare prices from different suppliers to get the best deals. Factor in transportation costs, if applicable.
-
Wastage allowance: Account for potential breakages, cuts, and irregularities by adding a 10-15% wastage allowance to your total material quantity.
-
Labor costs: Calculate the cost of labor, including the number of workers, working hours, and their hourly wages.
Finishing and Smoothing Tools
At this stage of the concrete wall-building process, you're likely dealing with a rough, porous surface that requires specialized tools to achieve a smooth, even finish. To master various finishing techniques, you'll need the right tools for the job.
For surface treatments, a bull float is essential for removing excess cement paste and creating a smooth surface. Follow up with a darby, which helps to flatten and level the surface, removing any imperfections. A hand float or trowel is then used to apply a layer of finishing compound, filling in any remaining pores or irregularities.
Next, you'll need a steel trowel to apply a thin layer of cement paste, followed by a finishing screed or edger to create a crisp, clean edge. Finally, use a power float or grinder to achieve a high-gloss finish, if desired.
Remember to always work in small sections, maintaining a consistent pattern to guarantee a professional-looking finish. With these tools and techniques, you'll be able to achieve a smooth, even surface that's perfect for painting, staining, or leaving as is.
Frequently Asked Questions
How Do I Ensure a Level Foundation for My Concrete Wall?
To guarantee a level foundation for your concrete wall, you'll need to focus on thorough foundation preparation.
Start by evaluating the site's topography and identifying any uneven areas.
Employ leveling techniques like string lines, spirit levels, or laser levels to achieve precision.
Next, excavate the site to a uniform depth, and compact the soil to create a stable base.
Can I Use a Regular Drill for Mixing Concrete?
When it comes to mixing concrete, you'll want to choose the right drill for the job. A regular drill won't cut it, as it can't handle the thick, heavy mixture.
Instead, opt for a high-torque drill or a mixing drill specifically designed for concrete. These drills feature specialized bits and mixing techniques that guarantee a smooth, consistent mix.
Using the wrong drill can lead to poor mixing, weakened concrete, and a compromised structure.
Is It Necessary to Cure the Concrete After Laying?
You're about to pour a concrete wall that'll last longer than the Great Pyramid of Giza!
Now, about curing: it's absolutely essential you don't skip this step.
You'll need to choose the right curing method - whether it's spraying, fogging, or using a curing compound - and stick to it for the recommended duration, typically 7-14 days, depending on the mix and environmental conditions.
Proper curing guarantees maximum strength, durability, and resistance to cracks and damage.
What Is the Ideal Temperature for Building a Concrete Wall?
When building a concrete wall, you need to take into account the ideal temperature, as it greatly impacts the curing process.
The best temperature range is between 50°F and 85°F (10°C and 30°C), as this allows for proper hydration and strength development.
Be mindful of temperature effects, such as slowed curing in cold weather or accelerated curing in hot weather.
Plan accordingly with seasonal considerations to guarantee a strong and durable wall.
Can I Build a Concrete Wall in the Rain or Snow?
Imagine trying to build a house on quicksand - it's a recipe for disaster.
Similarly, building a concrete wall in the rain or snow can compromise its integrity. Moisture can seep into the concrete, weakening its structure and reducing its lifespan.
You shouldn't build a concrete wall in harsh weather conditions, as it can lead to cracks, erosion, and even collapse.
Wait for fair weather to guarantee your wall stands strong for years to come.
Conclusion
As you prepare to build your concrete wall, remember that having the right tools is vital to achieving professional results.
You've got the essentials covered, from mixing and laying to cutting and shaping, applying mortar and grout, leveling and aligning, and finishing with a smooth touch.
But will you be able to translate your vision into a sturdy, long-lasting structure that stands the test of time?
The answer lies in your attention to detail and mastery of these essential tools.
Related Posts
-

Top DIY Concrete Grinding and Polishing Tools
When selecting DIY concrete grinding and polishing tools, you'll want to take into account a range of factors to guar...
-

What Tools Ensure Strong Concrete Adhesion at Home
You'll need the right tools to guarantee strong concrete adhesion at home. For surface preparation, use concrete surf...
-

What Tools Are Needed for Concrete Wall Foundations
You'll need a thorough array of tools and equipment to construct a concrete wall foundation that meets structural int...


