Concrete Paint Application Tools Checklist Guide
Share
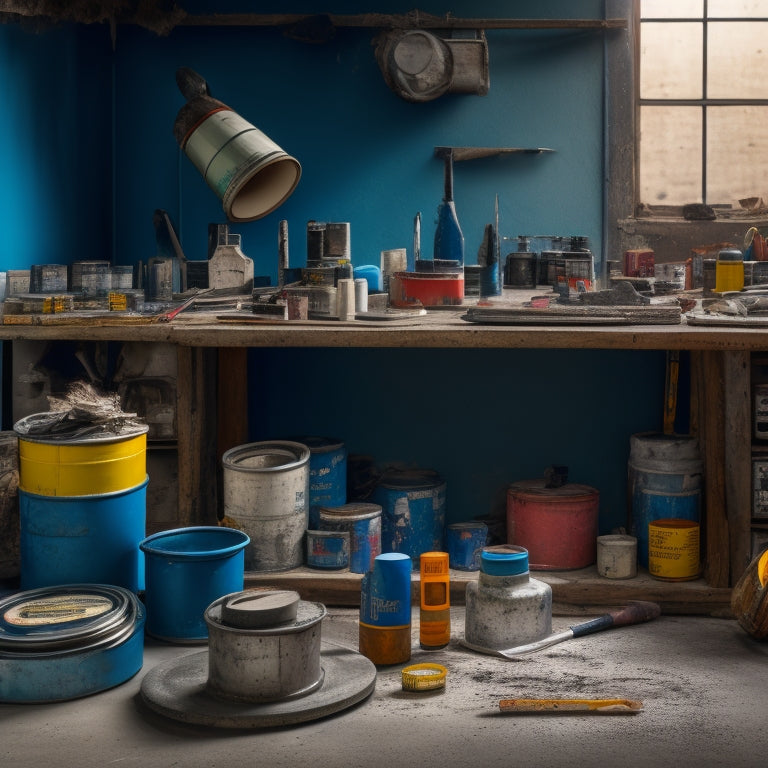
You'll need a range of tools for a successful concrete paint application, starting with essential cleaning tools like stiff-bristled brooms, pressure washers, and degreasers to remove dirt and grime. Next, choose the right paint roller, considering factors like size, material, and fiber type, and master edge painting techniques with the correct brush, angle, and pressure. For large surfaces, invest in a high-volume, low-pressure (HVLP) or airless sprayer, and don't forget protective gear like respirators, safety glasses, and gloves. With these tools and techniques, you'll be well on your way to a professional-looking finish - and there's even more to explore to guarantee your project's success.
Key Takeaways
• Essential cleaning tools, including stiff-bristled broom and pressure washer, are required for surface preparation before painting.
• Choosing the right paint roller, considering size, material, and fiber type, is crucial for achieving a smooth finish.
• Edge painting techniques, such as correct brush angle and consistent pressure, are necessary for precise control and clean cutting lines.
• Protective gear, including respirator, safety glasses, and gloves, is vital for maintaining a safe working environment during application.
• Measuring and mixing equipment, like digital scales and mixing buckets, ensure accurate mixing ratios and consistent results.
Essential Cleaning Tools Required
You'll need a set of essential cleaning tools to guarantee a smooth and even concrete paint application, starting with a stiff-bristled broom or a wire brush to sweep away dirt and debris from the surface. This is a critical step in surface preparation, as any remaining dirt or debris can affect the paint's adhesion and overall finish.
Next, you'll need a pressure washer to remove any stubborn dirt or stains. Be sure to use a wide fan tip and keep the nozzle at least 12 inches away from the surface to avoid damaging the concrete.
After pressure washing, use a cleaning solution specifically designed for concrete to remove any remaining dirt or grime. A degreaser may also be necessary if the surface has oil or grease stains.
Once you've cleaned the surface, use a clean water rinse to remove any remaining cleaning solution. Allow the surface to dry completely before moving on to the next step in the paint application process.
Choosing the Right Paint Roller
When selecting a paint roller for your concrete project, you'll need to take into account two critical factors: roller size and nap length.
You'll want to choose a roller size that matches the scale of your project, ensuring efficient coverage without sacrificing precision.
Roller Size Matters
Roller Size Matters
Selecting the correct paint roller size is essential, as it directly impacts the quality of your concrete paint application, with larger rollers (18-24 inches) suited for broad, open areas and smaller rollers (4-9 inches) ideal for tighter spaces and corners. You'll achieve a smoother, more even finish with the right roller size.
| Roller Width | Advantages |
|---|---|
| 18-24 inches | Covers large areas quickly, ideal for open spaces |
| 12-14 inches | Suitable for medium-sized areas, balances speed and control |
| 9-11 inches | Ideal for smaller areas, provides more control and precision |
| 6-8 inches | Perfect for tight spaces, corners, and edges |
| 4 inches | Best for small, intricate areas, and detailed work |
When choosing a roller, consider the roller material types as well. Natural fiber rollers are best for oil-based paints, while synthetic fiber rollers work well with water-based paints. Microfiber rollers offer excellent paint pickup and release, making them a popular choice. By selecting the right roller size and material, you'll achieve a professional-looking finish with ease.
Nap Length Options
Precision demands consideration of nap length options, as the varying lengths of roller fibers greatly impact the texture and finish of your concrete paint application.
You'll want to choose the right nap length to achieve the desired outcome. Short nap lengths (1/4 inch or less) are ideal for smooth surfaces, producing a fine finish. These rollers are perfect for applying epoxy or urethane coatings.
Medium nap lengths (1/4 to 1/2 inch) are suitable for most concrete paint applications, offering a balanced finish. They work well with latex or acrylic paints.
Long nap lengths (over 1/2 inch) are best for rough surfaces, providing a textured finish. These rollers are great for applying heavy coatings or applying paint to porous surfaces.
When selecting a roller material, consider the type of paint you're using. Natural fiber rollers, like wool or mohair, work well with oil-based paints, while synthetic fiber rollers, like nylon or polyester, are better suited for water-based paints.
Brushes for Cutting In Edges
When you're cutting in edges with a brush, you'll need to master specific techniques to achieve a professional-looking finish.
You'll want to focus on maintaining precise angle control, as this will directly impact the cleanliness of your cutting lines.
Edge Painting Techniques
You'll need a variety of specialized brushes to effectively cut in edges, including angled sash brushes, trim brushes, and detail brushes, each designed for specific tasks and surfaces. These brushes are essential for achieving precision edging and smooth changes between colors.
To master brush techniques for cutting in edges, focus on the following key strategies:
-
Use the correct brush angle: Hold your brush at a 45-degree angle to the surface, allowing for precise control and smooth strokes.
-
Work in small sections: Divide your edge into manageable sections, completing each one before moving on to the next.
-
Maintain consistent pressure: Apply consistent pressure to the brush, ensuring a smooth, even application of paint.
Brush Angle Control
To effectively control the brush angle, a key aspect of cutting in edges, adjust your grip to accommodate the specific brush design, allowing the bristles to fan out and follow the surface contours.
As you prepare to cut in edges, experiment with different grip pressures and brush techniques to achieve ideal results. For instance, a firmer grip will yield a more precise edge, while a lighter grip will allow for more flexibility and adaptability.
When making angle adjustments, consider the brush's natural sweep and pivot points. For example, if you're using an angled brush, adjust your grip to compensate for the brush's inherent bias. This will enable you to maintain a consistent stroke and achieve a sharp, clean edge.
Remember to keep your wrist relaxed and flexible, allowing the brush to move freely and respond to the surface's nuances.
Clean Cutting Lines
By selecting the right brush for cutting in edges, you can achieve clean cutting lines that are free from wobbles and irregularities, guaranteeing a professional-looking finish. This is essential, as clean cutting lines form the foundation of a successful paint job.
A high-quality brush with the right bristle length and stiffness will help you maintain control and precision, allowing you to cut in edges with confidence.
When it comes to achieving clean cutting lines, remember:
-
Choose the right brush size: A smaller brush is ideal for cutting in tight spaces, while a larger brush is better suited for longer edges.
-
Use a brush with the right bristle type: Natural bristles are best for oil-based paints, while synthetic bristles are better for water-based paints.
-
Prepare the surface properly: Verify the surface is clean, dry, and free of dust and debris before applying tape for a smooth, even application.
Sprayers for Large Surfaces
When tackling large surfaces, a high-volume, low-pressure (HVLP) sprayer or an airless sprayer proves essential for efficiently coating concrete with a uniform layer of paint.
You'll need a reliable tool that can handle the scale of your project. Airless sprayers are ideal for large surfaces, as they can cover vast areas quickly and produce a smooth, even finish. These sprayers work by pumping paint at high pressure through a small nozzle, creating a fan-shaped spray pattern that can be adjusted to suit your needs.
When choosing an airless sprayer, consider the spray patterns it can produce. A sprayer that can produce a wide, flat fan pattern is ideal for large surfaces, as it allows you to cover more area with each pass.
You'll also want to look for a sprayer with adjustable pressure settings, so you can customize the flow of paint to suit your specific needs.
With the right airless sprayer, you'll be able to tackle even the largest surfaces with ease, achieving a professional-looking finish that will make your concrete project stand out.
Protective Gear for Safety
You'll need to wear protective gear, including a respirator, safety glasses, and gloves, to shield yourself from paint mist, stains, and skin irritation when working with concrete paint. This is vital to guarantee your safety and freedom to work on your project without worrying about health risks.
When it comes to choosing the right protective gear, don't compromise.
Here are some essentials to include in your kit:
-
Respirator: A good respirator will filter out paint particles and fumes, preventing respiratory problems.
-
Safety goggles: Protect your eyes from paint splatters and stains with shatter-resistant safety goggles.
-
Protective gloves: Choose gloves that are resistant to paint and chemicals, and provide grip to prevent slipping and falling.
Measuring and Mixing Equipment
To guarantee accurate and consistent color, texture, and finish, start by gathering essential measuring and mixing equipment that can help you achieve a professional-grade concrete paint application.
You'll need a digital scale or measuring cups to guarantee measuring accuracy, as even slight variations can affect the final result. A mixing bucket with a built-in grid or a separate mixing stick will help you achieve the correct mixing ratios. Don't forget a clean, dry mixing paddle or trowel for scraping the sides and bottom of the bucket.
When mixing, follow the manufacturer's instructions for the recommended mixing ratios, and make certain to mix in a well-ventilated area. It's vital to mix the paint thoroughly, but avoid over-mixing, which can create air bubbles and affect the finish.
With the right measuring and mixing equipment, you'll be able to achieve a consistent, high-quality finish that meets your expectations. By taking the time to get this step right, you'll be well on your way to a beautiful, long-lasting concrete paint application that enhances the beauty of your space.
Additional Tools for Finishing Touches
Finish off your concrete paint application with precision by gathering specialized tools that refine the finish, correct imperfections, and add decorative flair. These additional tools will give you the freedom to release your creativity and achieve a professional-looking result.
Here are some essential tools to evaluate:
-
Stencil brushes and tools: For creating intricate stencil designs, you'll need specific brushes and tools designed for precision and control. These will help you achieve crisp, clean lines and patterns.
-
Texture application tools: To add unique textures to your concrete surface, you'll need tools such as texture stamps, tamping tools, or even household items like sponges or burlap. These will help you create one-of-a-kind designs that add depth and visual interest.
-
Touch-up brushes and repair tools: For correcting imperfections and touching up small areas, you'll need fine-tip brushes and repair tools like putty knives or small trowels. These will help you seamlessly blend repairs with the surrounding surface.
With these additional tools in your arsenal, you'll be able to achieve a flawless, high-quality finish that showcases your creativity and attention to detail.
Frequently Asked Questions
Can I Use a Regular Brush for Applying Concrete Paint?
Can you use a regular brush for applying concrete paint? Well, it depends.
If you're going for a rough, textured finish, a stiff-bristled brush might work.
But for a smooth, even finish, you'll want to opt for a high-quality, nylon-bristled brush specifically designed for concrete paint.
And if you're looking for a specialty finish, like a faux stone effect, you'll need a specialized brush type.
How Do I Prevent Paint From Seeping Into Concrete Pores?
You're about to transform a dull, porous concrete surface into a vibrant work of art, but you're wise to worry about paint seeping into those pesky pores.
To prevent this, you'll need to employ sealing techniques, such as applying a concrete primer or a silane-based sealer.
Additionally, choose paint types specifically designed for concrete, like epoxy or acrylic latex, which are formulated to adhere well to porous surfaces.
With the right prep and products, you'll achieve a sleek, professional finish that's truly liberating.
What Is the Best Way to Clean Concrete Before Painting?
When preparing concrete for painting, you'll want to make certain a clean surface.
Start by sweeping or blowing away loose debris, then mix a solution of trisodium phosphate (TSP) and water to tackle dirt and grime.
Apply the solution using a stiff-bristled broom or scrub brush, working in sections to maintain even coverage.
Rinse thoroughly with clean water to remove any residue, making certain a smooth surface for painting.
This rigorous surface preparation will guarantee a strong bond between the concrete and paint.
Can I Use a Roller Extension Pole on Uneven Surfaces?
When tackling uneven surfaces, you're likely wondering if a roller extension pole is up for the task.
The answer lies in choosing the right roller type. A microfiber or foam roller with an adjustable extension pole is ideal for maneuvering irregular surfaces.
However, proper surface preparation is still essential. Confirm you've thoroughly cleaned and primed the area before applying paint.
This combo will give you the freedom to achieve a smooth, even finish, even on the most challenging surfaces.
Do I Need to Prime the Concrete Before Applying Paint?
You're building a strong foundation, just like a master architect crafting a skyscraper.
Now, do you need to prime the concrete before applying paint? Absolutely! Think of primer as a bonding agent, creating a strong connection between the concrete and paint.
It guarantees a smooth, even finish by filling pores and cracks. Skipping this step can lead to peeling and flaking.
Conclusion
You've made it to the finish line! With this concrete paint application tools checklist guide, you're now equipped with the ultimate arsenal to tackle even the most intimidating projects.
You'll be a master painter in no time, with a flawless finish that's simply a million times better than you ever imagined.
Remember, the right tools are the key to revealing a professional-looking result, and with this guide, you've got them all at your fingertips.
Get ready to release your inner artist and transform that concrete into a stunning work of art!
Related Posts
-

Top DIY Concrete Grinding and Polishing Tools
When selecting DIY concrete grinding and polishing tools, you'll want to take into account a range of factors to guar...
-

Must-Have Handheld Tools for Concrete Repair
When tackling a concrete repair project, it is crucial to have the right handheld tools to achieve a professional fin...
-

What Tools Are Needed for Concrete Wall Foundations
You'll need a thorough array of tools and equipment to construct a concrete wall foundation that meets structural int...


