Budget-Friendly Tools for DIY Concrete Countertops
Share
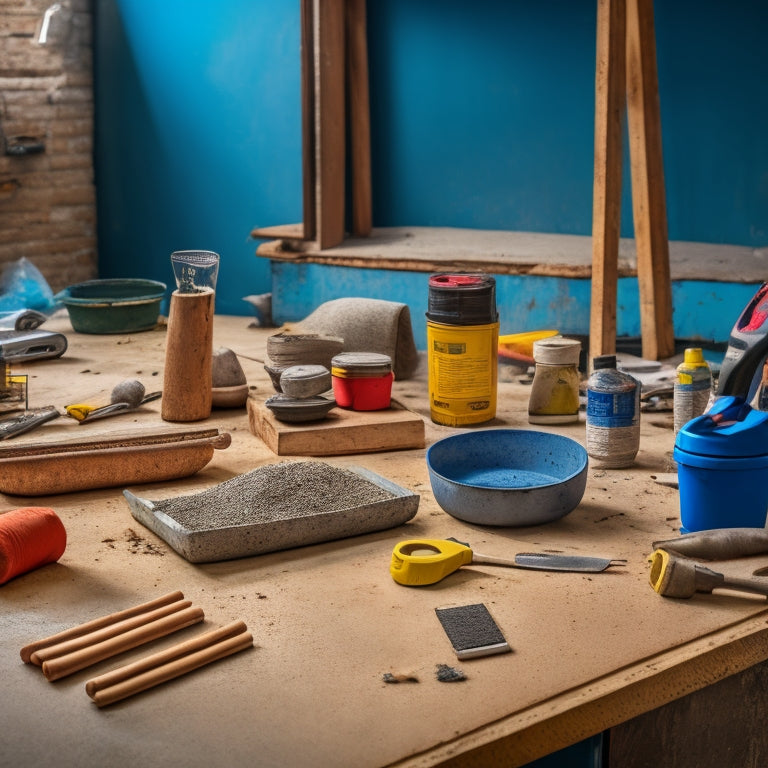
You can create stunning DIY concrete countertops on a budget by using the right tools and techniques. Start with essential mixing tools like a heavy-duty bucket, mixing stick, and drill with paddle to guarantee a thorough mix. For a high-end look without the hefty price tag, explore affordable finishing options like eco-friendly stains, texturing techniques, and concrete overlays. Budget-friendly mold materials and cost-effective polishing solutions can also help you stay within your means. By choosing the right tools and techniques, you can achieve a professional-looking finish without breaking the bank - and there's more to explore on how to do it efficiently.
Key Takeaways
• Invest in a heavy-duty mixing bucket and a drill with a mixing paddle for efficient concrete mixing.
• Opt for eco-friendly finishes like water-based stains or sealers, which are budget-friendly and responsible.
• Choose affordable mold materials like melamine or plywood, considering reusability and design complexity.
• Use cost-effective polishing solutions like grinders and polishing pads, following a sanding technique for a high-gloss finish.
• Select DIY-friendly sealing options like water-based or plant-based sealants, applying thin layers with a lambswool applicator or microfiber cloth.
Essential Tools for Concrete Mixing
When preparing to mix concrete for your DIY countertops, you'll need a few essential tools to guarantee a successful batch, starting with a heavy-duty mixing bucket. This bucket should be large enough to hold the entire mix, with a flat bottom and sturdy handles for easy mixing and pouring.
Next, you'll need a mixing stick or trowel, which will help you scrape the sides and bottom of the bucket, ensuring all essential materials are well combined. A drill with a mixing paddle attachment is also highly recommended, as it'll make quick work of incorporating the concrete mix, water, and any additives.
Proper mixing techniques are vital, so be sure to mix in a circular motion, working from the bottom up, and avoiding over-mixing.
Don't forget to wear protective gear, including gloves, safety glasses, and a dust mask.
With these essential tools and some practice, you'll be well on your way to creating a strong, durable concrete mix for your DIY countertops.
Affordable Options for Finishing
As you move on to the finishing stage of your DIY concrete countertops, you'll need to choose from a variety of affordable options to achieve the desired look and texture. One of the most important decisions you'll make is selecting an eco-friendly finish that suits your style and budget.
Consider using water-based stains or sealers, which aren't only budget-friendly but also environmentally responsible. For a unique texture, experiment with different texturing techniques, such as stamping or stenciling. These methods can add visual interest to your countertops without breaking the bank.
Another cost-effective option is to use an acid-based stain, which can create a rich, mottled appearance. When paired with a clear sealant, acid-based stains can produce stunning results.
Additionally, consider using a concrete overlay, which can be applied directly over an existing surface. This method allows you to achieve a high-end look without the high cost of replacing the entire countertop.
Budgeting for Mold and Forms
You'll need to allocate a significant portion of your budget to molds and forms, which can range from simple, DIY-friendly options like melamine or plywood to more advanced, high-end choices like polyurethane or fiberglass. The right mold material and form design will impact the final appearance and durability of your concrete countertops.
Here's a breakdown of some common mold materials and their costs:
| Mold Material | Cost Range | Durability |
|---|---|---|
| Melamine | $5-$15/sqft | Medium |
| Plywood | $10-$25/sqft | Low-Medium |
| Polyurethane | $20-$40/sqft | High |
| Fiberglass | $30-$50/sqft | Very High |
| Silicone | $40-$60/sqft | Very High |
When selecting a mold material, consider the complexity of your design, the desired finish, and the number of uses you plan for the mold. A well-designed form can be reused multiple times, making it a worthwhile investment. Keep in mind that more advanced mold materials may require specialized tools and expertise, adding to the overall cost. By balancing your budget with your design goals, you can create beautiful and functional concrete countertops that fit your needs.
Cost-Effective Polishing Solutions
Six key components make up a cost-effective polishing solution for your DIY concrete countertops: a grinder, polishing pads, a dust extractor, a water source, a cleaning solution, and a sealant.
You'll use the grinder to remove imperfections and rough spots, and then switch to polishing pads to refine the surface. A dust extractor will help keep your workspace clean and reduce the risk of inhaling concrete dust. A reliable water source is necessary for mixing polishing compounds and cleaning your tools. A gentle cleaning solution will help remove dirt and grime without damaging the concrete. Finally, a sealant will protect your countertops from stains and spills.
When it comes to sanding techniques, start with coarse grits (around 50-100) and progressively move to finer grits (up to 3000) for a high-gloss finish.
Apply polishing compounds to the pads and work in small, circular motions to achieve an even polish. Remember to clean your pads frequently to prevent clogging. By following these steps and using the right tools, you'll be able to achieve a professional-looking finish without breaking the bank.
DIY-Friendly Sealing Options
With your polished concrete countertops looking sleek and shiny, it's time to lock in that finish with a DIY-friendly sealing option that's both effective and easy to apply.
When it comes to sealing, you'll want to choose an eco-friendly sealant that not only protects your countertops from stains and spills but also promotes sustainability. Look for water-based or plant-based sealants that are free from harsh chemicals and VOCs.
When applying the sealant, make sure to follow the manufacturer's instructions and use the recommended application techniques. Typically, you'll want to apply a thin, even layer using a lambswool applicator or microfiber cloth.
Work in small sections, using long, smooth strokes to guarantee an even distribution. Allow the sealant to dry according to the instructions before applying additional coats.
Remember to test the sealant on a small, inconspicuous area first to verify it doesn't affect the color or texture of your concrete. By choosing the right eco-friendly sealant and following proper application techniques, you'll be able to enjoy your beautiful concrete countertops for years to come.
Frequently Asked Questions
Can I Use a Drill Instead of a Mixing Paddle for Concrete?
You can't use just any drill for mixing concrete; you'll need a heavy-duty drill with a mixing paddle attachment, as it's designed for the intense mixing techniques required to combine concrete's thick ingredients.
How Do I Prevent Air Bubbles in My Concrete Countertop?
To prevent air bubbles in your concrete countertop, you'll want to vibrate the mold, tap the sides, and use a level to guarantee it's even; then, let it rest, and finally, use a screed or trowel to remove any remaining air bubble imperfections.
Can I Pour Concrete Directly Onto Existing Countertops?
'Oh, the temptation to pour concrete directly onto existing countertops is strong, but beware! You'll need to weigh the pros and cons carefully, considering factors like surface prep and potential damage; get installation tips to avoid a mess and guarantee a solid bond.'
Is It Necessary to Use a Concrete Sealer for Outdoor Countertops?
You'll need a sealer for outdoor concrete countertops to guarantee durability; acrylic, polyurethane, and silane-based sealers are popular options, offering varying levels of protection and aesthetic appeal, so choose wisely for your outdoor space.
Can I Add Color to My Concrete Mix for a Unique Design?
"Can you imagine a dull, gray concrete countertop? Luckily, you can add color to your mix for a unique design! Use color additives or try staining techniques to achieve the desired hue, ensuring a vibrant, one-of-a-kind finish."
Conclusion
You've made it to the finish line!
With these budget-friendly tools, you'll be well on your way to creating stunning DIY concrete countertops that'll make your friends green with envy.
You'll be the master of mixing, the sultan of finishing, the king of mold-making, the lord of polishing, and the emperor of sealing.
Your wallet will thank you, your countertops will impress, and you'll be the envy of the neighborhood!
Related Posts
-

Top DIY Concrete Grinding and Polishing Tools
When selecting DIY concrete grinding and polishing tools, you'll want to take into account a range of factors to guar...
-

What Tools Ensure Strong Concrete Adhesion at Home
You'll need the right tools to guarantee strong concrete adhesion at home. For surface preparation, use concrete surf...
-

Must-Have Tools for Concrete Planter Projects
As you commence your concrete planter project, you'll need a range of specialized tools to achieve professional-grade...


