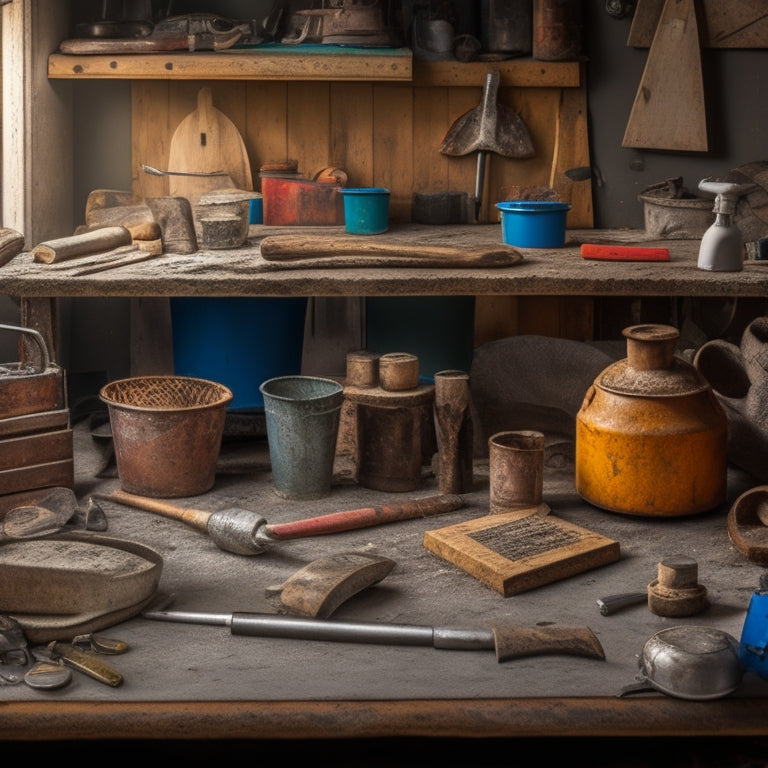
Budget-Friendly DIY Concrete Tools on a Shoestring
When working with concrete on a shoestring budget, you'll be relieved to know that you can still get the job done without breaking the bank. By focusing on essential tools like levels, trowels, and hammers, you can prioritize quality over quantity. Get creative with DIY alternatives like repurposing old materials for jointers and screed boards, or making your own concrete mixer using a wheelbarrow and drill. With a little innovation, you can also craft your own tamping tools, leveling solutions, and even a DIY concrete float. As you explore these budget-friendly options, you'll uncover even more ways to stretch your dollar and achieve professional results.
Key Takeaways
• Create essential tools from repurposed materials, like a jointer from an old trowel and metal scraps, to save on costs.
• Utilize DIY alternatives, such as a homemade screed board for leveling, to reduce expenses.
• Master block laying techniques with the right tools and creativity to achieve professional results on a budget.
• Repurpose everyday items, like old screwdrivers and metal rulers, as edging tools to minimize tool purchases.
• Focus on quality over quantity, prioritizing essential tools and skills development to avoid overspending on unnecessary equipment.
Essential Tools for Block Laying
What tools do you need to get started with block laying, and how can you DIY them on a budget?
To master block laying techniques, you'll need the right essential masonry tools. Don't break the bank; instead, focus on the must-haves and get creative with DIY alternatives.
First, you'll need a level, a trowel, and a spirit level to guarantee your blocks are perfectly aligned. A jointer or jointing trowel will help you fill gaps and create a smooth finish. A hammer and chisel are must-haves for breaking and shaping blocks. For mixing and applying mortar, you'll need a mixing bucket, a shovel, and a pointing trowel.
You can DIY some of these tools or find budget-friendly alternatives. For instance, use a DIY screed board to level your blocks instead of buying an expensive one. Create a makeshift jointer using an old trowel and some metal scraps.
With a little creativity, you can save money without sacrificing quality. By having the right tools and techniques, you'll be well on your way to becoming a block laying pro, even on a shoestring budget.
DIY Concrete Mixer Alternatives
You can save money and still get the job done by substituting a pricey concrete mixer with a DIY alternative, such as a wheelbarrow or a large bucket paired with a heavy-duty drill and a mixing paddle. This homemade mixer setup allows you to mix small to medium-sized batches of concrete without breaking the bank. For added convenience, consider using a portable option like a large bucket with wheels, making it easy to move around your workspace.
When using a DIY mixer, it's important to follow a few key tips. First, make sure your drill is powerful enough to handle the mixing task. Then, use a mixing paddle specifically designed for concrete to guarantee a smooth, consistent mix. Finally, be prepared to put in some elbow grease – mixing concrete by hand can be physically demanding.
With these homemade mixers, you'll be able to achieve professional-grade results without the hefty price tag of a commercial mixer. Get creative, get resourceful, and get mixing!
Affordable Tamping Tool Options
When it comes to tamping tools, you don't need to break the bank to get the job done.
You'll be surprised at how effective some affordable alternatives can be, and you'll soon discover that making your own tamper can be a clever and cost-saving solution.
Now, let's explore some concrete tamper alternatives, DIY tamping tool ideas, and homemade tamper solutions that'll help you achieve professional results without the hefty price tag.
Concrete Tamper Alternatives
For a fraction of the cost, a few everyday items can be repurposed as effective concrete tamper alternatives, allowing you to achieve a smooth, even finish without breaking the bank.
You can master tamping techniques using materials you likely have on hand. A 2x4 wooden plank, for instance, can be used to tamp small areas of concrete. Simply place the plank on the concrete and apply pressure, using your body weight to compact the material.
Another option is a large, flat rock or brick, which can be used to tamp larger areas. When choosing material alternatives, consider the weight, size, and surface texture of the item. A heavy, flat object with a smooth surface will provide the best results.
DIY Tamping Tool Ideas
Take your tamping skills to the next level by creating your own DIY tamping tool using affordable materials like PVC pipes, wooden dowels, or even old screwdrivers, which can be repurposed to provide the necessary pressure and precision.
You can modify these materials to fit your specific needs, experimenting with different lengths, widths, and handle materials to achieve the perfect balance of power and control.
To refine your tamping techniques, focus on applying consistent, even pressure to the concrete surface.
Practice using your DIY tool to achieve a smooth, level finish, and experiment with different strokes and angles to achieve the desired texture.
Homemade Tamper Solutions
You can craft a reliable tamper using everyday items like a heavy metal rod, a solid wooden block, or even a dense rock, which can be attached to a sturdy handle to provide the necessary force and leverage. With some creativity and resourcefulness, you can create a homemade tamper that gets the job done without breaking the bank.
Here are some affordable tamping tool options you can consider:
| Material | Advantages | Cost |
|---|---|---|
| Heavy Metal Rod | Durable, high-impact force | $10-$20 |
| Solid Wooden Block | Eco-friendly, easy to handle | $5-$10 |
| Dense Rock | Heavy-duty, long-lasting | Free (if sourced locally) |
| PVC Pipe | Lightweight, easy to maneuver | $5-$10 |
These homemade materials can be used in conjunction with various tamping techniques to achieve the desired results. By experimenting with different materials and techniques, you can develop a personalized approach to tamping that suits your needs and budget. With a little ingenuity, you can create a reliable tamper that helps you achieve professional-looking results without the hefty price tag.
Budget-Friendly Leveling Solutions
When you're working with concrete, achieving precise slab alignment is essential, and it's easier to do than you think - even on a budget.
You'll be surprised at how simple, low-cost tools can help you get the job done.
Leveling on a Budget
Achieving a level surface doesn't have to break the bank, as there are several budget-friendly leveling solutions that can help you get the job done without sacrificing accuracy or quality.
You can opt for DIY leveling techniques that are cost-effective and just as reliable as their commercial counterparts. For instance, you can create your own spirit level using a piece of wood, a nail, and a few screws. Simply attach the nail to the center of the wood, and then screw the screws into the wood at each end, making sure they're level with the nail. This makeshift level can help you determine if your surface is level or not.
Another budget-friendly option is to use a laser level. While it may seem like an expensive investment, you can find affordable laser levels that can help you achieve precise leveling without breaking the bank.
Additionally, you can also use a string and stakes to create a makeshift leveling system. Simply tie the string to two stakes, making sure it's level, and then use it as a guide to check the levelness of your surface.
With these budget-friendly leveling solutions, you can guarantee a level surface without sacrificing quality or accuracy.
Precise Slab Alignment
In precise slab alignment, guaranteeing that adjacent slabs are perfectly aligned is vital to preventing costly rework and guaranteeing a smooth, even surface.
You'll want to use effective slab alignment techniques to achieve professional results without breaking the bank. One budget-friendly solution is to create a string line system using a mason's string and stakes. This will help you establish a precise reference point for your slabs.
Another alignment tool tip is to use a laser level to project a level line along the entire length of your pour. This guarantees that your slabs aren't only aligned but also perfectly level.
When working with large slabs, it's essential to check alignment regularly to prevent errors from compounding. Use a combination square to verify the alignment of each slab as you go.
For added precision, consider using a digital inclinometer to measure the angle of your slabs. By incorporating these budget-friendly slab alignment techniques into your workflow, you'll be able to achieve precise, professional results without sacrificing your budget.
Making Your Own Concrete Float
You'll need a few simple materials and some basic DIY skills to craft a concrete float that's just as effective as a store-bought one. Gather a piece of 1/4-inch thick plywood, a wooden handle, some screws, and a few metal strips. For the concrete float materials, you can use a combination of wood and metal to achieve the right balance of weight and rigidity.
When it comes to float design techniques, consider a rectangular shape with a flat bottom and slightly angled sides. This will allow you to easily push and pull the float across the concrete surface. Attach the metal strips to the bottom of the plywood, spacing them evenly to guarantee smooth movement. Secure the handle to the top of the float using screws, making sure it's comfortable to grip and maneuver.
With your DIY concrete float in hand, you'll be able to achieve a smooth, even finish on your concrete projects. Remember to keep the float clean and well-maintained to guarantee peak performance. By making your own concrete float, you'll save money and gain the satisfaction of creating something with your own hands.
Cheap yet Effective Edging Tools
They're often overlooked, but the right edging tools can make all the difference in achieving a professional-looking finish on your concrete projects, and you don't have to break the bank to get them. With a little creativity and resourcefulness, you can create your own edging tools that are both budget-friendly and effective.
One approach is to repurpose everyday items like old screwdrivers, putty knives, or even metal rulers to create custom edging tools. You can also experiment with different edging tool designs, such as using a notched trowel or a specialized edger with a curved or angled blade. These innovative edging solutions can help you achieve crisp, clean lines and precise control over your concrete pours.
When choosing an edging tool, consider the type of concrete project you're working on and the specific requirements it demands. For instance, a smaller, more precise edger might be better suited for intricate details, while a larger, heavier edger might be more effective for larger projects.
With the right edging tool in hand, you'll be able to achieve a polished, professional finish that elevates your concrete projects to the next level.
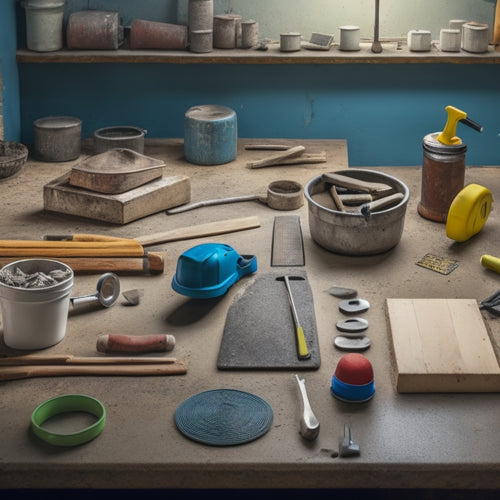
Recycling Old Materials for Tools
Your junk drawer or toolbox is probably filled with old, worn-out materials that can be repurposed into effective concrete tools, saving you money and reducing waste. By repurposing materials, you're not only being environmentally friendly, but you're also exercising creative recycling. Get creative and think outside the box!
Here are some examples of materials you can repurpose:
| Material | Tool |
|---|---|
| Old wooden ruler | Straightedge for screeding |
| Worn-out drill bits | Punches for making holes in concrete |
| Old metal file | Trowel for smoothing concrete |
Take that old wooden ruler, for instance. Clean it up, and you've got a straightedge perfect for screeding your concrete. Those worn-out drill bits? They can be repurposed as punches for making holes in concrete. And don't forget that old metal file - it can be transformed into a trowel for smoothing concrete. By thinking creatively, you can turn trash into treasure and create the concrete tools you need without breaking the bank. So, start digging through that junk drawer and get ready to release your inner DIY expert!
Hand Tools for Block Laying
What's the most essential hand tool you'll need when laying concrete blocks, and how can you use it to guarantee a solid, level foundation? The answer is a spirit level. This trusty tool confirms your blocks are perfectly aligned, preventing structural weaknesses and costly repairs down the line.
When choosing a spirit level, opt for a sturdy, magnetic model that can withstand the rigors of block laying.
Next, you'll need a trowel for applying and smoothing mortar. Look for a high-carbon steel blade with a comfortable, non-slip handle. A pointing trowel is also handy for filling gaps and joints.
Don't forget a jointer or joint raker for finishing and sealing joints. These hand tools are must-haves for mastering block laying techniques.
Always follow masonry safety tips, such as wearing gloves, safety glasses, and a dust mask when working with concrete.
With these essential hand tools and a bit of practice, you'll be laying blocks like a pro in no time. Remember to work methodically, taking care to confirm each block is level, plumb, and securely fastened.
Creative Uses for Everyday Items
Transform everyday items into makeshift concrete tools by repurposing household objects, like old buckets, wooden wedges, and even gardening gloves, to save money and get creative with your DIY project. You can turn an old bucket into a mixing container or a makeshift trowel holder.
Upcycled containers like plastic tubs or containers can serve as molds for small concrete projects. Don't overlook kitchen utensils either – a silicone spatula can become a scraper for smoothing out concrete surfaces.
Get creative with items you might otherwise throw away. Old wooden wedges can be used to hold concrete blocks in place while they set, and gardening gloves can protect your hands from harsh concrete chemicals.
Even old cardboard tubes can be used as makeshift concrete forms. By thinking outside the box, you can save money and reduce waste on your DIY project.
With a little creativity, you can turn everyday items into functional concrete tools that get the job done. So, take a closer look at the items you have lying around and see what you can repurpose for your next concrete project.
Frequently Asked Questions
Can I Use a Regular Drill for Mixing Concrete?
Can you use a regular drill for mixing concrete? Technically, yes, but it's not the best choice.
You'll likely burn out the motor or overheat it, especially with thick mixes. Instead, consider using a heavy-duty drill or a mixing drill specifically designed for concrete.
These drills have more torque and can handle the heavy load.
When mixing, use a slow and steady technique to avoid splashing and guarantee a smooth finish.
How Do I Prevent Rust on My DIY Concrete Tools?
To prevent rust on your DIY concrete tools, you'll want to prioritize tool maintenance.
After each use, thoroughly clean your tools with soap and water to remove any concrete residue.
Dry them completely, then apply a rust-inhibiting coating or lubricant.
Store your tools in a dry place, away from direct sunlight.
Regularly inspect your tools for signs of rust and address any issues promptly.
Are Homemade Concrete Tools as Durable as Store-Bought?
You're wondering if your homemade concrete tools can hold up to store-bought ones. The answer is, they can be just as durable if you're willing to put in the effort.
While they mightn't last forever, with proper care and maintenance, they'll get the job done.
Plus, the cost-effectiveness of DIY tools can't be beat. You'll save money and develop a sense of pride in your handiwork.
Can I Use Concrete Tools for Other Masonry Projects?
You're wondering if your concrete tools can tackle other masonry projects. Absolutely!
You'll find that many concrete tools have alternative masonry techniques in their wheelhouse. Your trowel, for instance, can be used for plastering or stucco work.
And that edger? It's perfect for shaping brick or block.
Be creative and explore versatile tool applications - you'll be amazed at how your DIY concrete tools can dominate other masonry tasks with ease.
Do I Need to Season My Homemade Concrete Float?
You're wondering if you need to season your homemade concrete float. Yes, you do!
Seasoning helps prevent concrete from sticking to the float, ensuring a smooth finish.
To season, apply a thin layer of linseed oil or concrete release agent to the float's surface. Let it dry, then repeat the process a few times.
Proper float maintenance is key to achieving professional-looking concrete finishing results.
With a seasoned float, you'll be able to achieve a flawless finish with ease.
Conclusion
You've got the blueprints, the will, and the way. Now, get ready to pour your heart into your DIY concrete project!
With these budget-friendly DIY concrete tools, you'll be building like a pro without breaking the bank.
You've transformed trash into treasure, scraps into solutions, and everyday items into essential tools.
Your concrete masterpiece awaits – go forth and create!
Related Posts
-
Must-Have Tools for Laying Concrete Tiles
When laying concrete tiles, you'll need a range of essential tools to get the job done right. Start with subfloor pre...
-

What Tools to Rent for a Concrete Home Reno
When tackling a concrete home renovation, you'll need to rent a variety of specialized tools to get the job done. For...
-

Top Mixing Tools for DIY Concrete Block Laying
When it comes to DIY concrete block laying, the right mixing tools are vital for a strong and durable structure. You'...


