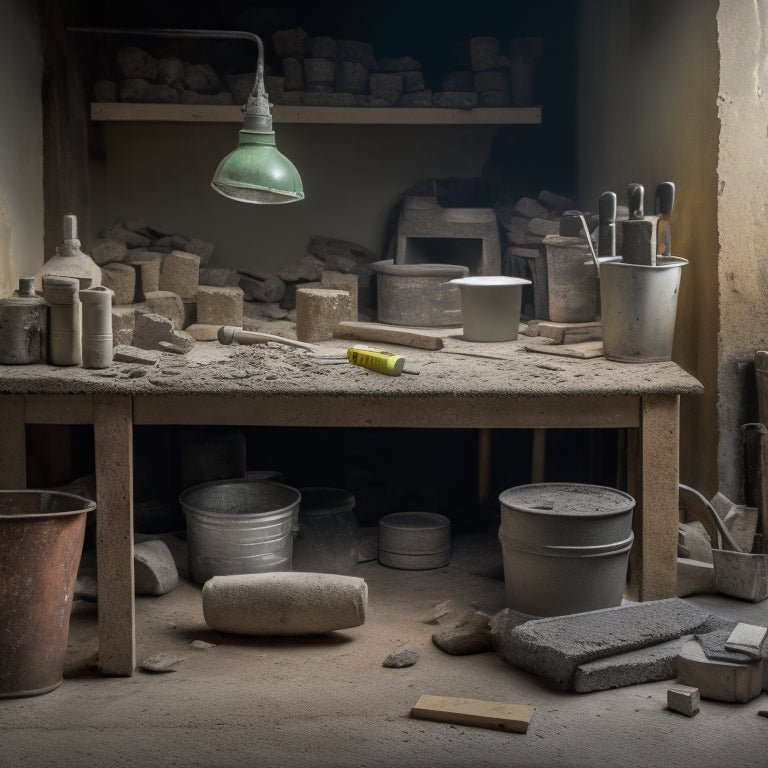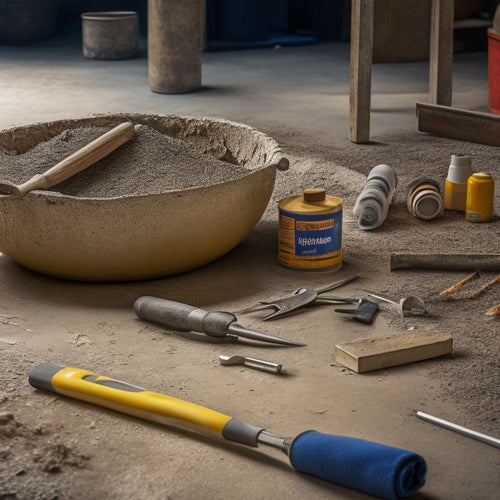
7 Must-Have Tools for Laying Concrete Blocks
Share
When laying concrete blocks, you'll need a range of essential tools to achieve professional results. Start with leveling the ground properly, using a level and string lines to establish a precise reference point. Next, invest in measuring and marking tools, like reliable tape measures, chalk lines, and levels, to guarantee accurate block spacing and course layout. You'll also need tamping and compacting tools, such as a hand tamper, plate compactor, and tamping rod, to compact mortar effectively. Additionally, equip yourself with mortar mixing and application tools, block cutting and splitting tools, and finishing and smoothing tools, like trowels and edging tools, to complete the job efficiently. By having these must-have tools at your disposal, you'll be well on your way to a successful concrete block-laying project, and understanding the nuances of each tool will elevate your skills even further.
Key Takeaways
• Reliable tape measures ensure accurate block spacing and course layout for a solid foundation.
• Levels guarantee plumb and level marking to prevent structural errors and ensure a strong bond between blocks.
• A hand tamper is essential for tamping and leveling mortar effectively, especially in tight spaces.
• A plate compactor compacts soil and gravel for stability, preventing settlement issues and ensuring a solid base.
• Chalk lines create straight, level lines for precise block placement, ensuring a professional-looking finish.
Leveling the Ground Properly
To guarantee a solid foundation, you must start by leveling the ground properly, as uneven terrain can lead to structural issues and compromise the integrity of your concrete block structure.
You'll need to make sure the ground is clear of debris, vegetation, and obstructions. Next, assess the soil type and density to determine the best soil preparation techniques for your project. This may involve compacting the soil, removing unstable material, or adding stabilizing agents.
Effective ground drainage solutions are also essential to prevent water accumulation and erosion. You may need to install French drains, gravel trenches, or other systems to direct water away from the construction site.
Once the ground is prepared, use a level and string lines to establish a precise reference point for your concrete block structure. This will make certain your blocks are laid accurately and evenly, providing a solid foundation for your project.
Measuring and Marking Tools
Precision is paramount when laying concrete blocks, and that's where measuring and marking tools come into play, helping you achieve accurate block placement and a structurally sound build.
You'll need reliable tape measures to guarantee accurate block spacing and course layout. Invest in a high-quality tape measure that can withstand harsh job site conditions and provides precise readings.
Chalk lines are another essential tool for marking block locations and courses. They enable you to create straight, level lines that serve as guides for block placement. Look for a chalk line reel with a durable string that resists tangling and breaking.
When marking courses, use a level to guarantee the line is plumb and level. This prevents errors that can compromise the structure's integrity.
When marking individual blocks, use a marker or pencil to indicate the block's position and orientation. This helps you maintain consistency and avoid mistakes during the laying process.
Laying the First Course
With your measuring and marking tools in hand, you're ready to lay the first course of concrete blocks, setting the foundation for a level and plumb structure.
First course preparation is essential, so take your time to guarantee accuracy. Begin by checking the block alignment techniques you've chosen, whether it's the running bond pattern or the stack bond pattern. Make sure the blocks are aligned with the layout lines you've marked earlier.
Start by laying the first block at the corner of the structure, making sure it's level and plumb. Use a spirit level and a string line to check the block's alignment. Lay the subsequent blocks along the course, maintaining a consistent gap of about 1/8 inch between each block.
Use a rubber mallet to tap each block into place, ensuring they're aligned with the string line. As you lay each block, check the course's levelness and plumbness regularly.
With the first course laid, you'll have a solid foundation for the rest of the structure. Remember, precision and patience are key to a successful concrete block laying project.
Tamping and Compacting Tools
You'll need a reliable set of tamping and compacting tools to secure the concrete blocks are securely seated and the mortar is evenly distributed. These tools help guarantee a strong bond between the blocks and the mortar, which is essential for a durable and long-lasting structure.
Here are some essential tamping and compacting tools you should have in your arsenal:
| Tool | Description | Purpose |
|---|---|---|
| Hand tamper | A handheld tool with a flat or curved end | Tamping and leveling mortar |
| Plate compactor | A heavy plate with a vibrating mechanism | Compacting soil and gravel |
| Tamping rod | A long, straight rod with a flat or rounded end | Tamping and compacting mortar in tight spaces |
| Rake tamper | A rake-like tool with a flat or curved end | Tamping and leveling mortar in large areas |
| Whacker plate | A handheld plate with a flat or curved end | Compacting and leveling soil and gravel |
Mastering tamping techniques and compaction methods is essential to achieving a professional finish. By using the right tools and techniques, you can guarantee a solid foundation for your concrete block structure.
Mixing and Applying Mortar
When you're laying concrete blocks, you'll need to mix and apply mortar efficiently to guarantee a strong bond between the blocks.
You'll want to get the mortar consistency just right, not too wet and not too dry, to achieve the perfect balance.
Mortar Mixing Essentials
Mixing mortar is a critical step in laying concrete blocks, and it's important to get it right to guarantee a strong, durable bond.
As you prepare to mix your mortar, you'll need to decide on the type of mortar you'll use. There are several types, including Type S, Type N, and Type M, each with its own strengths and weaknesses. Type S, for example, is ideal for most general-purpose applications, while Type M is best suited for high-strength applications.
Once you've chosen your mortar type, it's time to mix. You'll need a mixing bucket, a shovel or trowel, and a mixing stick or drill with a paddle attachment.
Use a consistent mixing technique to ascertain a uniform blend. Start by adding the dry ingredients, then slowly add water, mixing continuously until you reach the desired consistency. Be careful not to overmix, as this can weaken the mortar.
With the right mortar type and mixing technique, you'll be well on your way to a successful concrete block project.
Proper Mortar Consistency
Achieving the right mortar consistency is essential, as it directly affects the bond strength and overall quality of your concrete block project. You want to aim for a mix that's not too runny or too stiff. The ideal consistency should be similar to that of wet clay, allowing you to easily scoop and hold the mortar on your trowel without it sagging or crumbling.
To get it just right, you'll need to carefully control the amount of water you add to the mix. Too much water can lead to a weak bond, while too little can make the mortar difficult to work with.
Consider using mortar additives to enhance the mix's workability and durability. Additionally, pay attention to the ambient temperature and humidity, as these factors can affect the mortar's consistency.
Implementing effective moisture control measures, such as using a damp-proof course or waterproofing membranes, will also help maintain the best consistency.
Applying Mortar Techniques
With your mortar mix at the ideal consistency, you're ready to apply it to the blocks using techniques that guarantee a strong, lasting bond. To achieve this, you'll need to master mortar joint techniques that ascertain a uniform, consistent layer.
Start by holding your trowel at a 45-degree angle and scooping up a small amount of mortar. Then, press the mortar firmly onto the block, using a gentle twisting motion to spread it evenly. Use your trowel to create a consistent joint width, and avoid applying too much pressure, which can displace the mortar.
When it comes to mortar application tools, a pointing trowel is essential for filling and finishing joints. Its curved blade allows for precise control and efficient application. For larger areas, a bucket trowel or a finishing trowel will help you cover more ground quickly.
Remember to always hold your trowel at the correct angle and apply gentle pressure to achieve a smooth, even finish. By mastering these mortar application techniques and using the right tools, you'll be able to create a strong, durable bond between your concrete blocks.
Cutting and Chiseling Blocks
When you're working with concrete blocks, you'll inevitably need to cut or chisel them to fit into place.
You'll want to master three key skills:
Choosing the right block cutting method for the job,
Employing precise chisel techniques to avoid damaging the block,
And learning how to split blocks safely to prevent accidents.
Block Cutting Methods
You'll need to master various block cutting methods to efficiently trim and fit concrete blocks into place. This requires a combination of the right tools and techniques to guarantee accurate cuts and prevent damage to the blocks or surrounding structures.
When it comes to block cutting techniques, safety precautions are paramount. Always wear protective gear, including gloves, safety glasses, and a dust mask, to prevent injury from flying debris or dust.
Here are three essential block cutting methods to master:
-
Score and break: Use a pointed trowel or utility knife to score the block, then apply pressure to break it along the scored line.
-
Cut with a saw: Utilize a masonry saw or a circular saw with a diamond blade to make precise cuts in the block.
-
Use a block chisel: Employ a block chisel and hammer to split or trim blocks, especially in tight spaces or for more intricate cuts.
Precise Chisel Techniques
Mastering precise chisel techniques is vital for efficiently cutting and chiseling blocks, as it enables you to make accurate cuts and avoid damaging surrounding structures. A proper chisel grip is important, as it allows you to control the tool and apply the right amount of pressure. Hold the chisel with a firm, but not overly tight, grip, with your dominant hand at the end of the handle and your non-dominant hand near the blade.
To achieve precise cuts, maintain a consistent angle and apply gentle, controlled blows. It's also vital to perform regular chisel maintenance, including cleaning and sharpening the blade, to guarantee peak performance.
Here are some key chisel techniques to master:
| Technique | Description |
|---|---|
| Chisel Strike | Hold the chisel at a 45-degree angle and strike gently, increasing pressure as needed. |
| Chisel Pry | Hold the chisel vertically and pry the block apart, using the blade as a wedge. |
| Chisel Score | Hold the chisel horizontally and score the block, creating a shallow groove. |
Splitting Block Safely
With your chisel techniques refined, you're now ready to apply them to the process of splitting blocks safely, which requires careful planning and execution to avoid accidents and achieve precise cuts.
Splitting concrete blocks can be a hazardous task, but with the right approach, you can minimize the risks and get the job done efficiently.
To guarantee a safe and successful block splitting process, remember to:
-
Wear essential safety gear, including gloves, safety glasses, and a dust mask to protect yourself from flying debris and dust.
-
Assess the block's structure before splitting to identify any potential weaknesses or cracks that could affect the outcome.
-
Use proper block handling techniques to prevent accidents and maintain control of the block during the splitting process.
Finishing and Smoothing Tools
As you move on to the final stages of block laying, finishing and smoothing tools become essential for achieving a professional-looking finish.
You'll need a variety of trowels to get the job done. There are three main trowel types: pointing, finishing, and edging trowels. Pointing trowels are used for filling gaps and holes, while finishing trowels are ideal for smoothing and leveling the surface. Edging trowels, on the other hand, are perfect for creating clean edges and corners.
When it comes to finishing techniques, you'll want to master the art of floating and tamping. Floating involves using a trowel to spread and smooth the mortar, while tamping involves using a specialized tool to compact and level the surface.
You may also want to use a darby or a bull float to achieve a smooth, even finish. Remember to work in small sections, and always keep your tools clean and well-maintained to guarantee a high-quality finish.
With the right tools and techniques, you'll be able to achieve a professional-looking finish that will make your concrete block project stand out.
Frequently Asked Questions
How Do I Prevent Mortar From Staining My Tools and Equipment?
You'll want to prevent mortar from staining your tools and equipment to maintain their longevity and performance.
To do so, apply a release agent to your tools before starting work, and clean them regularly with a wire brush and mild detergent.
Additionally, use a toolbox liner or protective coating to prevent mortar from bonding to surfaces.
What Safety Gear Is Essential for Laying Concrete Blocks?
When handling concrete blocks, you're working with heavy, rough materials that can be hazardous to your health.
You'll need essential safety gear to protect yourself. First, don't skip the safety goggles - they'll shield your eyes from debris and mortar splatters.
Next, invest in a sturdy pair of steel-toed boots to prevent crushing injuries.
Can I Use a Drill Instead of a Mixing Stick for Mortar?
You're wondering if you can swap a drill for a mixing stick when it comes to mortar. While it's technically possible, it's not the most effective approach.
Certain drill types, like paddle mixers or mixing drills, can be used for mixing mortar, but they require specific mixing techniques to avoid over-mixing.
It's essential to maintain the right consistency for best block adhesion.
How Do I Dispose of Leftover Mortar and Concrete Blocks?
What's the point of finishing a concrete block project only to be left with a mess?
You're probably wondering how to dispose of leftover mortar and concrete blocks. Consider mortar recycling facilities or repurposing it as fill material.
As for blocks, donate them to local Habitat for Humanity ReStores or construction sites.
Proper disposal not only reduces waste but also supports sustainable building practices.
You're taking responsibility for your project's environmental impact - kudos to you!
Can I Lay Concrete Blocks in Cold or Wet Weather Conditions?
You're wondering if you can lay concrete blocks in cold or wet weather conditions. The answer is, it's possible, but you'll need to adapt your techniques.
In cold weather, use accelerators to speed up the setting process, and protect the blocks from freezing temperatures.
In wet conditions, make certain the surface is level and compacted, and use a waterproofing membrane to prevent water seepage.
Don't compromise on quality, or you'll face structural issues down the line.
Mastering cold weather techniques and overcoming wet conditions challenges will guarantee a solid foundation.
Conclusion
You've made it to the final stretch!
With these 7 must-have tools in your arsenal, you're ready to tackle any concrete block laying project that comes your way.
Remember, a strong foundation is key, so don't skip the prep work. Measure twice, cut once, and tamp with precision.
As the old adage goes, 'a job well begun is a job half done.'
With these tools and a bit of elbow grease, you'll be laying concrete blocks like a pro in no time!
Related Posts
-

Top Tools for Repairing Cracked Concrete Surfaces
When tackling a cracked concrete surface repair, you'll need the right tools to guarantee a durable fix. Start with e...
-

What Tools Ensure Strong Concrete Adhesion at Home
You'll need the right tools to guarantee strong concrete adhesion at home. For surface preparation, use concrete surf...
-

Ergonomic Concrete Tools for Tight Spaces
When you're tackling concrete work in tight spaces, ergonomic tools are your best bet for comfort and efficiency. The...


