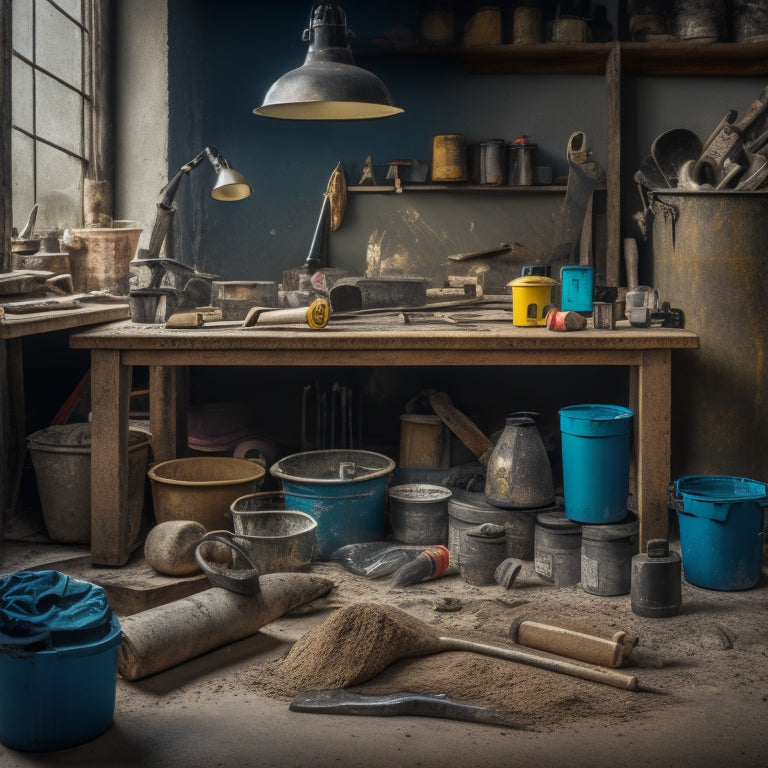
7 Must-Have Tools for DIY Concrete Repair
When tackling a DIY concrete repair project, you'll need to prioritize safety with heavy-duty gloves, safety glasses, and dust masks to protect yourself from abrasions, chemicals, and airborne particles. Next, measure and mark concrete cracks with precision instruments, classifying them into hairline, structural, or settlement cracks. Then, clean and prepare crack surfaces using stiff-bristled brushes, surface cleaning methods, and acid etching to expose substrate layers. With the right tools, you'll be able to fill and seal cracks, smooth and finish edges, cure and protect repairs, and inspect and test your work - and that's just the beginning of achieving a durable, long-lasting repair.
Key Takeaways
• Essential safety gear, including gloves, safety glasses, and dust masks, is crucial for protecting yourself during DIY concrete repair.
• Accurately measuring and classifying cracks is vital for choosing the right repair materials and techniques.
• Proper surface preparation, including cleaning and exposing substrate layers, ensures a solid foundation for repair.
• Choosing the right sealant and applying it correctly is critical for preventing water infiltration and further damage.
• Conducting thorough post-repair inspections and evaluations helps identify defects and ensures the longevity of the repair.
Essential Safety Gear for Protection
You'll need to wear essential safety gear to protect yourself from the hazards associated with concrete repair, including heavy-duty gloves, safety glasses, and a dust mask. These protective items are essential to preventing injuries and guaranteeing a safe working environment.
When it comes to hand protection, opt for protective gloves that are specifically designed for concrete work. They should be made of a durable material, such as thick rubber or synthetic fabrics, to withstand the abrasive nature of concrete.
Additionally, safety goggles will shield your eyes from debris and dust. Look for goggles with anti-fog lenses to maintain clear visibility.
A dust mask is also critical to prevent inhaling concrete dust and other airborne particles. Make sure it fits snugly around your nose and mouth to provide maximum protection.
Measuring and Marking Concrete Cracks
To accurately assess the extent of damage, measure the length, width, and depth of each concrete crack using a ruler, caliper, or crack width gauge, taking note of any variations or irregularities along the crack's path. This information will help you identify the type of crack and determine the best repair material selection. Crack identification techniques involve classifying cracks into different types, such as hairline, structural, or settlement cracks.
| Crack Type | Characteristics | Repair Material |
|---|---|---|
| Hairline Cracks | Less than 1/16 inch wide, shallow | Epoxy or polyurethane-based fillers |
| Structural Cracks | Wider than 1/16 inch, deep | High-strength concrete patching compounds |
| Settlement Cracks | Wide, irregular, and deep | Flexible sealants or foam backer rods |
Cleaning and Preparing Crack Surfaces
When you're preparing a concrete crack for repair, you'll need to clean and prepare the surface to guarantee a strong bond between the old concrete and the new repair material.
You'll start by removing loose debris from the crack, then move on to surface cleaning methods to remove dirt, oil, or other contaminants.
Next, you'll expose the substrate layers to create a solid foundation for the repair, and we'll walk you through each of these critical steps.
Remove Loose Debris
Wearing heavy-duty gloves, grasp a stiff-bristled brush or broom and sweep away any loose debris, dirt, or vegetation that may be obscuring the crack surface. This initial step is essential in preparing the crack for repair, as loose material can compromise the bond between the old concrete and the new patching material.
Effective debris removal techniques involve using the right tools for the job, so don't be afraid to get a little aggressive with that brush or broom. You want to remove as much loose material as possible, taking care not to scratch or damage the surrounding concrete.
As you sweep, pay attention to any stubborn debris that refuses to budge. You may need to use a more specialized tool, like a wire brush or scraper, to dislodge particularly stubborn particles.
Surface Cleaning Methods
With the loose debris removed, you'll need to employ more precise surface cleaning methods to confirm the crack surface is free of dirt, oil, or other substances that could interfere with the bonding process.
Pressure washing is an effective way to remove stubborn dirt and grime. Use a wide-angle spray nozzle to disperse the high-pressure stream, making sure you maintain a safe distance from the crack to avoid further damage.
For more thorough cleaning, consider acid etching, which involves applying a mild acid solution to the surface. This process helps to open up the concrete's pores, allowing for a stronger bond between the old and new concrete.
When acid etching, be sure to wear protective gear, including gloves, safety glasses, and a respirator. Follow the manufacturer's instructions for application and dwell time, and thoroughly rinse the surface with water to remove any residue.
Exposing Substrate Layers
You've confirmed a clean, contaminant-free surface; now, it's time to expose the substrate layers by removing any remaining dirt, rust, or other substances that may be lodged within the crack. This step is essential, as it allows you to assess the substrate types and identify potential issues that could affect the repair.
Use a wire brush or scrubber to remove loose debris, and then apply a cleaning solution to break down stubborn substances. Be sure to rinse the area thoroughly to prevent any cleaning residue from interfering with the repair.
As you expose the substrate layers, pay attention to any signs of moisture intrusion, which can compromise the integrity of your repair. Implementing effective moisture control measures, such as applying a waterproofing agent or installing a drainage system, can help mitigate this risk.
Filling and Sealing Concrete Cracks
Filling and sealing concrete cracks is a crucial step in preventing water infiltration, further damage, and potential safety hazards. It's important to do it correctly. When dealing with cracks, you'll need to choose the right crack sealant for the job.
There are various types of sealants, including polyurethane, epoxy, and acrylic-based options, each with its own strengths and weaknesses. You'll need to take into account factors like the size and depth of the crack, as well as the surrounding environment.
Once you've selected your sealant, it's time to prepare the crack for filling. This involves cleaning the area thoroughly to remove any dirt, debris, or old sealant. You may also need to widen the crack slightly to guarantee a strong bond between the sealant and the concrete.
When applying the sealant, be sure to follow the manufacturer's instructions carefully, as different products have unique application requirements. With the right repair techniques and a little patience, you can effectively fill and seal concrete cracks, restoring the integrity of your DIY project and guaranteeing a safe, durable finish.
Smoothing and Finishing Concrete Edges
Your freshly sealed concrete surface is now ready for the final touches, and that's where smoothing and finishing concrete edges come into play. This vital step guarantees a professional-looking finish and enhances the overall aesthetic appeal of your DIY concrete repair project.
To achieve a smooth, seamless edge, you'll need the right tools and techniques. Here are some essential tools for edge finishing:
| Tool | Description | Purpose |
|---|---|---|
| Edger | A handheld tool with a rotating blade or abrasive surface | Trims and smooths concrete edges |
| Trowel | A flat, handheld tool with a straight or curved blade | Applies and finishes concrete, creating a smooth surface |
| Edging chisel | A handheld tool with a curved or angled blade | Removes excess concrete and creates a defined edge |
Curing and Protecting Concrete Repairs
After edging and finishing, the freshly repaired concrete surface requires proper curing and protection to secure its durability and longevity.
You'll need to adopt effective curing methods to prevent water loss and promote hydration. This can be achieved by applying a curing compound, which forms a membrane on the surface to retain moisture. You can also use wet burlap or plastic sheets, but these require frequent sprinkling with water to maintain humidity.
In addition to curing, you'll need to apply protective coatings to shield your repaired concrete from environmental elements and potential damage.
These coatings can be either penetrating or topical, depending on the level of protection required. Penetrating sealers, such as silane or siloxane, react with the concrete to form a hydrophobic barrier, while topical coatings, like acrylic or polyurethane, provide a physical barrier against water and stains.
Inspecting and Testing Concrete Work
Once you've completed the concrete repair, it's vital to conduct a thorough inspection to identify any defects or inconsistencies, ensuring the work meets the required standards. This involves a concrete integrity evaluation to gauge the strength and durability of the repaired area.
You'll need to visually examine the surface for any signs of cracks, crumbling, or unevenness. Take note of any areas that may require further attention or repair.
To take it a step further, you can perform a crack propagation analysis to determine the likelihood of cracks spreading in the future. This involves using specialized tools to measure the length, width, and depth of existing cracks, as well as evaluating the surrounding concrete's strength and condition.
Frequently Asked Questions
Can I Repair Concrete Cracks in Freezing Temperatures?
When dealing with crack repair in freezing temperatures, you'll need to take extra precautions.
Make certain the concrete is completely dry and free of ice before starting the repair.
Apply a bonding agent to the crack, then fill it with a cold-weather concrete patching mix.
Follow the manufacturer's instructions for curing times, as they may vary in cold temps.
You'll be glad you took the time to do it right, and your repair will last longer as a result.
How Do I Prevent Future Concrete Cracks From Forming?
Imagine you're a master gardener, nurturing your concrete to prevent those pesky cracks from sprouting up again.
To keep your concrete 'garden' healthy, you'll want to adopt crack prevention techniques like regular joint sealing and surface cleaning.
Practice good concrete maintenance tips, such as avoiding extreme temperature changes and using a concrete sealer to shield it from the elements.
Are DIY Concrete Repair Kits Worth the Investment?
When considering DIY concrete repair kits, you're likely wondering if they're worth the investment.
To make an informed decision, you'll need to conduct a thorough cost analysis, weighing the kit's price against the cost of hiring a pro or buying individual materials.
Take the time to research and compare products, examining their ingredients, application methods, and durability.
Can I Use Epoxy to Repair Concrete Cracks Outdoors?
You're likely aware that concrete cracks are a common issue, with over 75% of concrete structures showing signs of cracking within the first year of construction.
When it comes to outdoor applications, you can use epoxy to repair concrete cracks, leveraging its advantages like high bonding strength and resistance to weathering.
Since epoxy is waterproof and durable, it's an excellent choice for outdoor repairs, allowing you to confidently fix cracks and restore your concrete's integrity.
Do I Need to Replace the Entire Concrete Slab if Damaged?
You're wondering if you need to replace the entire concrete slab if it's damaged. Evaluating the damage is key here.
If the cracks are shallow and only affect the surface, you might be able to get away with a simple repair.
However, if the damage is deep, widespread, or compromises the structural integrity, concrete slab replacement might be your only option.
You'll need to assess the extent of the damage to determine the best course of action.
Conclusion
With these 7 must-have tools in your arsenal, you're well-equipped to tackle even the most challenging DIY concrete repair projects.
Like a master chef with a perfectly stocked kitchen, you'll be able to whip up a smooth, durable finish that'll make your concrete surfaces look brand new.
Remember, a successful repair is like a well-crafted recipe - it requires the right ingredients, tools, and techniques.
By following these steps and using the right tools, you'll be serving up a concrete surface that's both functional and visually appealing.
Related Posts
-
Smart Guide to Buying Used Concrete Hand Tools
You're about to buy used concrete hand tools, and you need to get it right. Dedicate time to identify the tools you n...
-
What Tools Do You Need for Concrete Flooring
You'll need a thorough arsenal of specialized tools to achieve a high-quality, professional-looking concrete floor, i...
-
7 Best Tools for Concrete Block Construction
You'll need a solid foundation, precise cutting, and seamless finishing to guarantee your concrete block construction...


