7 Best Tools for Building Concrete Fire Pits
Share
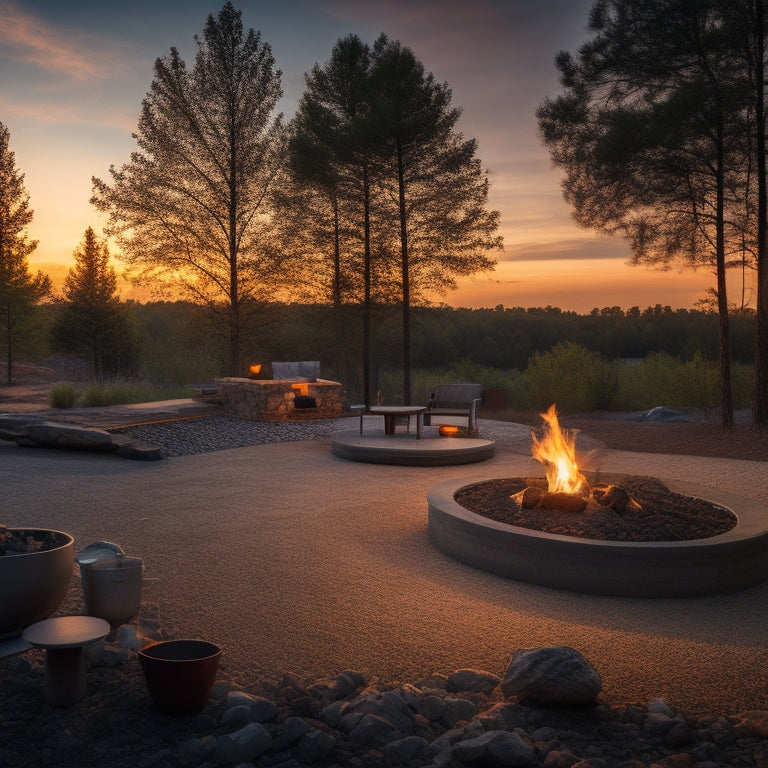
When building a concrete fire pit, you'll need a range of specialized tools to achieve a professional-looking outcome. For mixing and measuring, invest in a 5-gallon bucket, heavy-duty mixing stick, digital scale, and mixing ratio calculator. For molds and forming, choose high-impact resistant materials, non-stick coatings, and specialized tools like curved trowels. Finishing tools like trowels, floats, and edgers are essential for a smooth surface. Don't forget safety gear, demolition tools, cutting and shaping tools, and tamping and compacting tools. With the right tools, you'll be well on your way to creating a stunning fire pit – and the details that follow will show you how to get there.
Key Takeaways
• A mixing bucket with a minimum 5-gallon capacity is essential for effective concrete mixing and uniform consistency.
• A digital scale provides accurate measurements of cement, sand, and aggregate to ensure precise mixing ratios.
• Molds made of high-impact resistant materials like ABS, HDPE, or steel are necessary for durability and shape retention.
• Finishing tools like trowels, floats, and edgers are crucial for achieving a smooth, even surface finish and clean edges.
• Safety gear including protective clothing, eye and face shields, and dust masks is vital for protecting yourself from hazardous materials and debris.
Essential Mixing and Measuring Tools
You'll need a set of reliable mixing and measuring tools to achieve the perfect concrete mix for your fire pit, starting with a sturdy mixing bucket that can hold at least 5-gallons of material. This bucket will be your workstation, so make certain it's clean, dry, and free of any contaminants.
Next, you'll require a heavy-duty mixing stick or drill with a mixing paddle attachment to tackle the thick, heavy concrete. A digital scale will come in handy for accurate measuring of your cement, sand, and aggregate.
To guarantee the perfect mixing ratios, you'll need a calculator and a mixing ratio chart. Measure your materials using precise measuring techniques, such as scooping and leveling, to avoid errors. A bucket with measurement markings will also simplify the process.
With these essential tools, you'll be able to achieve a consistent, high-strength concrete mix that will form the foundation of your fire pit. By following the correct mixing ratios and measuring techniques, you'll be well on your way to building a durable, long-lasting fire pit that will withstand the elements.
Crucial Molds and Forming Tools
As you prepare to create your concrete fire pit, you're about to shape its very foundation - literally.
You'll need to select the right mold materials that can withstand the concrete's weight and pressure, ensuring a smooth, even finish.
Now, let's explore the importance of mold materials and forming precise shapes to bring your design to life.
Mold Materials Matter
When crafting a concrete fire pit, the mold materials you choose will directly impact the final product's appearance, durability, and overall performance. You need to select materials that can withstand the intense forces of casting concrete, guaranteeing your mold holds its shape and doesn't compromise the final design.
For ideal mold durability, consider using high-impact resistant materials like ABS or HDPE plastics, or even steel and aluminum alloys. These materials can handle the weight and pressure of the concrete, reducing the risk of cracks and deformities. Additionally, they allow for a smoother, more even finish, making your fire pit look professionally crafted.
When it comes to mold design, you'll want to focus on creating a precise, intricate shape that complements your outdoor space. Look for molds with a non-stick coating to guarantee easy release and minimal cleanup.
With the right mold materials and design, you'll be able to achieve a stunning, high-performance fire pit that becomes the centerpiece of your backyard gatherings.
Forming Precise Shapes
To achieve a precise, intricate shape for your concrete fire pit, what specific mold features and forming tools will you need to guarantee a flawless, professional-looking finish?
You'll require molds with precise dimensions, smooth surfaces, and a robust structure to maintain shape stability during the concrete curing process. Look for molds with a non-stick coating or a release agent to facilitate easy removal of the finished pit.
To create complex designs, you'll need specialized forming tools, such as curved or angled trowels, to manipulate the concrete and achieve the desired shape. These tools will allow you to apply advanced design techniques, like texture stamping or pattern-making, to create a unique and visually striking fire pit.
Additionally, consider using a mold with adjustable sections to create custom shapes and sizes. By combining the right mold features and forming tools, you'll be able to achieve a precise, intricate shape that showcases your attention to detail and craftsmanship.
With the right tools, you'll be able to unleash your creative potential and build a concrete fire pit that's both functional and visually stunning.
Concrete Finishing and Smoothening Tools
You'll need a range of specialized tools to achieve a smooth, even finish on your concrete fire pit, including trowels, floats, and edgers that help you manipulate and refine the wet concrete. These tools allow you to control the concrete surface textures and employ various finishing techniques to get the desired look.
| Tool | Description |
|---|---|
| Trowel | Used for spreading and smoothing out the concrete, creating a uniform surface |
| Float | A flat, rectangular tool for removing excess water and creating a smooth finish |
| Edger | A specialized tool for creating clean edges and defined lines |
With these tools, you can achieve a range of finishes, from a smooth, glossy surface to a more textured, rustic look. By mastering the art of concrete finishing and smoothening, you can create a stunning fire pit that becomes the centerpiece of your outdoor space. Remember to work efficiently, as the concrete sets quickly, and make adjustments as needed to achieve the desired finish.
Safety Gear for DIY Projects
As you prepare to build your concrete fire pit, you'll need to prioritize your safety above all else.
You'll want to suit up in protective clothing essentials, such as long-sleeved shirts, pants, and gloves, to shield your skin from harsh chemicals and rough materials.
Next, don't forget to secure eye and face shields to safeguard your vision and facial features from debris and dust.
Protective Clothing Essentials
Wearing protective gear, including heat-resistant gloves, safety glasses, and a dust mask, shields you from harsh materials and hazardous debris generated during concrete fire pit construction. You're working with heavy, abrasive materials, and the last thing you want is an injury to slow you down.
| Protective Gear | Purpose |
|---|---|
| Fire Resistant Gloves | Protect hands from burns and abrasion |
| Heat Resistant Aprons | Shield torso from heat and sparks |
| Dust Mask | Filter out concrete dust and debris |
When building a concrete fire pit, you'll be handling materials like concrete, gravel, and sand, which can be hazardous to your skin and respiratory system. Fire resistant gloves will protect your hands from burns and abrasion, while heat resistant aprons will shield your torso from heat and sparks. A dust mask is essential for filtering out concrete dust and debris that can cause respiratory issues. Don't compromise your safety – invest in the right protective clothing essentials to guarantee a successful and injury-free project.
Eye and Face Shields
When handling abrasive materials like concrete and gravel, your eyes and face are vulnerable to flying debris and particles, making eye and face shields a crucial addition to your safety gear arsenal. You can't afford to compromise on eye protection and face safety when working with these hazardous materials. A good eye and face shield will provide a secure seal around your eyes and face, protecting you from the impact of flying particles and dust.
Look for shields with polycarbonate lenses that offer optical clarity and impact resistance. The frame should be comfortable and adjustable, fitting snugly around your face. Some shields come with anti-fog coatings and ventilation systems to prevent fogging and guarantee clear visibility.
When choosing an eye and face shield, consider the level of protection you need based on the specific tasks you'll be performing. For example, if you'll be working with power tools, you'll need a shield that can withstand high-velocity impacts.
Heavy-Duty Demolition and Breaking Tools
You'll need heavy-duty demolition and breaking tools to shatter and remove existing concrete, making way for your new fire pit design.
When it comes to demolition, safety should always be your top priority. Wear protective gear, including steel-toed boots, gloves, and a dust mask to prevent injury from flying debris and dust.
Mastering jackhammer techniques is essential for efficient demolition. Hold the jackhammer with both hands, keeping your arms straight and your body balanced. Apply steady, controlled pressure, working in small sections to avoid fatigue. Always maintain a firm grip and keep the tool at a 45-degree angle to maximize breaking power.
Demolition safety is critical, so make certain you have a clear escape route and a secure workspace. Remove any tripping hazards and keep bystanders at a safe distance.
With the right tools and techniques, you'll be able to break through even the toughest concrete, making way for your new fire pit design.
Precision Cutting and Shaping Tools
With your demolition work complete, switch to precision cutting and shaping tools to refine your fire pit's design, carving intricate patterns and curves into the concrete.
For precise cuts, reach for a diamond blade saw or a concrete cutter, which utilize advanced cutting techniques to make clean, accurate cuts. These tools are essential for creating complex shapes and designs, such as geometric patterns or custom logos.
To add texture and depth to your fire pit, use specialized shaping methods like stamping or stenciling. A concrete stamp can add a realistic stone or wood-grain pattern, while stencils allow you to create intricate designs or logos.
For more nuanced shaping, use hand tools like trowels, edgers, or jointers to refine your design. These tools provide the precision and control needed to achieve the perfect shape and texture.
Remember to always follow safety guidelines when working with precision cutting and shaping tools, as they can be hazardous if not handled properly.
With the right tools and techniques, you'll be able to create a stunning concrete fire pit that showcases your craftsmanship and attention to detail.
Important Tamping and Compacting Tools
Now that you've refined your fire pit's design and added texture with precision cutting and shaping tools, it's time to focus on creating a solid foundation by compacting and tamping the concrete to assure stability and prevent settling.
This critical step guarantees your fire pit remains sturdy and secure, even under extreme weather conditions.
To achieve peak results, you'll need the right tools for the job. Here are some essential tamping and compacting tools to add to your arsenal:
-
Tamping rods: Long, sturdy rods with a flat or rounded end, perfect for applying pressure and compacting concrete in tight spaces.
-
Plate compactors: Heavy-duty machines that use vibration to compact large areas of concrete, ideal for bigger fire pit projects.
-
Hand tampers: Compact, handheld tools with a flat or curved surface, great for smaller areas and detail work.
- Vibratory compactors: Electric or pneumatic tools that use high-frequency vibrations to compact concrete, ideal for precise control and accuracy.
Mastering tamping techniques and compacting methods will take your fire pit building skills to the next level.
Frequently Asked Questions
How Do I Ensure My Fire Pit Is Level and Even?
When building your fire pit, you'll want to guarantee it's level and even to prevent uneven heating and potential safety hazards.
Start by preparing the ground, clearing any debris and compacting the soil.
Next, use a leveling tool to check the surface, making adjustments as needed.
You can also use a string and stakes to create a grid, helping you achieve precise fire pit leveling.
Can I Use Regular Concrete for a Fire Pit?
Imagine building a fire-breathing dragon's lair, where flames dance and sparks fly.
But, before igniting the blaze, you wonder: can you use regular concrete for the pit? The answer is, unfortunately, no.
Regular concrete can't withstand the intense heat, putting your fire safety at risk.
Instead, consider high-temperature concrete alternatives, specifically designed to resist thermal shock and protect your gathering spot from cracking and crumbling.
What Is the Ideal Size for a Backyard Fire Pit?
When determining the ideal size for your backyard fire pit, you'll want to take into account the dimensions that'll maximize your outdoor space.
Measure your backyard space to visualize the fire pit's footprint. Aim for a diameter between 36 to 48 inches, with a height of 12 to 18 inches. This will create a cozy gathering spot without overwhelming the area.
Keep in mind, you'll need at least 3 feet of clearance from flammable structures.
Do I Need to Add a Drainage System to My Fire Pit?
As you envision the warm glow of your fire pit on a crisp evening, you'll want to make sure it doesn't become a miniature swamp.
You're wise to take into account adding a drainage system to prevent water runoff from turning your pit into a soggy mess.
Trust us, you won't want to deal with the hassle of fire pit maintenance due to poor drainage.
A well-designed system will keep your pit dry and functional, saving you from a world of trouble down the line.
How Long Does It Take for Concrete to Fully Cure?
As you carefully plan your concrete fire pit, you're wondering how long it'll take for the concrete to fully cure.
The curing time depends on factors like temperature, humidity, and concrete strength. Typically, it takes 24-48 hours for the concrete to set, but full curing can take 28 days or more.
During this time, keep the surface moist and avoid heavy loads.
As you wait, visualize the concrete gaining strength, reaching its ideal durability, and eventually, withstanding the heat of your fires.
Conclusion
As you step back to admire your handiwork, the concrete fire pit begins to take shape, a demonstration of your sweat and toil.
Like a master sculptor, you've coaxed and cajoled the raw materials into a functional work of art, a flame-kissed gathering spot that beckons friends and family.
The tools you've wielded have become extensions of your own hands, precision instruments in the creation of a warm, welcoming haven.
Related Posts
-

Top 10 Concrete Repair Tools for Small Fixes
You'll need the right tools to tackle small concrete repairs efficiently and effectively. When it comes to small fixe...
-

Reinforcement Tools Checklist for Concrete Block Walls
You'll need a range of reinforcement materials, including horizontal and vertical rebar, fiber mesh, and anchor bolts...
-

5 Tips for Accurate Concrete Measurement Tools
To guarantee accurate concrete measurement, you'll want to calibrate your measuring tools regularly, choosing a frequ...


