5 DIY Tools for Repairing Damaged Concrete
Share
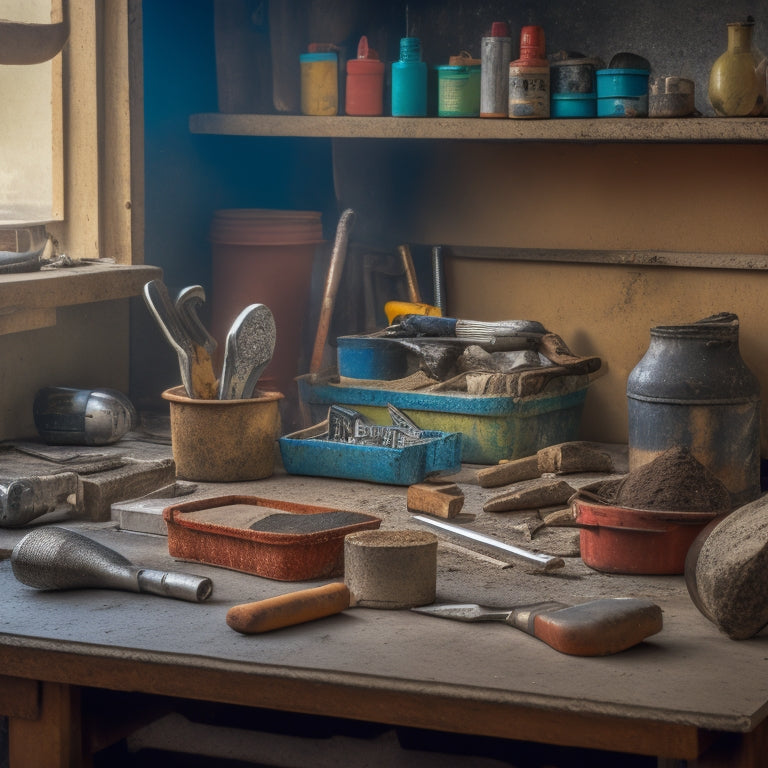
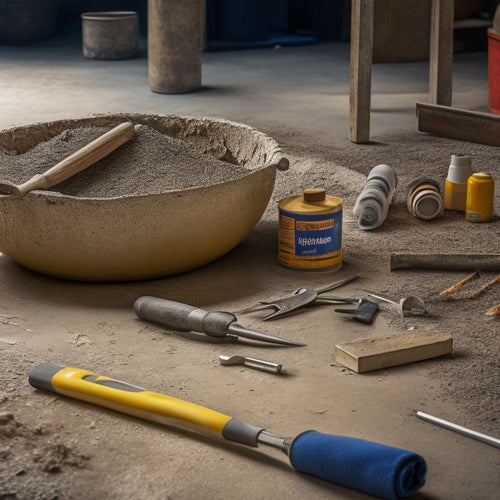
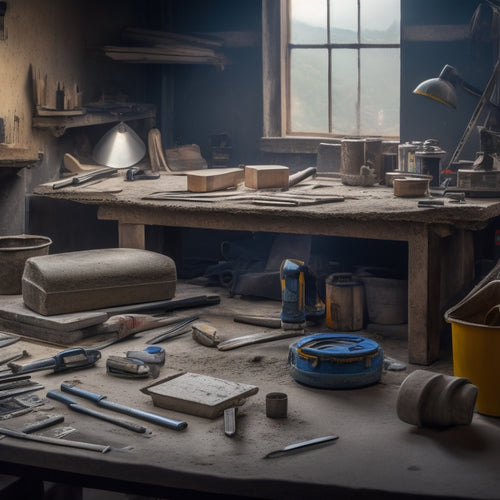
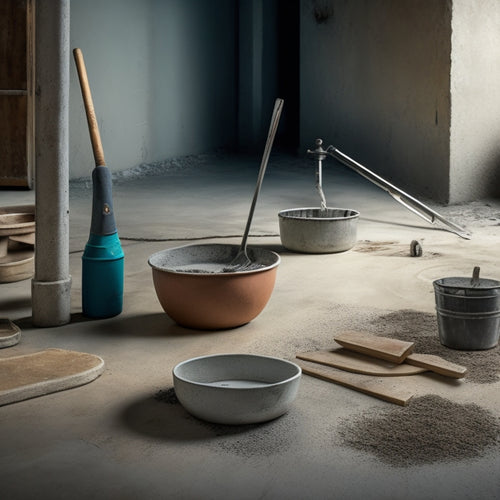
You'll need a range of DIY tools to repair damaged concrete effectively. Start by preparing the surface with a wire brush, pressure washer, and solvent-based cleaner to remove debris and contaminants. Next, use a handheld injection gun or manual injection pump to inject epoxy or polyurethane resin into the cracks. You'll also need mixing equipment, such as a clean bucket and mixing stick, to prepare the repair compound. Then, apply the compound with a trowel or screed board, and finish with a float, edger, and broom to achieve a smooth, professional-looking finish. As you move forward, you'll uncover more specialized tools and techniques to guarantee a durable, long-lasting repair.
Key Takeaways
• A handheld injection gun or manual injection pump is necessary for injecting epoxy or polyurethane resin into concrete cracks.
• A wire brush or broom is essential for removing loose debris from the surface before applying a repair compound.
• A clean, dry bucket and mixing stick or drill with paddle attachment are required for mixing repair materials to the correct consistency.
• A trowel, float, or edger is needed to finish and smooth out the repaired surface, removing excess material and air pockets.
• A curing compound or topical sealant is necessary to protect the repaired surface from stains and damage, ensuring a long-lasting finish.
Concrete Crack Injection Tools
When dealing with hairline cracks, the most effective way to deliver epoxy or polyurethane resin to the damaged area involves a thorough crack assessment. This assessment determines the severity and extent of the damage, which is crucial for choosing the right injection technique and tools for the job.
For hairline cracks, low-pressure injection techniques are typically employed. This involves injecting resin into the crack using a handheld injection gun or a manual injection pump.
You'll need a selection of injection ports, which are small, removable devices that allow you to inject resin directly into the crack. Additionally, a packer is necessary; this is a flexible, hollow tube that's inserted into the crack to deliver the resin.
Moreover, you may need a drill and drill bits to create access points for the injection ports. By using the right tools and techniques, you can guarantee a strong, long-lasting repair that will prevent further damage to your concrete surface.
Surface Preparation Equipment Needed
You'll need to gather a range of surface preparation equipment to confirm the concrete surface is clean, dry, and free of contaminants before applying a repair compound or overlay. This is a critical step, as any dirt, oil, or old adhesive can compromise the bond between the old concrete and the new material.
Start by using a wire brush or broom to remove any loose debris from the surface. Next, use a pressure washer to thoroughly clean the area, taking care to avoid damaging the surrounding concrete. For more stubborn contaminants, consider using a solvent-based cleaner or a degreaser.
Once the surface is clean, use a damage assessment kit to evaluate the extent of the damage and identify any areas that require additional attention. This may involve using a sounding hammer to test for delamination or a crack detection kit to identify hidden cracks.
Mixing and Applying Materials
Mixing the repair compound or overlay material to the correct consistency is critical, as it directly affects the final product's strength, durability, and overall appearance.
You'll need to follow the manufacturer's instructions for mixing techniques, taking into account factors like temperature, humidity, and the type of material you're working with. Be certain you're wearing protective gear, including gloves, safety glasses, and a dust mask, to avoid exposure to harmful particles.
When mixing, use a clean, dry bucket and a mixing stick or drill with a mixing paddle attachment. Start with the recommended amount of water and gradually add more as needed, mixing thoroughly to avoid lumps. For larger batches, consider using a mixing wheel or paddle mixer. Once the material reaches the desired consistency, you're ready to apply it to the prepared surface.
Application methods vary depending on the type of repair or overlay you're doing. For small repairs, you can use a trowel or putty knife to apply the material. For larger areas, consider using a screed board or tamping tool to guarantee an even, consistent finish.
Remember to work in small sections, applying the material in thin layers and allowing each layer to set before adding more.
Finishing and Smoothening Tools
With the material applied, you can now move on to finishing and smoothening the surface using specialized tools designed to achieve a high-quality finish. This stage is vital in achieving a smooth, even surface that's free from imperfections.
To achieve a professional-looking finish, you'll need the right tools for the job. Here are some essential finishing and smoothening tools you should consider:
-
Trowels: There are various trowel types, including V-notch, square-notch, and round-edged trowels, each designed for specific finishing techniques. Choose the right trowel for your project to guarantee a smooth finish.
-
Floats: These long, flat tools are used to smooth out the surface, removing any excess material and air pockets.
-
Edgers: Used to create clean, sharp edges around corners, edges, and joints, edgers are a must-have for a professional finish.
- Brooms: Used to apply a textured finish, brooms come in various sizes and are ideal for creating a slip-resistant surface.
Curing and Sealing Essentials
Curing and sealing are critical steps in the concrete repair process, as they prevent moisture loss and enhance durability, while also protecting the surface from stains and damage. As you work on your DIY concrete repair project, you'll need to master these vital techniques to achieve a long-lasting and durable finish.
When it comes to curing, you'll need to choose the right techniques for your specific project. This may involve applying a curing compound to the surface, using a wet cure method, or implementing a membrane-forming cure. Each curing technique has its own benefits and drawbacks, so it's important to select the one that best suits your project's requirements.
Sealing is another critical step in the concrete repair process. You'll need to select a suitable sealing method to protect the surface from stains and damage. This may involve applying a topical sealant, using a penetrating sealer, or implementing a hybrid sealing method.
Frequently Asked Questions
Can I Repair Damaged Concrete in Freezing Temperatures?
Can you repair damaged concrete in freezing temperatures? Generally, it's not recommended to repair concrete in freezing conditions, as the water in the mix can freeze, reducing concrete durability.
However, if you must, make sure the area is dry, and the temperature is above 35°F (2°C). Use a rapid-hardening mix, and follow the manufacturer's instructions.
Take necessary safety precautions to avoid frostbite and hypothermia. Remember, even with precautions, repairs in freezing temperatures may not be as effective as those done in warmer conditions.
How Do I Dispose of Leftover Concrete Repair Materials?
When you're done with your concrete repair project, you'll be left with leftover materials that require proper disposal.
You should dispose of them in an environmentally responsible manner to avoid harming local ecosystems.
Check with your local authorities for guidelines on disposing of materials like epoxy, polyurethane, and cement.
You'll likely need to take them to a hazardous waste collection facility or a construction materials recycling center.
Be sure to follow all safety precautions when handling these materials to avoid exposure and contamination.
Are Concrete Repair Tools Suitable for All Types of Concrete?
You're venturing into the complex world of concrete, where one misstep can lead to a structural nightmare.
Are concrete repair tools suitable for all types of concrete? Not quite. Different concrete types, like high-strength or fiber-reinforced, require specialized repair techniques.
You'll need to choose tools that cater to the specific type you're working with, ensuring a strong and durable bond.
Incorrect tool selection can lead to further damage, so it's essential to match your tools to the concrete's unique characteristics.
Can I Use Concrete Repair Tools for Decorative Concrete Projects?
When working on decorative concrete projects, you'll want to guarantee the repair tools you use won't compromise the finish.
You can use concrete repair tools for decorative concrete projects, but it's essential to choose the right ones.
Select tools compatible with the specific decorative finishes you're working with, and master the repair techniques that won't damage the design.
Do I Need Special Training to Use Concrete Repair Tools?
When working with concrete repair tools, you'll want to guarantee you're properly trained to handle them safely.
While special training isn't always necessary, it's vital to understand safety precautions and tool maintenance to avoid accidents.
You'll need to familiarize yourself with the tools' operating procedures, wear protective gear, and perform regular maintenance to prevent malfunctions.
Conclusion
With your DIY toolkit in hand, you've bridged the gap between damaged concrete and a seamless repair.
Like a master sculptor, you've chiseled away imperfections, filling cracks and crevices with precision and care.
As the final touches dry, your handiwork transforms into a resilient, rock-solid surface, ready to withstand the test of time.
Your DIY prowess has resurrected the concrete, breathing new life into a once-damaged area, now stronger and more resilient than ever.
Related Posts
-

Top Tools for Repairing Cracked Concrete Surfaces
When tackling a cracked concrete surface repair, you'll need the right tools to guarantee a durable fix. Start with e...
-

3 Best Hand Tools for DIY Concrete Construction
When tackling a DIY concrete construction project, you'll need three essential hand tools to achieve a professional-l...
-

Why You Need These Concrete Overlay Tools
When tackling a concrete overlay project, you need the right tools to achieve a flawless finish and avoid costly mist...


