5 Best Tools for Laying Concrete Blocks
Share
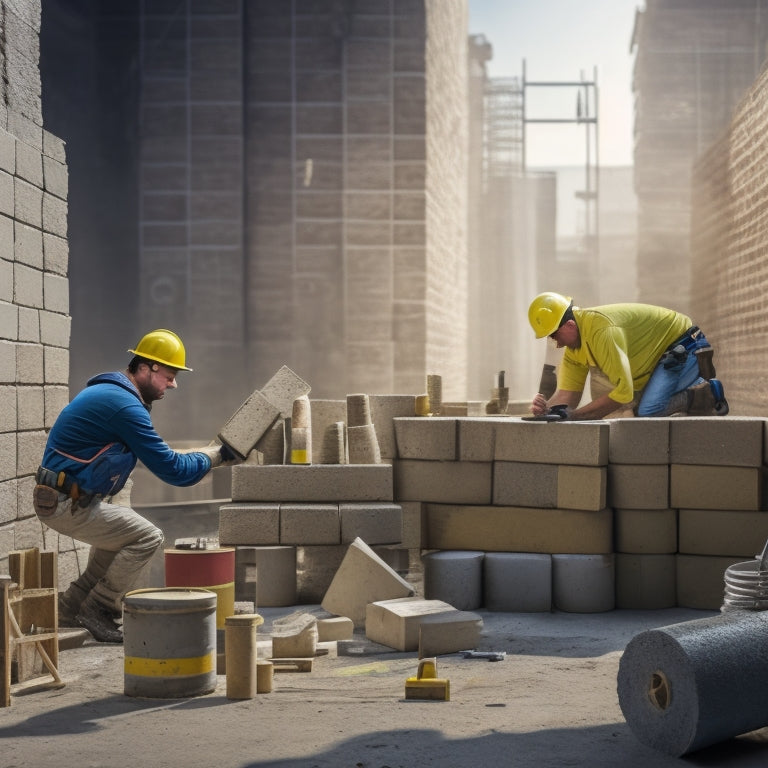
When laying concrete blocks, you'll need a range of essential tools to get the job done right. For compacting, consider hand tampers for small areas, plate compactors for larger ones, and jumping jacks for heavy-duty projects. For leveling and aligning, a reliable leveling system, laser level, and spirit level are must-haves. Meanwhile, a finishing trowel, surface texture rake, and float will help you achieve a smooth finish. Don't forget quality measuring and marking tools, like a tape measure, level, and straightedge. By mastering these tools, you'll be well on your way to building a sturdy, visually appealing structure that will last - and that's just the starting point.
Key Takeaways
• A quality hand tamper or plate compactor is essential for compacting and leveling the ground before laying concrete blocks.
• A reliable leveling system, including a laser level and spirit level, ensures blocks are properly aligned and positioned.
• A finishing trowel, surface texture rake, and float are necessary for achieving a smooth and professional finish on the block wall.
• Accurate measurements and marks are crucial, making a quality tape measure, level, and straightedge indispensable tools for the job.
• A hand tamper or jumping jack, along with proper tamping techniques, helps apply the right pressure in the right spots for effective compaction and a solid foundation.
Essential Tamping Tool Options
When laying concrete blocks, you'll rely on tamping tools to guarantee a solid, even foundation, and having the right ones is essential to achieving professional-looking results. You don't want your hard work to crumble (literally!) due to subpar tools. That's why investing in high-quality tampers is imperative.
Hand tampers, plate compactors, and jumping jacks are your top options. Hand tampers are perfect for small areas and provide precise control. Plate compactors, on the other hand, are ideal for larger areas and offer more force. Jumping jacks are the heavy-hitters, providing maximum force for large, industrial projects.
Mastering tamping techniques is critical to getting the job done right. It's not just about whacking the block into place; it's about applying the right amount of pressure in the right spots.
Regular tool maintenance is also key to extending the life of your tampers and ensuring they continue to perform at their best. Clean and lubricate them regularly, and store them in a dry place when not in use.
Leveling and Aligning Made Easy
With a solid foundation in place, you'll need to confirm your concrete blocks are properly leveled and aligned to achieve a structurally sound and visually appealing structure. Think of it like building a house of cards - if the foundation is off, the whole thing comes crashing down!
To avoid this, you'll want to invest in a reliable leveling system. There are several options available, but we recommend pondering a laser level or a spirit level with a long range. These tools will help you guarantee your blocks are perfectly horizontal and vertical, saving you from costly mistakes down the line.
When it comes to block alignment techniques, there's no one-size-fits-all approach. You'll need to take into account factors like the type of blocks you're using, the size of your project, and your personal preference.
That being said, a few tried-and-true methods include using a string line, a block alignment jig, or even a specialized block clamp. By combining the right leveling system with a solid block alignment technique, you'll be well on your way to building a structure that's both sturdy and stunning.
Perfectly Plumb Block Laying
Now that you've confirmed your blocks are properly leveled and aligned, it's time to focus on laying them perfectly plumb to maintain the structural integrity of your project.
You've got the foundation right, but a wonky wall can bring the whole thing crashing down – literally! To avoid this, you'll need to master the art of vertical alignment strategies.
Start by checking your string lines and making sure they're taut and level. Then, use a spirit level to confirm each block is plumb as you lay it. Don't rely on eyeballing it – precision is key here.
For added assurance, use block alignment techniques like the 'bump and check' method, where you gently bump each block into place and then double-check its alignment.
Remember, it's better to take your time and get it right than to rush through and risk a costly rebuild.
With these strategies in your toolbox, you'll be well on your way to building a wall that's as straight as a laser beam.
Smoothing and Finishing Tools
You'll need a range of specialized tools to smooth and finish your concrete block wall, ensuring a professional-looking result that's both durable and attractive. Think of it as the icing on the cake - or in this case, the smooth finish on your block wall.
To achieve a flawless finish, you'll need the right tools for the job. Here are three essentials to get you started:
-
Finishing Trowel: Mastering trowel techniques is key to a smooth finish. Invest in a high-quality finishing trowel with a curved blade to help you achieve a professional-looking result.
-
Surface Texture Rake: For a more textured finish, a surface texture rake is a must-have. This tool allows you to create unique patterns and designs on your block wall.
-
Float: A float is used to smooth out the surface of the concrete, removing any excess material and leaving a smooth, even finish.
With these tools in your arsenal, you'll be well on your way to creating a beautiful, professional-looking concrete block wall that's sure to impress.
Measuring and Marking Essentials
Before laying the first block, verify your layout is accurate by gathering the necessary measuring and marking tools to confirm a straight and level wall. You don't want to end up with a wonky wall that'll make you wonder if you should've stuck to Legos. To secure precision, invest in a good quality tape measure, a level, and a straightedge. These measuring techniques will help you achieve accurate measurements and maintain a consistent layout.
When it comes to marking tools, a pencil and a marker are must-haves. A pencil allows for temporary markings, while a marker provides more permanent lines. Don't forget a chalk reel and line for snapping straight lines and creating a grid pattern. A story pole is also handy for marking coursing lines and checking the block layout.
With these measuring and marking essentials in your arsenal, you'll be well on your way to building a wall that's straight, level, and professional-looking. Remember, measuring twice and marking carefully will save you from a world of trouble down the line.
Frequently Asked Questions
What Safety Gear Is Required When Laying Concrete Blocks?
When you're about to lay concrete blocks, don't even think about starting without the right safety gear!
You'll need safety goggles to protect those peepers from flying debris and dust. Work gloves are a must too, to prevent cuts and abrasions from rough blocks and tools.
Trust us, you won't be laughing when you're dealing with a face full of cement or a mangled hand. So, gear up and get ready to build safely!
Can I Use a Hammer to Tap Blocks Into Place?
When you're laying concrete blocks, you might think a hammer is the go-to tool for tapping them into place.
But, let's get precise here! You'll want to use specific hammer techniques to avoid damaging the blocks or disturbing the block alignment.
Instead of whacking away, try using a gentle, controlled tapping motion to coax the blocks into position.
Trust us, your blocks (and your walls) will thank you!
How Do I Prevent Blocks From Getting Damaged During Transport?
As you're about to load those concrete blocks onto your truck, you're probably thinking, 'I don't want these bad boys getting damaged on the way to the site!' You're right to worry - transport can be brutal.
To prevent damage, you'll want to prioritize block cushioning. Consider using pallets with foam inserts or even old tires to create a shock-absorbing barrier.
When it comes to transport methods, opt for a covered trailer or truck bed to shield your blocks from the elements. Trust us, your blocks (and your clients) will thank you!
What's the Ideal Temperature for Laying Concrete Blocks?
When you're ready to lay those concrete blocks, you're probably wondering what the ideal temperature is.
Well, you're in luck! The sweet spot is between 50°F and 70°F (10°C to 21°C). This range allows for proper block curing, ensuring they set strong and durable.
Anything too hot or cold, and you'll risk weakening the bond.
Can I Lay Concrete Blocks in the Rain or Snow?
You're wondering if you can lay concrete blocks in the rain or snow?
Well, did you know that concrete has been used in construction for over 8,000 years?
Anyway, back to your question. When it comes to laying concrete blocks, you'll want to avoid doing so in rain or snow.
Why? Because concrete curing requires specific weather conditions, and rain or snow can disrupt the process, leading to weakened structures.
Conclusion
You've made it to the final layer! With these high-quality tools, you'll be building like a medieval mason in no time.
Your concrete block masterpiece will be the envy of the modern world. Remember, a strong foundation is key, so don't skimp on the essentials.
Invest in the best tamping, leveling, and smoothing tools to guarantee your project stands the test of time.
Now, get out there and build something that'll make the ancient Egyptians proud!
Related Posts
-

What Tools Do You Need for Concrete Success
For concrete success, you'll need a range of essential power tools, including rotary hammers, angle grinders, concret...
-

5 Tools Needed for Quick Fix Concrete Mixing
You'll need five essential tools to tackle a quick fix concrete mixing project efficiently. First, you'll require a s...
-

Must-Have Handheld Tools for Concrete Repair
When tackling a concrete repair project, it is crucial to have the right handheld tools to achieve a professional fin...


