5 Best Concrete Tools for DIY Projects
Share
When tackling a DIY concrete project, you'll need the right tools to achieve a professional-looking finish. Start with a sturdy mixing bucket and essential hand tools like trowels, floats, and edgers for smoothing and shaping. For heavy mixing tasks, invest in a robust electric mixer, and don't forget finishing tools like jointers and specialized trowels for a flawless surface. Accurate measuring and pouring techniques are also vital, so consider a digital scale and a screed board or tamping tool. With these must-haves in your toolkit, you'll be well on your way to a successful project, and exploring the specifics of each tool will help you refine your skills even further.
Key Takeaways
• Invest in a sturdy mixing bucket with a handle and lid or liner for easy transport and mess prevention.
• Use a high-quality trowel for spreading and smoothing concrete, and consider floats and edgers for a professional finish.
• For heavy mixing, an electric mixer is essential, with a robust motor and sturdy construction, and don't forget safety gear.
• A digital scale or measuring bucket is crucial for accurate measuring of cement, sand, and water, ensuring a perfect mix.
• For finishing, utilize jointers to create uniform joints and seams, and always wear protective gear, including gloves and safety glasses.
Mixing Bucket Essentials
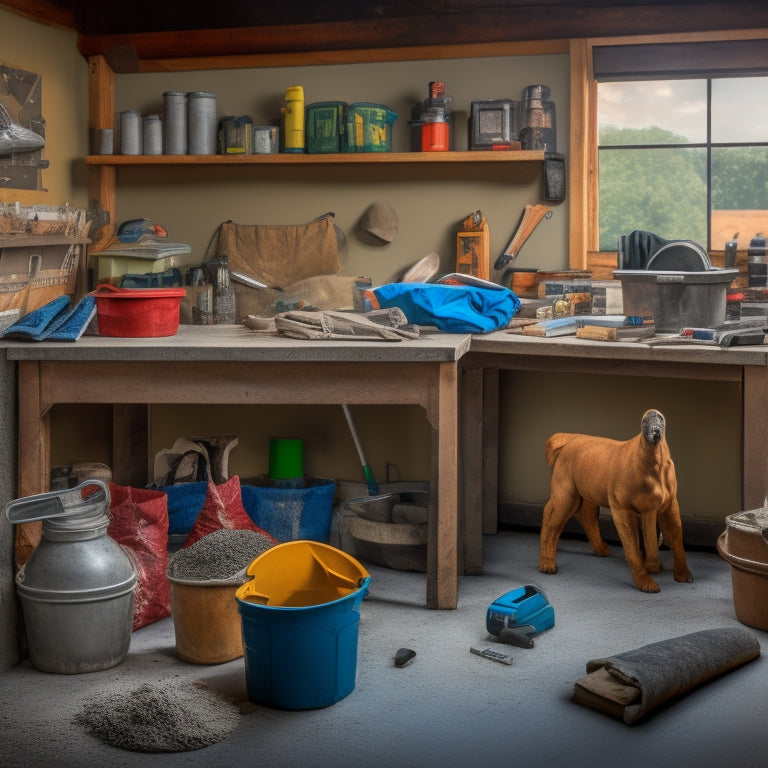
Assemble a reliable mixing bucket by stocking it with a sturdy handle, a mixing stick or trowel, and a dust mask to guarantee a safe and efficient concrete-mixing experience.
You'll want to choose from various mixing bucket types, such as heavy-duty plastic or metal buckets, depending on the size and scope of your project. Consider the capacity you need, as well as the durability and portability of the bucket.
Next, equip your bucket with essential mixing bucket accessories. A mixing stick or trowel is a must-have for combining and scraping the sides of the bucket.
Don't forget a dust mask to protect yourself from inhaling concrete dust and particles. You may also want to add a bucket lid or liner to prevent messes and make cleanup easier.
By assembling a well-stocked mixing bucket, you'll be able to mix concrete with confidence and precision, ensuring a successful DIY project.
Hand Tools for Smoothing
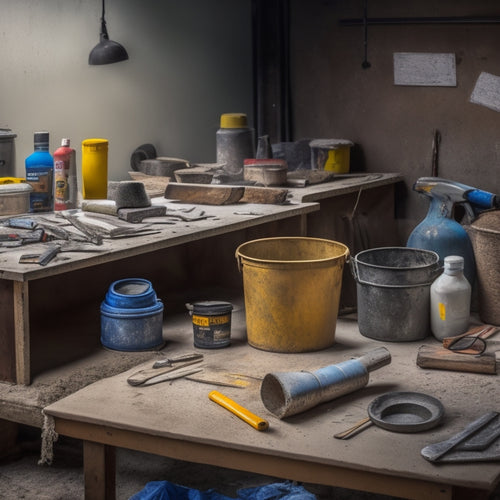
You'll need a range of hand tools to achieve a smooth, even finish, including trowels, floats, and edgers that are specifically designed to manipulate and refine freshly poured concrete. These tools will help you achieve the desired texture and appearance for your DIY project.
Here are some essential hand tools for smoothing concrete:
-
Trowels: Use trowel techniques to spread and smooth out the concrete, removing any excess material and air pockets. Choose from a variety of trowel sizes and shapes to suit your project needs.
-
Floats: Floats are used to further refine the surface, removing any imperfections and creating a smooth, even finish. They come in various sizes and materials, including magnesium and resin.
-
Edgers: Edgers are used to create clean, defined edges and to remove excess concrete from corners and crevices. They're also useful for creating decorative patterns and designs.
- Smoothing compounds: Apply smoothing compounds to fill in any small imperfections or scratches, leaving your concrete surface smooth and even.
Remember to always follow safety guidelines when working with concrete, including wearing protective gear and working in a well-ventilated area.
Power Tools for Heavy Mixing
When working with large quantities of concrete, rely on power tools to efficiently mix and blend the ingredients, guaranteeing a consistent and strong final product. Electric mixers are a must-have for heavy mixing, as they can handle thick, heavy concrete with ease. Look for a mixer with a robust motor and sturdy construction to withstand the demands of heavy mixing.
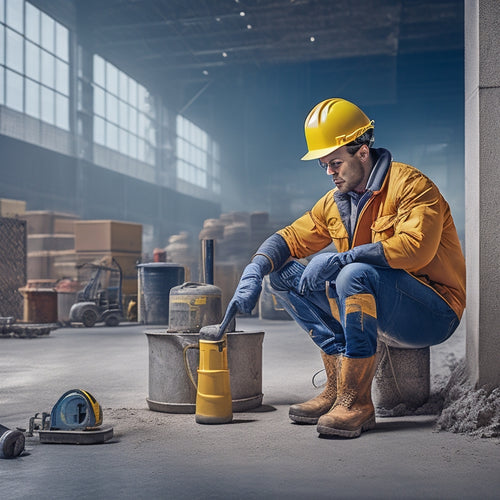
Before you start mixing, make certain you have the necessary safety equipment. Wear protective gear such as gloves, safety glasses, and a dust mask to prevent injury from flying debris or inhaling dust.
Confirm the mixer is placed on a level surface, away from any obstacles, and keep children and pets at a safe distance. Always follow the manufacturer's instructions for the mixer and take regular breaks to avoid fatigue.
With the right power tools and safety precautions, you'll be able to mix and blend concrete efficiently, achieving a professional-grade finish for your DIY project.
Finishing Tools for Perfection
To achieve a smooth, even finish, reach for specialized finishing tools that help you refine your concrete creation, from trowels and floats to edgers and jointers.
Your Finishing Toolbox Should Include:
-
Trowels: Master various trowel techniques to achieve the desired surface texture. Use a steel trowel for a smooth finish or a fresno trowel for a more textured look.
-
Floats: These tools help to level and smooth out the concrete, removing any air pockets or imperfections.
-
Edgers: Use edgers to create clean, defined edges and to remove excess concrete from around obstructions.
- Jointers: These tools help to create neat, uniform joints and seams, adding a professional touch to your finished project.
When working with finishing tools, remember to always wear protective gear, including gloves, safety glasses, and a dust mask.
Practice your trowel techniques on a small test area before moving on to the main project to guarantee the desired surface texture.
Measuring and Pouring Accurately
With a smooth, even finish achieved, it's time to focus on the foundation of your DIY concrete project: accurately measuring and pouring the concrete mix.
You'll need to master measuring techniques to guarantee the right ratio of cement, sand, and water. Use a digital scale or a measuring bucket to accurately measure the dry ingredients.
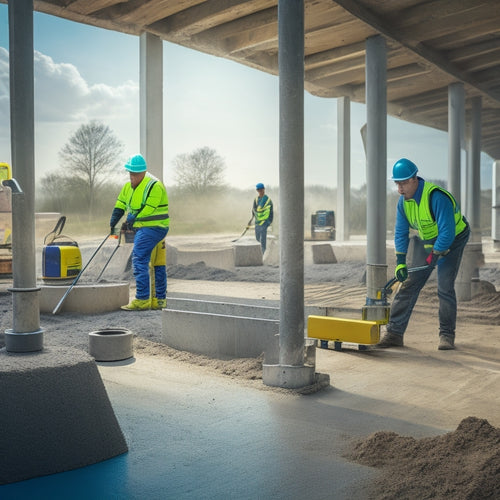
When it comes to pouring methods, you'll want to use a technique that minimizes air pockets and guarantees an even flow. Start by pouring the mix into the center of the form, then use a screed board or tamping tool to spread it evenly.
Work in sections, pouring and spreading the mix in a consistent pattern. Use a level to guarantee the surface is even and a trowel to remove any excess mix.
By following these measuring and pouring methods, you'll be able to achieve a strong, durable, and professional-looking concrete finish.
Remember to always follow safety guidelines, such as wearing gloves and protective eyewear, to avoid injuries and guarantee a successful project.
Frequently Asked Questions
Can I Use Concrete Tools for Other Masonry Projects Like Bricklaying?
When tackling masonry projects beyond concrete, you'll find that many tools are versatile enough for bricklaying techniques. In fact, you'll often use similar masonry tools for both concrete and bricklaying.
However, keep in mind that bricklaying requires more precision and finesse, so be prepared to adapt your techniques and tool selection accordingly.
Always prioritize safety, and don't hesitate to invest in specialized tools if needed to guarantee a successful and injury-free project.
How Do I Properly Clean and Maintain My Concrete Tools?
As you meticulously manage your mighty metal machinery, remember to meticulously maintain them too.
After each use, gently scrub your tools with mild cleaning solutions to remove residue and rust.
Store them in a dry, secure space, away from harsh elements.
Organize your tool storage with precision, guaranteeing easy access and visibility.
Are There Any Safety Precautions I Should Take When Working With Concrete?
When working with concrete, you must prioritize concrete safety.
Always wear personal protective equipment (PPE) like gloves, safety glasses, and a dust mask to prevent skin and eye irritation, as well as respiratory issues.
Ascertain your workspace is well-ventilated, and avoid skin contact with wet concrete.
Wear long sleeves, pants, and closed-toe shoes to minimize exposure.
Can I Rent Concrete Tools Instead of Buying Them?
You're wondering if renting concrete tools is a better option than buying them. That's a smart question!
When you rent, you'll save on upfront costs and storage space. Compare the rental fees to the tool's purchase price and consider how often you'll use it.
Rental benefits include access to specialized tools without the long-term commitment. Plus, you'll avoid maintenance and repair costs.
It's a cost-effective solution that's worth exploring.
How Long Does a Typical DIY Concrete Project Take to Complete?
When you're planning a DIY concrete project, you're probably wondering how long it'll take to complete.
Project timelines vary, but you can expect several days to a few weeks, depending on the scope and complexity.
Don't forget to factor in curing times, which can range from 24 hours to 28 days, depending on the type of concrete and environmental conditions.
Conclusion
As you stand back to admire your DIY concrete project, the fruits of your labor starkly contrast with the messy, chaotic mixing process that came before.
The smooth, polished finish and precise edges are a far cry from the dusty, rugged environment of concrete mixing.
With the right tools, you've tamed the beast, transforming raw concrete into a work of art.
Your DIY project is a demonstration of the power of precision and control, a symphony of form and function.
Related Posts
-

10 Best Tools for Sealed Concrete Flooring on Budget
When starting on a sealed concrete flooring project on a budget, you'll need to prioritize essential tools without sa...
-

3 Best Tools to Buy for Concrete Repair Online
When buying tools for concrete repair online, you'll want to research multiple retailer options to find the best prod...
-

What Tools Ensure Precise Concrete Leveling Results
You need a range of specialized tools to achieve precise concrete leveling results. Laser leveling instruments provid...


