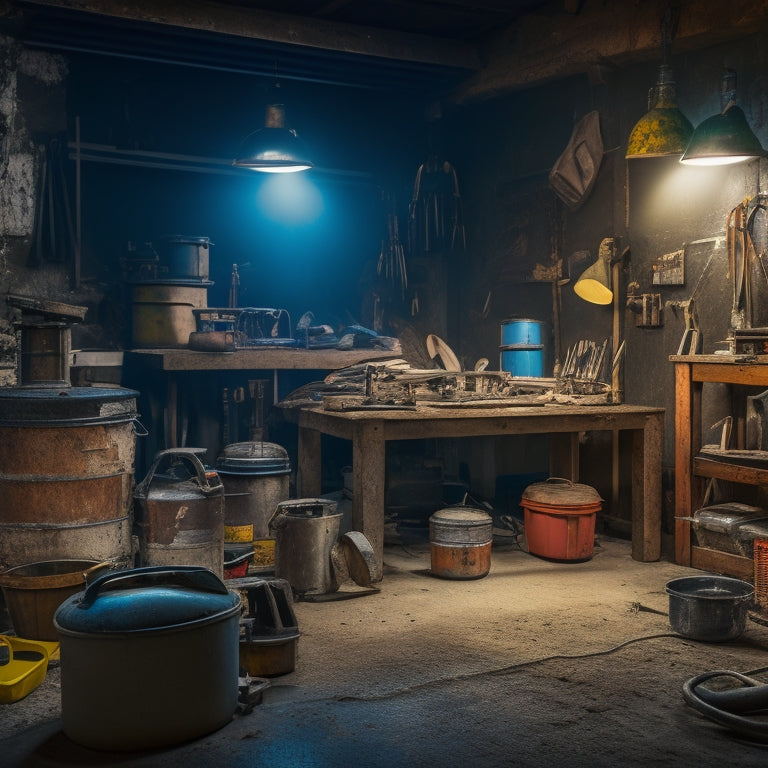
3 Tools for Successful Concrete Floor Repair
You'll need three essential tools to successfully repair your concrete floor, starting with the right crack filler and sealant to lay the groundwork for a durable and long-lasting finish. A putty knife or trowel is necessary for applying these materials, ensuring a strong bond between the concrete and filler. Next, you'll need a floor scraper to remove old coatings, dirt, and debris, followed by an angle grinder to smooth out rough patches and edges. With these tools in hand, you'll be well on your way to achieving a professional-looking finish that's built to last - and a solid understanding of the process will get you there.
Key Takeaways
• A high-quality crack filler is essential for deep cracks, providing a solid foundation for repairs.
• A putty knife or trowel is necessary for applying filler and sealant smoothly and evenly.
• A floor scraper is used to remove old coatings, dirt, and debris for a clean surface.
• An angle grinder smooths out rough patches and edges for a uniform surface.
• A sanding block fine-tunes the surface, removing minor imperfections for a professional finish.
Essential Tools for Crack Repair
Your arsenal for concrete crack repair should include a few specialized tools that will help you achieve a durable and long-lasting fix.
A high-quality crack filler is essential for filling in deep cracks and providing a solid foundation for further repair. This type of filler is designed to expand and contract with the concrete, ensuring a strong bond that won't crack or deteriorate over time.
In addition to a crack filler, you'll also need a surface sealant to protect the repaired area from further damage. This sealant creates a waterproof barrier that prevents water and other substances from seeping into the concrete and causing new cracks to form.
Other essential tools include a putty knife or trowel for applying the filler and sealant, and a wire brush or scrubber for cleaning the area before repair.
With these specialized tools, you'll be well-equipped to tackle even the most challenging concrete crack repairs and achieve professional-grade results.
Preparing the Floor for Coating
Once you've successfully repaired cracks and applied a surface sealant, you're ready to prepare the floor for a coat of finish. This process requires a clean, smooth, and even surface to guarantee a strong bond between the concrete and the coating.
To achieve this, you'll need to employ effective surface cleaning techniques. Start by sweeping or blowing away any loose debris, followed by a thorough scrubbing with a degreaser to remove dirt, oil, or other contaminants. Use a pressure washer if necessary, but be cautious not to damage the surface.
Next, assess the floor's moisture levels using moisture assessment tools, such as a moisture meter or calcium chloride test kit. This will help you determine if the floor is ready for coating or if further drying is needed.
A thorough surface preparation is essential, as any imperfections or contamination can compromise the coating's adhesion and longevity. By following these steps, you'll guarantee a strong, long-lasting bond between the concrete and the coating.
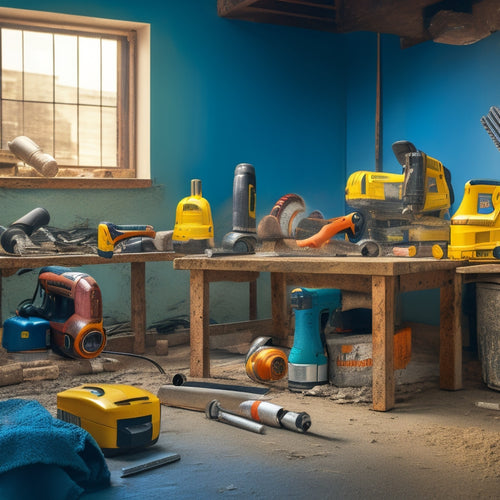
Smoothening and Finishing Touches
With the floor clean and dry, you'll need to employ a range of smoothening tools and techniques to create a perfectly even surface, ensuring the coating adheres flawlessly and achieving a professional finish. This stage is essential, as any imperfections will be magnified by the coating.
To achieve a smooth surface, you'll need to use various tools, including:
| Tool | Purpose |
|---|---|
| Floor scraper | Remove old coatings, dirt, and debris |
| Angle grinder | Smooth out rough patches and edges |
| Sanding block | Fine-tune the surface, removing minor imperfections |
| Trowel | Apply and spread finishing products evenly |
When selecting finishing products, consider the type of coating you're applying and the desired finish. Choose products that complement your coating and provide the desired level of gloss or matte finish. By mastering these smoothing techniques and selecting the right finishing products, you'll achieve a professional, long-lasting finish that enhances the overall appearance of your concrete floor.
Frequently Asked Questions
How Long Does Concrete Floor Repair Typically Take to Complete?
When you're planning a concrete floor repair, you're likely wondering how long it'll take to complete. The repair duration depends on several project factors, including the size of the area, extent of damage, and type of repair required.
You'll need to factor in time for preparation, application, and curing of the repair material. On average, a small repair can take a few hours, while larger projects may take several days or even weeks.
You'll need to plan accordingly to guarantee a successful outcome.
Can I Repair Concrete Floors in Extreme Weather Conditions?
When you're planning to repair concrete floors, you need to take into account the weather conditions.
Extreme temperatures, humidity, and weather events can affect the repair materials' performance and longevity. You should avoid repairing concrete floors in direct sunlight, high winds, or during extreme cold or hot temperatures.
Verify the repair materials are suitable for your local climate and follow the manufacturer's instructions for weather considerations.
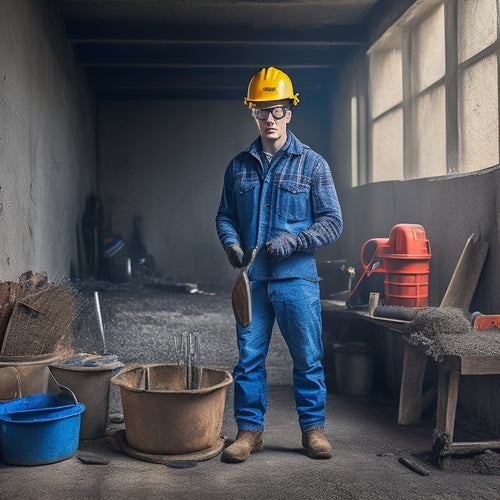
Are There Any Specific Safety Precautions I Should Take?
As you step into the repair zone, remember that safety is the anchor that holds your entire operation together. You can't afford to be complacent, especially when working with concrete.
Make certain you're equipped with the right safety gear, from respirators to gloves, to shield yourself from hazardous materials.
Stay vigilant with hazard awareness, identifying potential risks like uneven surfaces or falling debris.
Can I Repair Concrete Floors Myself or Do I Need a Professional?
When deciding whether to tackle a concrete floor repair yourself or call in a pro, consider your level of expertise and the scope of the project.
If you're comfortable with DIY techniques and the damage is minor, you might be able to handle it.
However, if the repair requires extensive work or specialized knowledge, it's best to opt for professional services to guarantee a durable, long-lasting fix.
How Often Should I Inspect and Maintain My Concrete Floor?
You should inspect your concrete floor regularly to catch potential issues before they escalate. Aim for quarterly inspections, paying attention to cracks, stains, and unevenness.
For maintenance, sweep or blow debris daily, and mop with a gentle cleaner weekly.
Apply a concrete sealer every 2-3 years to protect the surface.
Conclusion
You stand back to admire the transformed floor, a stark contrast to the cracked and worn surface that once was.
The once-rough edges are now smooth, and the cracks are a distant memory.
With the right tools, the impossible becomes possible.
A sturdy scraper for prep, a reliable injection gun for filling, and a trusty grinder for finishing - these three tools have helped you achieve a concrete floor repair that's nothing short of remarkable.
Related Posts
-
What Tools Do I Need for Concrete Wall Repair
As you prepare for a concrete wall repair job, you'll need a variety of tools to guarantee a successful outcome. Star...
-

10 Best Tools for Sealed Concrete Flooring on Budget
When starting on a sealed concrete flooring project on a budget, you'll need to prioritize essential tools without sa...
-
Essential Power Tools for Concrete Block Construction
When building with concrete blocks, you'll need a range of power tools to cut, drill, mix, and finish the blocks to g...


