3 Must-Have Tools for DIY Concrete Construction
Share
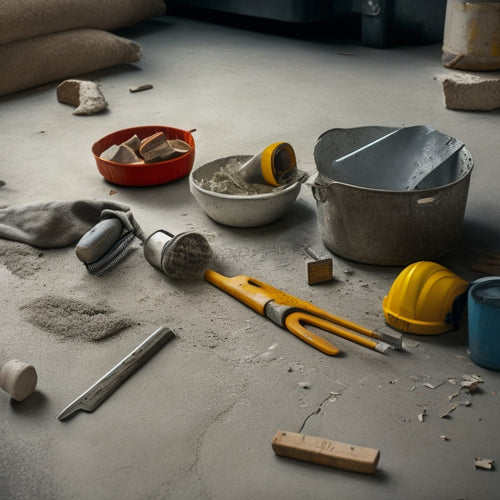
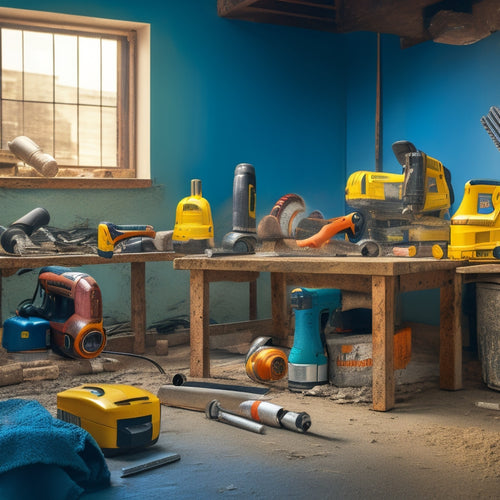
You'll need a trio of essential tools to successfully tackle your DIY concrete construction project: a reliable concrete mixer, a precise leveling tool, and a high-quality trowel. A mixer guarantees efficient mixing of cement, aggregate, and water, while a leveling tool, such as a laser level or digital level, provides accurate block alignment and deviation checks. A high-quality trowel, like a notched or pointing trowel, is vital for laying and finishing blocks. With these three must-haves, you'll be well-prepared to take on your project - and understanding how to use them effectively is just the starting point for achieving professional-looking results.
Key Takeaways
• A high-quality trowel is essential for laying and finishing concrete blocks accurately and efficiently.
• A reliable concrete mixer is necessary for efficiently mixing cement, aggregate, and water to the right consistency.
• A level, such as a laser level or digital level, is crucial for ensuring accurate block alignment and preventing deviations.
• A block cutter is necessary for accurately cutting blocks for corners, doors, and windows, and for making precise adjustments.
• A jointer or edger is required for creating smooth joints and finishing edges and corners to prevent cracking.
Essential Hand Tools for Block Work
You'll need a set of essential hand tools to efficiently lay and finish blocks in your concrete construction project. A high-quality trowel is a must-have, and you'll want to take into account different trowel types depending on the specific tasks at hand. A pointing trowel, for instance, is ideal for filling joints and applying finishing compound, while a notched trowel is better suited for applying adhesive or bonding agents.
In addition to trowels, block cutters are another vital tool for block work. These handy devices allow you to accurately cut blocks to fit snugly around corners, doors, and windows.
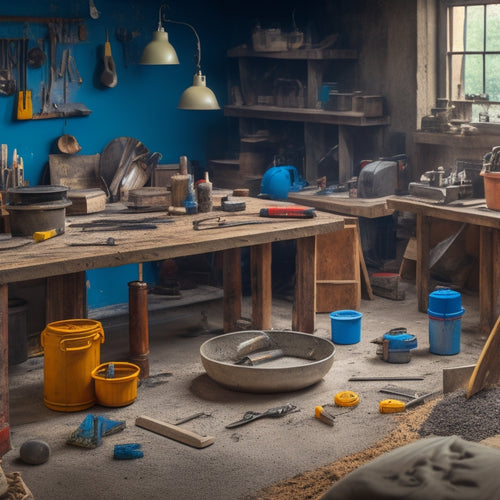
You'll also need a level, hammer, and chisel to tap blocks into place and make any necessary adjustments. Don't forget a bucket or mixing tub to mix and transport mortar, as well as a jointer or edger to finish and smooth out joints.
With these essential hand tools at your disposal, you'll be well-equipped to tackle your concrete construction project with confidence and precision.
Leveling and Aligning the Blocks
With your hand tools ready, start by establishing a level and plumb reference point to confirm accurate alignment of the blocks. This is essential for guaranteeing the structural integrity and aesthetic appeal of your DIY concrete construction project.
To achieve precise block alignment, consider the following leveling equipment options:
-
Laser levels: These project a level line or plane, allowing you to accurately align blocks and check for deviations.
-
Optical levels: These traditional leveling tools use a telescope and spirit level to establish a precise reference point.
-
Digital levels: These electronic devices provide precise angle and inclination readings, making it easy to confirm block alignment.
When selecting a leveling tool, consider the size and complexity of your project, as well as your personal comfort level with technology.
By investing in the right equipment, you'll be able to implement effective block alignment techniques and achieve professional-grade results.
Mixing and Finishing the Concrete
A crucial step in achieving a professional-grade finish is to mix and finish the concrete correctly, as this determines the final appearance and durability of your DIY concrete construction project.
You'll need a reliable concrete mixer to combine the cement, aggregate, and water efficiently. Ascertain the mixer is clean and well-maintained to prevent contamination and achieve a consistent mix.
Once the concrete is mixed, it's important to finish it promptly to prevent it from setting too quickly. Use a finishing trowel to smooth out the surface, removing any excess material and air pockets. Hold the trowel at a 45-degree angle, applying gentle to moderate pressure, depending on the desired finish.
As you work, constantly check the concrete's consistency and make adjustments as needed. Remember to finish the edges and corners carefully, as these areas are prone to cracking.
Frequently Asked Questions
Can I Use a Regular Drill for Mixing Concrete?
Can you use a regular drill for mixing concrete?
Not recommended. A standard drill lacks the torque and power to effectively mix thick concrete. You'll end up with a poor mix, wasting time and materials.
Instead, opt for a heavy-duty drill or a mixing drill specifically designed for concrete, featuring high-torque motors and robust gears.
These drills, combined with proper mixing techniques, guarantee a consistent, strong mix.
How Do I Prevent Concrete From Sticking to My Tools?
You're trying to avoid a sticky situation - literally!
Preventing concrete from sticking to your tools is like keeping a secret: it requires careful planning and execution.
Apply a concrete release agent to your tools before mixing, and you'll be golden.
Regular tool maintenance is also key; clean and oil your tools after each use to prevent concrete residue from building up.
With these tips, you'll be mixing and molding like a pro!
What Safety Gear Do I Need for DIY Concrete Projects?
When working with concrete, you'll need proper safety gear to protect yourself from hazardous materials.
You're going to need safety goggles to shield your eyes from flying debris and chemical splashes.
A dust mask is also essential to prevent inhaling concrete dust, which can cause respiratory issues.
Don't forget gloves, a long-sleeved shirt, and pants to cover your skin from abrasive concrete and potential chemical reactions.
Can I Pour Concrete in Extreme Weather Conditions?
When you're planning to pour concrete, you need to take into account the weather. Extreme temperatures can greatly impact your project's success.
If it's too hot, the concrete temperature can rise too quickly, causing cracks and weakening the structure. On the other hand, cold temperatures can slow down the curing process.
Take weather precautions seriously, and always check the forecast before pouring. Ideally, you want a temperature range between 50°F and 70°F for best results.
How Long Does It Take for Concrete to Fully Cure?
You're wondering how long it takes for concrete to fully cure. The curing process is essential, and the time it takes depends on various factors, including the type of cement, temperature, and humidity.
On average, concrete reaches its full strength in 28 days, but it can take up to 56 days for the curing process to complete.
You'll need to guarantee proper curing conditions, like maintaining a consistent temperature between 50°F and 80°F, to achieve ideal strength.
Conclusion
You've made it to the final stage of your DIY concrete construction project. With the right tools, you've successfully laid blocks and mixed concrete.
According to the American Concrete Institute, the global concrete industry is projected to reach $443 billion by 2025.
Now, put your skills to the test and tackle that backyard patio or garden wall. Remember, precision and patience are key to achieving a durable and aesthetically pleasing finish.
Related Posts
-

Top 10 Concrete Repair Tools for Small Fixes
You'll need the right tools to tackle small concrete repairs efficiently and effectively. When it comes to small fixe...
-

Budget-Friendly Tools for DIY Decorative Concrete Profiling
You can achieve professional-grade decorative concrete results on a budget by investing in the right combination of e...
-

Essential Power Tools for Concrete Block Construction
When building with concrete blocks, you'll need a range of power tools to cut, drill, mix, and finish the blocks to g...


