10 Must-Have Tools for Planting With Concrete Blocks
Share
When tackling a concrete block project, you'll need the right tools to achieve professional-looking results. Start with essential handling tools like sturdy trowels, measuring and marking tools, and safety gear, including gloves, eyewear, and a dust mask. Don't forget block cleaning and preparation tools, such as a wire brush and pressure washer, as well as mortar mixing and application tools. Additionally, you'll need leveling and aligning tools, foundation management tools, and soil preparation and planting tools. Finally, consider irrigation systems and aesthetic enhancements like decorative paint and edging. As you assemble your toolkit, you'll be ready to build a solid foundation for your project's success - and discover the intricacies that take it to the next level.
Key Takeaways
• Essential tools for concrete block handling include trowels, measuring and marking tools, and safety equipment to ensure efficiency and safety.
• Safety gear like gloves, eyewear, dust masks, and steel-toed boots are crucial when working with heavy materials and tools.
• Block preparation and maintenance involve cleaning, removing dirt and debris, and allowing blocks to dry before applying mortar for a strong bond.
• Achieving correct mortar consistency and application techniques, such as mixing and applying at a 45-degree angle, affect the structural integrity of the project.
• Leveling and aligning tools like spirit levels, string lines, and tamping tools are necessary to ensure accurate block placement and a stable foundation.
Selecting the Right Trowel
When building with concrete blocks, you'll need a trowel that can handle the heavy mixture and rough texture, so choose one with a sturdy handle and a notched blade designed specifically for scooping and spreading concrete.
There are various trowel types to take into account, including point trowels, square-notch trowels, and V-notch trowels, each suited for different applications and block sizes. A high-quality trowel will make a significant difference in the efficiency and quality of your work.
To guarantee your trowel remains in top condition, regular maintenance is essential. Clean your trowel frequently to prevent concrete residue from building up, and store it in a dry place to prevent rust.
You may also need to replace the blade periodically, depending on usage and wear. By selecting the right trowel type for your project and maintaining it properly, you'll achieve professional-looking results and maintain control over your concrete block construction.
Essential Safety Gear Essentials
Protecting yourself from the physical demands and potential hazards of concrete block construction requires donning essential safety gear, including gloves, safety glasses, and a dust mask.
You'll be working with heavy, rough materials and power tools, so it's vital to prioritize your safety.
Here are the must-haves for your safety kit:
-
Safety gloves: Protect your hands from cuts, abrasions, and impact with heavy-duty gloves that provide grip and dexterity.
-
Protective eyewear: Safeguard your eyes from flying debris and dust with shatter-resistant safety glasses or goggles.
-
Dust mask: Breathe easy with a dust mask that filters out airborne particles and prevents respiratory issues.
- Steel-toed boots: Guarantee your feet are protected from heavy blocks and tools with sturdy, steel-toed boots that provide ankle support and traction.
Measuring and Marking Tools
With your safety kit in place, you're ready to measure and mark your concrete blocks with precision, guaranteeing a sturdy and level foundation for your project. Accurate measurements are essential to achieving a professional-looking result. To get it right, you'll need the following measuring and marking tools:
| Tool | Purpose | Technique |
|---|---|---|
| Tape measure | Measure block length and width | Extend and lock the tape to guarantee accurate readings |
| Level | Confirm blocks are level and plumb | Place the level on the block and adjust until the bubble is centered |
| Square | Check block corners for squareness | Align the square with the block's edges to verify 90-degree angles |
| Marking chalk | Mark block locations and patterns | Use a straightedge to draw precise lines and patterns |
| Laser level | Project level lines and patterns | Align the laser with the block's surface to create a reference point |
Mastering these measuring techniques and marking methods will give you the confidence to tackle your concrete block project with precision and accuracy. By using the right tools and techniques, you'll achieve a sturdy and level foundation that will support your plants for years to come.
Block Cleaning and Preparation
Before laying your concrete blocks, give them a thorough cleaning to confirm a strong bond between the blocks and mortar, and to prevent dirt and debris from affecting the structural integrity of your project. This step is essential, especially when working with different block types, as varying surface treatments can affect the adhesion of the mortar.
To provide a clean slate, make sure to:
-
Remove any dirt, dust, or debris from the blocks using a wire brush or a pressure washer
-
Wipe down the blocks with a damp cloth to remove any remaining dirt or residue
-
Use a specialized cleaning solution to remove any stubborn stains or efflorescence
- Allow the blocks to dry completely before applying mortar to confirm a strong bond
Mortar Mixing and Application
Mixing the right mortar consistency is essential, as it directly affects the structural integrity and aesthetic appeal of your concrete block project. So, grab your mixing bucket and trowel to get started.
To achieve the perfect mix, you'll need to balance the ratio of cement, sand, and water. Start by adding the dry ingredients to the bucket, then gradually add water while mixing with a trowel or mixing stick. Use a mixing technique called 'folding' to guarantee all ingredients are well incorporated. Aim for a consistency similar to toothpaste - not too runny, not too thick.
Once you've got the right mix, it's time to apply it to your blocks. Hold your trowel at a 45-degree angle and scoop up a small amount of mortar. Apply it to the block, spreading it evenly with a smooth, consistent motion. Make sure to fill the gaps between blocks completely, but avoid overfilling.
Use a level to guarantee the blocks are straight and level as you apply the mortar. By mastering these mixing techniques and application methods, you'll be well on your way to a beautiful and durable concrete block project.
Leveling and Aligning Blocks
As you begin placing your concrete blocks, secure a level and plumb foundation by checking the block's position with a spirit level and a string line to guide your alignment. This guarantees that your walls are straight and your corners are square, which is essential for a sturdy structure.
To achieve perfect block alignment, employ these techniques:
-
Laser levels: Provide a precise reference point for leveling and aligning blocks, especially for larger projects.
-
String lines with blocks: Create a visual guide for block alignment, securing straight walls and accurate corner placement.
-
Tamping tools: Compact the soil or gravel base, securing a stable foundation for your concrete blocks.
- Torpedo levels: Quickly check the levelness of individual blocks or small sections of the wall.
Sand and Gravel Management
You'll need to manage your sand and gravel supply carefully to guarantee a stable base for your concrete blocks, as these materials play a significant role in maintaining wall stability and drainage.
When it comes to sand, you'll need to choose the right type for the job. Fine sand, for instance, is ideal for compacting and filling small gaps, while coarse sand is better suited for drainage and water flow. Make certain to store your sand in a dry, covered area to prevent moisture from affecting its quality.
Gravel, on the other hand, is essential for maintaining the right drainage ratio. Aim for a mix of 3 parts gravel to 1 part sand to secure optimal water flow and prevent waterlogging.
You'll also need to take into account the size of your gravel – smaller particles are better for compacting, while larger ones are more effective at allowing water to pass through.
Planting and Soil Handling
Set the stage for your concrete block structure by preparing the soil, carefully removing any debris, rocks, or weeds that could interfere with drainage and stability. This vital step guarantees a solid foundation for your plants to thrive.
As you prepare the soil, consider its composition and how it will affect your planting techniques. Will you need to add organic matter to improve drainage, or perhaps adjust the pH level for peak growth?
Here are some essential tools to have for planting and soil handling:
-
Trowel or small shovel for digging and mixing soil
-
Soil test kit to analyze pH levels and nutrient content
-
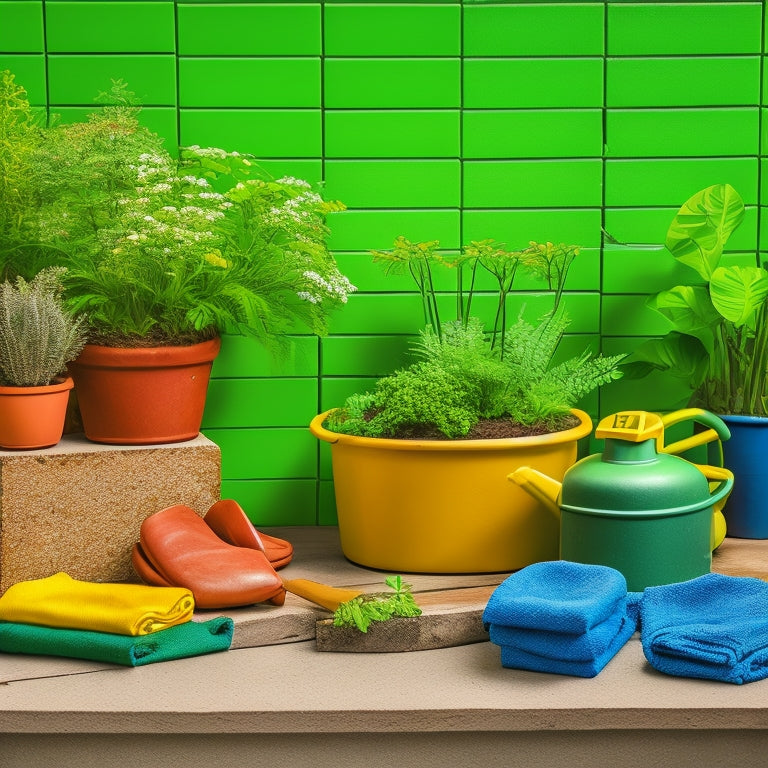
Gardening gloves for protection and grip when handling rough or thorny plants
- Soil amendments such as compost or fertilizer to enhance soil composition and promote healthy plant growth
Watering and Irrigation Systems
Concrete blocks require a thoughtful watering strategy to prevent waterlogged soil and guarantee healthy plant growth, so design an irrigation system that delivers the right amount of moisture directly to the roots.
You'll want to take into account a drip irrigation system, which releases water slowly and precisely, reducing evaporation and runoff. This targeted approach ensures your plants receive the exact amount of water they need, without wasting a single drop.
For a more efficient watering process, think about using soaker hoses that snake through your concrete block planters, providing a steady supply of water to the roots.
These hoses are designed to release water slowly, allowing the soil to absorb it effectively. You can also adjust the flow rate to suit your plants' specific needs.
Finishing and Decorative Touches
With your irrigation system in place, turn your attention to adding the finishing touches that will elevate your concrete block planters from functional to visually stunning. These details will transform your block landscaping into a beautiful outdoor oasis.
Here are some essential finishing touches to take into account:
-
Decorative Paint: Add a pop of color to your concrete blocks with a coat of decorative paint. Choose a weather-resistant paint specifically designed for outdoor use to guarantee durability.
-
Mortar Joints: Refine the look of your block planters by filling the mortar joints with a matching or contrasting color. This adds texture and visual interest to your design.
-
Edging and Trim: Add a decorative edge or trim around your planters to conceal any uneven edges or gaps. This creates a polished, finished look.
- Accent Decor: Complete your design with decorative accents like small sculptures, plant labels, or other ornaments that reflect your personal style.
Frequently Asked Questions
Can I Use Regular Cement Instead of Mortar for Concrete Blocks?
When building with concrete blocks, you're wondering if regular cement can substitute for mortar.
While it's tempting to use what's on hand, don't risk compromising block durability.
Mortar alternatives, like Type S or N, are specifically designed for block laying, offering superior bonding strength and flexibility.
Using regular cement can lead to weak joints and structural issues.
Invest in the right materials to guarantee a solid, long-lasting structure that meets your high standards.
How Do I Prevent Weeds From Growing Between the Blocks?
You'll want to prevent weeds from growing between the blocks to maintain a clean, controlled look.
To do this, you'll need to lay down a weed barrier, a porous fabric that blocks weeds while allowing water to pass through.
Alternatively, consider using a ground cover like mulch or gravel that'll choke out weeds.
Make certain to apply it thickly and evenly to guarantee complete coverage and a neat, weed-free appearance.
Can I Plant Trees or Large Plants in Concrete Blocks?
You're probably thinking, 'Won't the concrete blocks restrict the roots of larger plants?'
But, surprisingly, you can plant trees or large plants in them! Just make sure the blocks have adequate soil drainage holes to prevent waterlogged soil, which can hinder tree growth.
Visualize a thriving tree, its roots spreading freely within the block's soil cavity, receiving the right amount of moisture and nutrients.
With proper planning, you'll be enjoying shade and beauty from your concrete-block-planted trees in no time!
Do I Need to Seal the Concrete Blocks After Installation?
When you install concrete blocks, you're probably wondering if you need to seal them afterward. The answer is yes, sealing is essential to maintain block durability.
You'll want to choose a suitable sealant option that suits your climate and plant type. Apply a breathable, water-repellent sealant to protect the blocks from moisture and stains.
This will guarantee your blocks remain strong and visually appealing, giving your plants a solid foundation to thrive.
Can I Use Concrete Blocks for Building a Retaining Wall?
It's no coincidence that you're considering concrete blocks for your retaining wall design - their versatility and durability make them a popular choice!
You're making a smart move by opting for concrete blocks, which offer benefits like easy installation, low maintenance, and high load-bearing capacity.
As you plan your retaining wall, keep in mind that concrete blocks can be arranged in a variety of patterns to create a visually appealing structure that's both functional and aesthetically pleasing.
Conclusion
You've made it through the ultimate guide to planting with concrete blocks - congratulations!
You're now equipped to tackle the messiest, most backbreaking project of your life. Just kidding (sort of).
With these 10 must-have tools, you'll be well on your way to creating a stunning, structurally sound garden that'll be the envy of the neighborhood.
So, go ahead, get your hands dirty, and remember - it's all worth it for that Instagram-worthy reveal.
Related Posts
-

Why You Need Affordable Concrete Wall Construction Tools
You need affordable concrete wall construction tools to guarantee a profitable project, as the cost of equipment can ...
-

Why These Tools Are Crucial for Concrete Patio
You're about to commence on a concrete patio project, and having the right tools is vital to achieving professional-l...
-

Why These Concrete Tools Are Always in Demand
You rely on a set of trusted concrete tools to deliver high-quality results, and it's not surprising - these tools ar...


