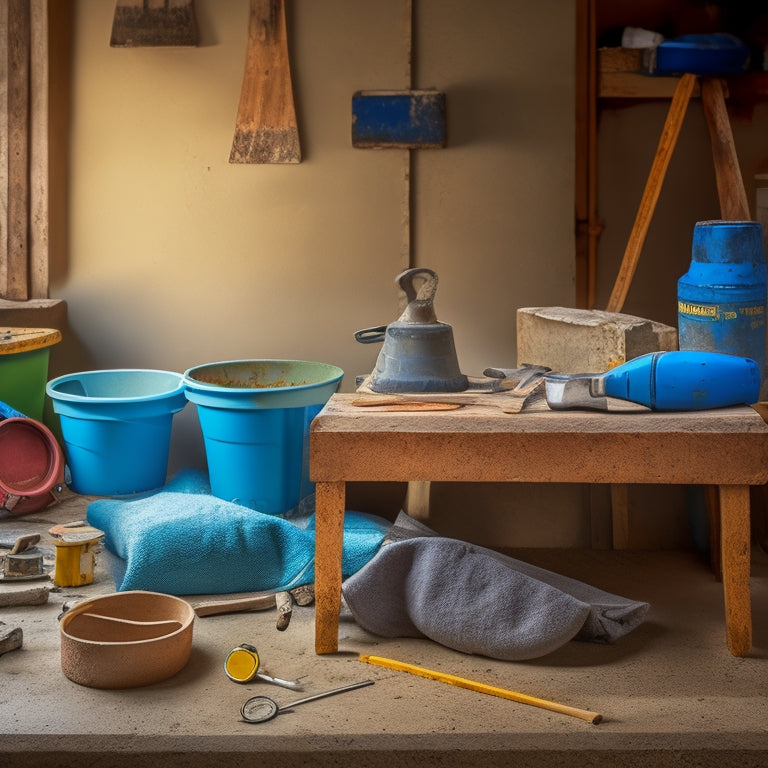
10 Must-Have Tools for DIY Concrete Projects
You'll need essential safety gear, including protective eyewear, heavy-duty gloves, and a dust mask, to protect yourself from concrete's caustic nature. Must-have measuring and marking tools, like a laser level and digital caliper, guarantee accurate pours and finishes. Leveling and alignment equipment, such as laser levels and precision straightedges, assure structural integrity. From mixing and pouring essentials like heavy-duty mixing sticks to tamping and compacting tools, you'll need the right gear for each stage. With the right tools, you'll be well on your way to a successful DIY concrete project - and there's more to explore to take your project to the next level.
Key Takeaways
• Essential safety gear, including protective eyewear, gloves, and a dust mask, is crucial for preventing injuries when working with concrete.
• Measuring and marking tools, like laser levels and digital calipers, ensure accurate pours and finishes in DIY concrete projects.
• Mixing and pouring tools, such as heavy-duty mixing sticks and mixing drill attachments, help achieve optimal mix quality and reduce spillage.
• Tamping and compacting tools, including compactor plates and hand tampers, are vital for removing air pockets and enhancing concrete strength and durability.
• Finishing and smoothing tools, such as edging tools and power trowels, help create clean, defined joints and a professional-looking finish in DIY concrete projects.
Essential Safety Gear for Concrete
Wearing crucial safety gear is imperative when working with concrete, as the heavy, abrasive, and caustic nature of the material demands protection for your skin, eyes, and respiratory system.
You'll need protective eyewear that can withstand the impact of flying debris and chemical splashes. Look for eyewear with polycarbonate lenses and a durable frame that can provide maximum protection.
Next, you'll need heavy-duty gloves that can resist abrasion and cuts. These gloves should be made of thick, puncture-resistant materials like cowhide or synthetic fabrics. They should also provide grip and dexterity to help you maintain control while handling tools and materials.
Additionally, consider wearing long-sleeved shirts, pants, and closed-toe shoes to prevent skin exposure. A dust mask or respirator is also necessary to prevent inhaling concrete dust and other airborne particles.
Must-Have Measuring and Marking Tools
You'll need a set of reliable measuring and marking tools to secure accurate pours, precise cuts, and professional-looking finishes. When working with concrete, measuring techniques and marking accuracy are vital to achieving the desired results. Without them, you risk costly mistakes and subpar outcomes.
Here are the must-have measuring and marking tools for your DIY concrete projects:
-
Laser level: Guarantees precise leveling and alignment, allowing you to achieve accurate pours and smooth finishes.
-
Digital caliper: Provides precise measurements, enabling you to cut concrete to exact specifications and avoid costly mistakes.
-
Chalk line and reel: Allows for quick and accurate marking of concrete surfaces, securing straight cuts and clean finishes.
With these tools, you'll be able to master measuring techniques and achieve marking accuracy, resulting in professional-looking finishes that will impress.
Whether you're a seasoned DIYer or just starting out, investing in these essential tools will pay off in the long run, saving you time, money, and frustration.
Leveling and Alignment Equipment
When working with concrete, you'll need to make certain your surfaces are level and accurately aligned.
To achieve this, you'll rely on specialized tools that provide precise measurements and visual cues.
You'll be using laser levels and precision alignment tools to guarantee a professional-grade finish.
Laser Levels Ensure
Accurate leveling and alignment are essential in concrete work, and laser levels secure precise vertical and horizontal plane references, enabling you to confidently execute complex layouts and assure professional-grade results. With a laser level, you'll experience numerous benefits that enhance your DIY concrete projects.
Some of the key advantages of using a laser level include:
Enhanced accuracy: Laser levels provide precise measurements, ensuring your concrete structures are perfectly level and plumb, which is critical for stability and safety.
Increased efficiency: By providing a clear visual reference, laser levels allow you to work faster and more accurately, reducing the risk of costly mistakes and rework.
Improved flexibility: Laser levels can be used for a wide range of applications, from simple layouts to complex designs, making them an invaluable tool for any DIY concrete project.
Precision Alignment Tools
By incorporating precision alignment tools, such as leveling and alignment equipment, into your DIY concrete toolkit, you can further elevate the accuracy and professionalism of your projects. These tools enable you to achieve precise alignment, guaranteeing that your concrete structures are level, plumb, and square. With precision alignment tools, you can master advanced alignment techniques, such as transferring reference lines and establishing accurate benchmarks.
| Tool | Function |
|---|---|
| Laser Level | Projects level lines and planes |
| Optical Level | Measures deviations from level or plumb |
| Precision Straightedge | Verifies straightness and flatness |
When selecting precision alignment tools, consider the specific requirements of your project. For instance, if you're working on a large, complex structure, a laser level may be the ideal choice. On the other hand, if you're working on a smaller project, an optical level or precision straightedge may suffice. By investing in high-quality precision alignment tools, you can guarantee that your DIY concrete projects meet the highest standards of accuracy and professionalism.
Mixing and Pouring Essentials
As you prepare to mix and pour concrete, you'll need the right tools to guarantee a successful pour.
You'll want to make certain you have a sturdy mixing bucket and the necessary concrete mixing tools to get the job done efficiently.
From there, you can focus on the finer details, such as pouring spout necessities, to achieve a professional-looking finish.
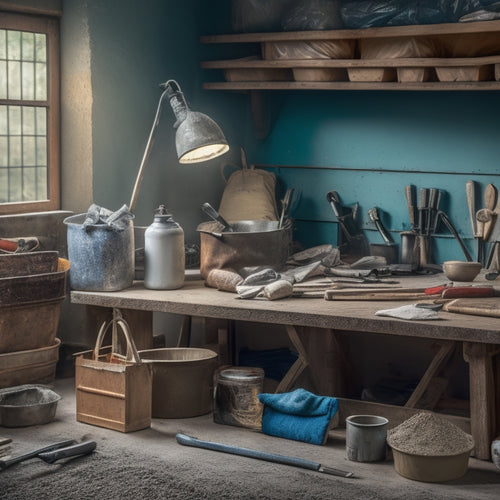
Concrete Mixing Tools
You'll need a set of reliable concrete mixing tools to guarantee a smooth, consistent mix that's ready for pouring. As a DIY concrete enthusiast, you know that perfecting your mixing techniques is vital for achieving a strong, durable finish. To take your mixing game to the next level, you'll need the right tools for the job.
Here are the essential concrete mixing tools you shouldn't be without:
-
A heavy-duty mixing stick or paddle, designed to withstand the rigors of mixing thick, heavy concrete
-
A mixing drill or paddle attachment, perfect for mixing large batches of concrete with ease
-
A concrete additive scoop or measuring cup, ensuring you get the perfect ratio of additives to cement
With these tools in your arsenal, you'll be able to tackle even the most complex concrete projects with confidence.
Mixing Bucket Essentials
With your mixing tools in hand, turn your attention to the mixing bucket, where the quality of your mix is only as good as the bucket that holds it.
You'll want a bucket that's sturdy, easy to clean, and resistant to rust and corrosion. Look for buckets made from heavy-duty materials like steel or high-density polyethylene.
When it comes to bucket types, you've got options. A square bucket with a flat bottom is ideal for mixing small batches, while a larger, round bucket is better suited for bigger projects.
Consider a bucket with a non-slip handle and a pouring lip to make your mixing techniques more efficient.
Whatever bucket you choose, make sure it's clean and dry before you start mixing. Any residue or moisture can affect the quality of your concrete, so take the time to prep your bucket properly.
With the right mixing bucket, you'll be able to achieve a smooth, consistent mix that's perfect for your DIY concrete project.
Pouring Spout Necessities
Pouring Spout Necessities
Your mixing bucket is only half the battle; a well-designed pouring spout guarantees a smooth, controlled flow of concrete into your mold or form. A good pouring spout is essential for successful DIY concrete projects, as it enables you to pour concrete with precision and accuracy.
When it comes to pouring spout designs, you'll want to take into account the following key features:
-
Chute-style spouts for precise pouring and reduced spillage
-
Flex spouts for added maneuverability and ease of use
-
Extension spouts for reaching those hard-to-access areas
These pouring spout designs will elevate your pouring techniques, allowing you to tackle complex projects with confidence.
By investing in a high-quality pouring spout, you'll be able to achieve professional-looking results and take your DIY concrete projects to the next level.
Tamping and Compacting Tools
Tamping and compacting tools are essential for removing air pockets and excess water from freshly poured concrete, ensuring a strong and even finish.
As you work with concrete, you'll need to master various tamping techniques to achieve the desired result. You'll use tools like hand tampers, plate compactors, and jumping jacks to eliminate air pockets and compact the concrete. These compacting methods will help you achieve a dense, solid slab.
When choosing tamping and compacting tools, consider the size and scope of your project. For smaller projects, a hand tamper or plate compactor might suffice. For larger projects, you may need to invest in a jumping jack or a ride-on compactor.
Regardless of the tool you choose, make sure you understand its proper use and maintenance. Improper use can lead to uneven compaction, which can compromise the structural integrity of your concrete.
Finishing and Smoothing Tools
When you're working with concrete, achieving a smooth, even finish requires the right tools for the job.
You'll need to focus on edging and corner tools to create crisp, clean lines, as well as tamping and compacting tools to eliminate air pockets and guarantee a dense finish.
Next, you'll move on to smoothing and finishing tools to bring your concrete project to a high-gloss shine.
Edging and Corner Tools
You'll need edging and corner tools to create clean, defined joints and corners in your concrete projects, as these finishing and smoothing tools help you achieve a professional-looking finish. These tools are specifically designed to help you create sharp, crisp edges and corners that add a touch of sophistication to your concrete creations.
When it comes to edging, you'll want to invest in a few key tools, including:
-
A curved edging tool for creating smooth, rounded edges
-
A corner edger for creating sharp, 90-degree corners
-
An edging trowel for applying and shaping concrete in tight spaces
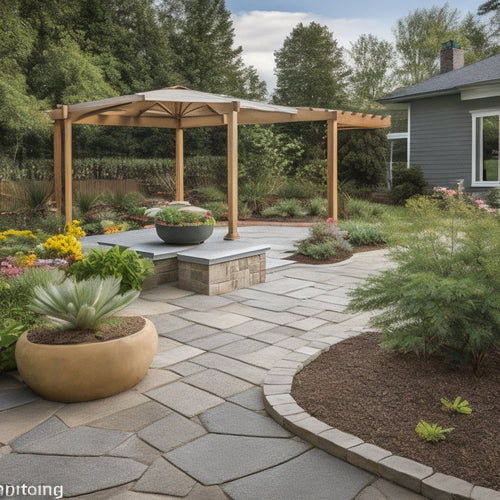
With these tools in your arsenal, you'll be able to achieve the perfect finish for your concrete projects. Whether you're building a patio, creating a decorative planter, or crafting a custom countertop, edging and corner tools are essential for adding a professional touch to your work.
Tamping and Compacting
Precision is key when it comes to achieving a smooth, even finish, and that's where tamping and compacting tools come in - to eliminate air pockets, excess water, and unevenness, ensuring your concrete project turns out strong, durable, and visually appealing.
You'll need to master various tamping techniques to achieve superior results. This involves using tools like hand tampers, plate compactors, and vibrating machines to remove air pockets and excess water.
Compacting benefits are numerous, including increased strength, reduced permeability, and improved durability. By compacting your concrete, you'll reduce the risk of cracks and damage, resulting in a longer-lasting finish.
When choosing a tamping tool, consider the size and scope of your project. For smaller areas, hand tampers are ideal, while larger projects may require more heavy-duty equipment.
Remember to always follow safety guidelines when working with these tools to avoid accidents and injuries.
With the right tamping and compacting tools, you'll be able to achieve a professional-grade finish that will make your DIY concrete project stand out.
Smoothing and Finishing
With your concrete compacted and even, it's time to focus on achieving a high-gloss finish using smoothing and finishing tools that will elevate your DIY project's aesthetic appeal. This is where the magic happens, and your project transforms from a rough, unfinished surface to a sleek, polished masterpiece.
To achieve a flawless finish, you'll need to master various smoothing techniques. Here are some essential tools to add to your arsenal:
-
Trowels: Used for applying and smoothing out concrete, trowels come in various sizes and shapes to suit different applications.
-
Floats: These tools help to level and smooth out the surface, removing any imperfections and air pockets.
-
Power trowels: For larger projects, power trowels are a game-changer, providing a high-gloss finish with minimal effort.
Cutting and Shaping Equipment
Concrete cutting and shaping equipment, like diamond-blade saws and grinders, enable you to accurately slice through and refine your concrete creations. These tools are essential for various cutting techniques, such as making precise cuts for decorative edges or shaping methods for creating unique designs.
| Tool | Cutting Technique | Shaping Method |
|---|---|---|
| Diamond-Blade Saw | Making precise cuts for decorative edges | Creating straight cuts for concrete pavers |
| Angle Grinder | Cutting through thick concrete for demolition | Smoothening rough concrete surfaces |
| Concrete Nibbler | Cutting curved lines for decorative designs | Shaping concrete for irregular shapes |
When choosing the right cutting and shaping equipment, consider the type of concrete you're working with, the desired finish, and the level of precision required. Diamond-blade saws are ideal for making precise cuts, while angle grinders are better suited for smoothening rough surfaces. Concrete nibblers, on the other hand, are perfect for cutting curved lines and shaping irregular shapes. By mastering the right cutting and shaping techniques, you'll be able to release your creativity and bring your concrete projects to life.
Drilling and Anchoring Tools
You'll need to switch gears from cutting and shaping to drilling and anchoring, where the right tools will help you secure your concrete creations in place. Drilling techniques play an important role in anchoring systems, and having the correct tools for the job is vital.
To guarantee a strong hold, you'll need a few specialized tools in your arsenal. Here are the must-haves:
-
A rotary hammer drill with a masonry bit for drilling holes into concrete
-
An anchor setter for setting anchor points in concrete
-
A carbide-tipped drill bit for drilling through rebar or other hard materials
With these tools, you'll be able to master various drilling techniques and anchoring systems.
Remember, the type of drill bit you use will depend on the specific application and the type of concrete you're working with.
Concrete Finishing Hand Tools
By switching to concrete finishing hand tools, you're entering the final stage of the process, where precision and control are essential to achieving a smooth, even finish. Here, you'll need a range of specialized tools to refine the surface and eliminate imperfections.
Start with a selection of trowel types, including flat, curved, and pointed options. Each is designed for specific tasks, such as applying thin layers of concrete or creating decorative edges.
Next, master float techniques to remove excess water and air pockets, ensuring a strong, durable finish. Use a bull float for larger areas and a hand float for tighter spaces.
Don't overlook the importance of edging tools, like edgers and jointers, which help create clean, defined edges and joints. A scraper or darby will also come in handy for removing excess material and achieving a uniform surface.
With these concrete finishing hand tools at your disposal, you'll be able to achieve a professional-grade finish that's both durable and visually appealing.
Take the time to practice and perfect your techniques, and you'll be rewarded with a stunning concrete creation that showcases your skills.
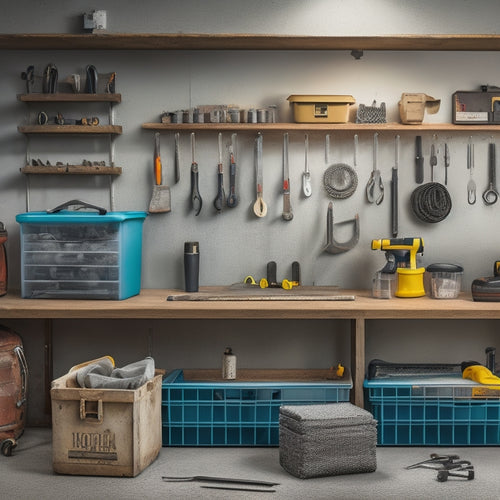
Cleanup and Protection Supplies
What separates a good DIY concrete project from a great one is the attention to detail in cleanup and protection, where a few essential supplies can make all the difference in preventing damage and guaranteeing long-term durability.
You'll want to invest in the right tools to guarantee a thorough cleanup and protect your surface from damage.
Here are the must-have supplies for a successful cleanup and protection:
-
Dust masks and respirators: Protect yourself from inhaling concrete dust and other hazardous materials during cleanup.
-
Surface cleaning solutions: Invest in a good quality cleaning solution that's specifically designed for concrete surfaces. This will help remove dirt, grime, and other substances that can damage your concrete.
-
Concrete sealers and coatings: Apply a concrete sealer or coating to protect your surface from stains, cracks, and damage. This will also make future cleanup techniques easier and more effective.
Frequently Asked Questions
Can I Use Regular Gloves Instead of Concrete-Specific Gloves?
When working with concrete, you're probably wondering if regular gloves will suffice.
Don't risk it! Regular gloves won't provide the same level of hand protection as concrete-specific gloves.
The glove materials in regular gloves can't withstand the abrasiveness of concrete, leaving your hands vulnerable to cuts, scrapes, and irritation.
Invest in concrete-specific gloves for superior hand protection - your hands will thank you.
How Do I Prevent Concrete From Sticking to My Tools?
Did you know that a single concrete pour can waste up to 3% of the total mix due to stuck-on residue?
To prevent this, you'll need to take proactive measures. When working with concrete, you're going to want to prioritize tool cleaning and surface preparation.
Apply a release agent, like cooking spray or silicone, to your tools before use. This will guarantee a smooth release and prevent concrete from sticking.
Additionally, prepare your tools' surfaces by sanding or wire-brushing them to prevent bonding.
What's the Best Way to Store Leftover Concrete?
When you're left with excess concrete, you'll want to store it properly to maintain its quality.
You're probably wondering, 'What's the best way to store leftover concrete?'
Well, you can use airtight containers, such as plastic buckets or bags, to prevent moisture loss.
Consider concrete storage techniques like keeping it in a cool, dry place or using desiccants to absorb excess moisture.
Later, you can repurpose leftover concrete for smaller projects, like repairing cracks or creating decorative accents, so don't waste it!
Can I Mix and Pour Concrete in Cold Weather?
When you're working with concrete in cold weather, you need to take into account the temperature's impact on the mix. If it's too cold, the cement won't hydrate properly, leading to weakened structures.
You'll want to make certain the concrete temperature is above 50°F (10°C) for the best curing. In cold weather, use accelerating admixtures or insulated blankets to maintain the ideal temperature.
Don't risk compromising your project's integrity - take cold weather factors seriously to avoid concrete temperature effects that can lead to cracks and failures.
How Long Does It Take for Concrete to Fully Cure?
'Ha! You think you're a concrete master, don't you?
Well, let me burst your bubble - you're still waiting for your concrete to fully cure!
The curing process is a marathon, not a sprint. It can take anywhere from 24 hours to 28 days for concrete to reach its full strength.
You'll know it's done when it reaches 99% of its concrete strength. Until then, be patient and don't get too cocky, or you'll end up with a subpar outcome!'
Conclusion
You've got the map, now navigate the concrete jungle!
With these 10 must-have tools, you're equipped to conquer any DIY concrete project that comes your way.
Remember, a skilled adventurer always packs the right gear.
Your journey may be messy, but with the right tools, you'll pave the way to success.
Chart your course, and let the concrete magic begin!
Related Posts
-
7 Must-Have Tools for Concrete Repair Organization
To effectively organize your concrete repair projects, you'll need a thorough toolkit that includes a well-planned st...
-
Why These Tools Are Crucial for Concrete Patio
You're about to commence on a concrete patio project, and having the right tools is vital to achieving professional-l...
-
10 Must-Have Tools for Small Concrete Projects
When tackling small concrete projects, you'll need a range of essential tools to achieve professional-grade results. ...


